
Milan FWD V6-3.0L (2010)
Secure the seat.
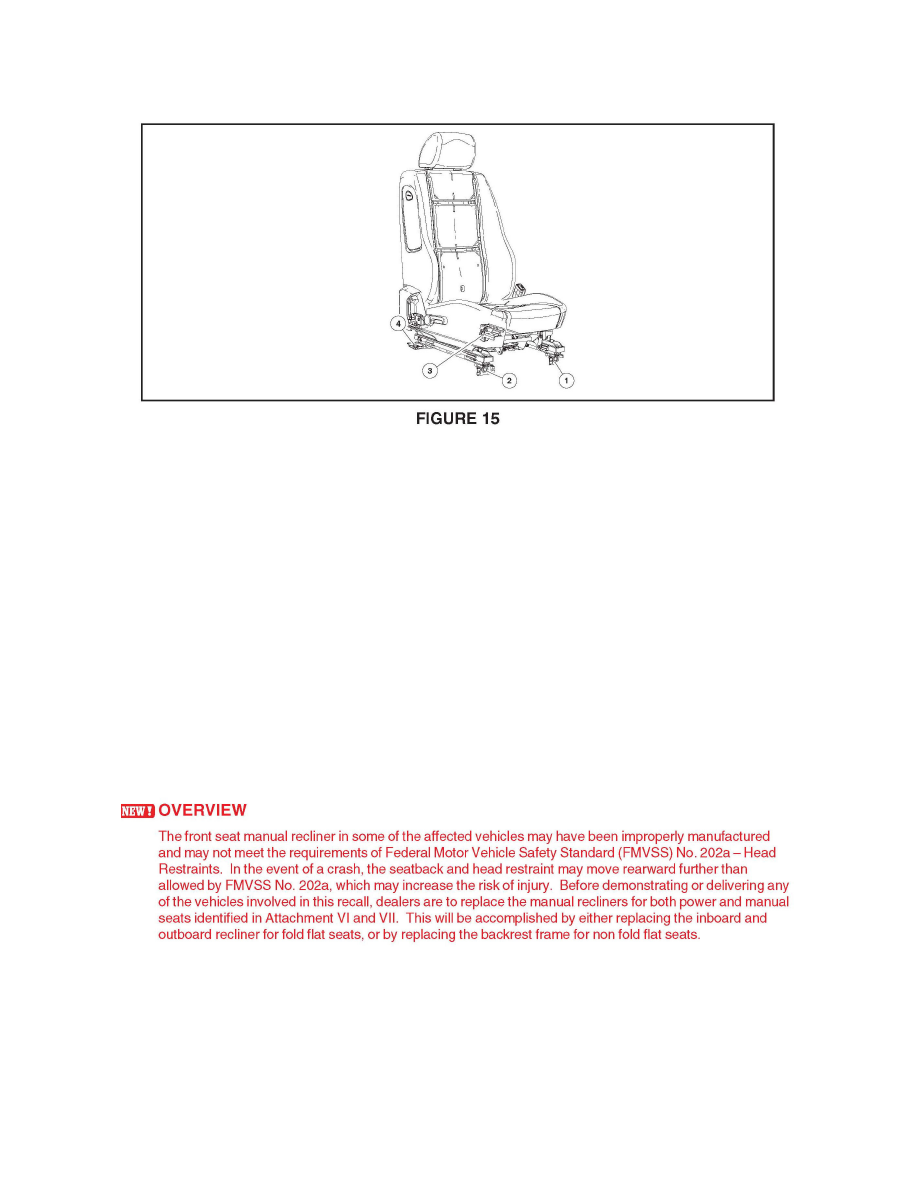
1. Align the two forward seat mounting locators to the guide holes in the floor.
2. Install by hand all four seat track-to-floor bolts, then tighten. See Figure 15.
^
Tighten to 47 Nm (35 lb-ft) in the following sequence.
3. Install the four seat track-to-floor bolt covers.
39. NOTE: If equipped with a power seat, position the seat downward for the safety belt retractor anchor and bolt installation.
Position the safety belt retractor anchor onto the seat and install the anchor bolt and new cover. Tighten to 40 Nm (30 lb-ft).
40. NOTE: DO NOT prove out the SRS for the passenger seat until the Occupant Classification Sensor (OCS) System Zero Seat Weight Test has been
completed.
Repower the Supplemental Restraint System (SRS). For additional information, refer to the WSM, Section 501-20B, SRS Repowering Procedure.
41. Perform the Occupant Classification Sensor (OCS) System Zero Seat Weight Test and prove out the SRS. For additional information, refer to the
WSM, Section 501-20B.
Attachment IV - Fusion and Milan - Driver Seat Backrest Frame Replacement
(New!) OVERVIEW
Fusion and Milan Passenger Seat Recliner Replacement
Attachment III
Fusion and Milan Driver Seat Backrest Frame Replacement
Attachment IV
Explorer, Mountaineer and Sport Trac
Driver and passenger Seat Backrest Frame Replacement
Attachment V
SERVICE PROCEDURE - ATTACHMENT IV