
Milan FWD V6-3.0L (2010)
6. Remove the washer reservoir filler neck bolt.
-
To install, tighten to 6 Nm (53 lb-in).
7. Remove the compressor manifold and tube suction fitting nut and disconnect the fitting.
-
Discard the gasket seal.
-
To install, tighten to 15 Nm (133 lb-in).
8. Remove the condenser inlet fitting nut and disconnect the fitting.
-
Discard the gasket seal.
-
To install, tighten to 15 Nm (133 lb-in).
3.5L vehicles
9. NOTE: Be sure not to strike the A/C lines against any hard object such as the exhaust manifold when removing the compressor manifold and tube
assembly.
Remove the compressor manifold and tube assembly.
1. Rotate the compressor manifold and tube counterclockwise enough to allow it to be lifted between the exhaust manifold shield and alternator.
2. Remove the compressor manifold and tube assembly.
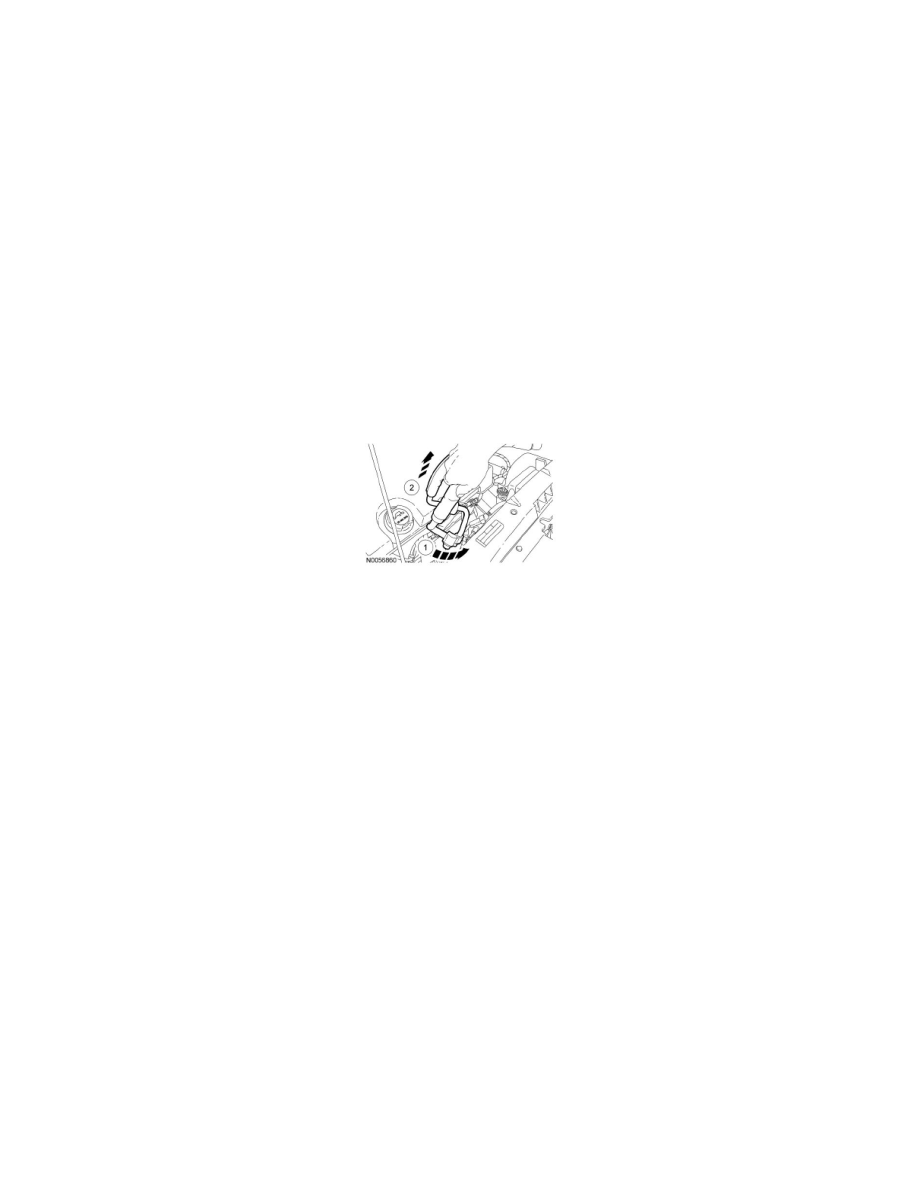
3.0L vehicles
10. NOTE: Be sure not to strike the A/C lines against any hard object such as the exhaust manifold when removing the compressor manifold and tube
assembly.
Remove the compressor manifold and tube assembly.
All vehicles
11. To install, reverse the removal procedure.
-
Install new gasket seals.
-
Add the correct amount of clean PAG oil to the refrigerant system.
12. Evacuate, leak test and charge the refrigerant system.