
Milan FWD V6-3.0L (2010)
B. Tighten to 10 Nm (89 lb-in).
8. Install the transmission fluid baffle and the 2 bolts.
^
Tighten to 12 Nm (106 lb-in).
Transaxle Assembly
1. Clean the silicone from the transaxle case-to-torque converter housing sealing surface and the main control cover sealing surface.
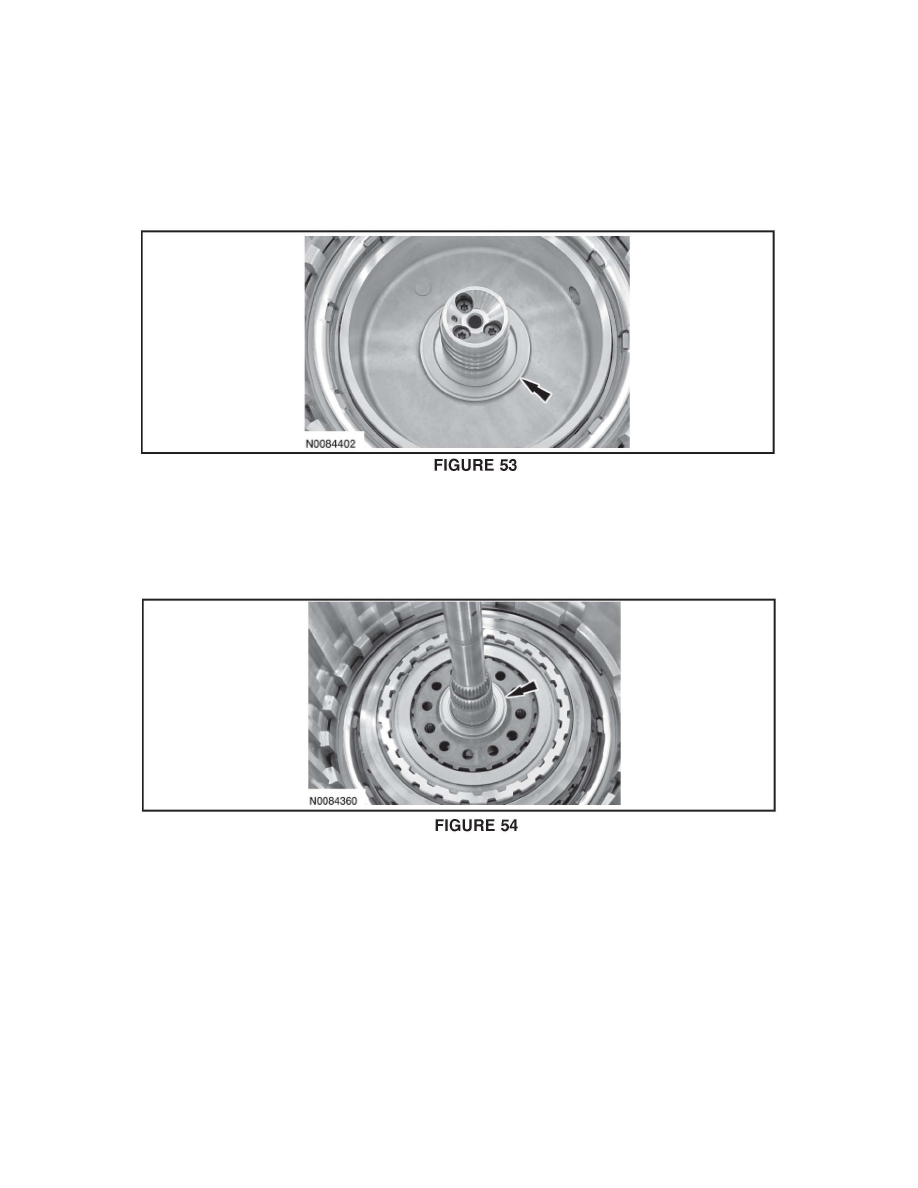
2. NOTICE: Make sure to install the No 1 thrust bearing with the flat side facing up or damage to the transaxle can occur
Install the No. 1 thrust bearing with the flat side facing up. See Figure 53.
3. Install the overdrive/direct clutch assembly.
4. NOTICE: Make sure to install the No. 3 thrust bearing with the flat side facing down or damage to the transaxle can occur
Install the No. 3 thrust bearing with the flat side facing down. See Figure 54.
5. Install the direct/intermediate clutch hub and rear planetary sun gear and shell assembly.