Milan FWD V6-3.0L (2010)

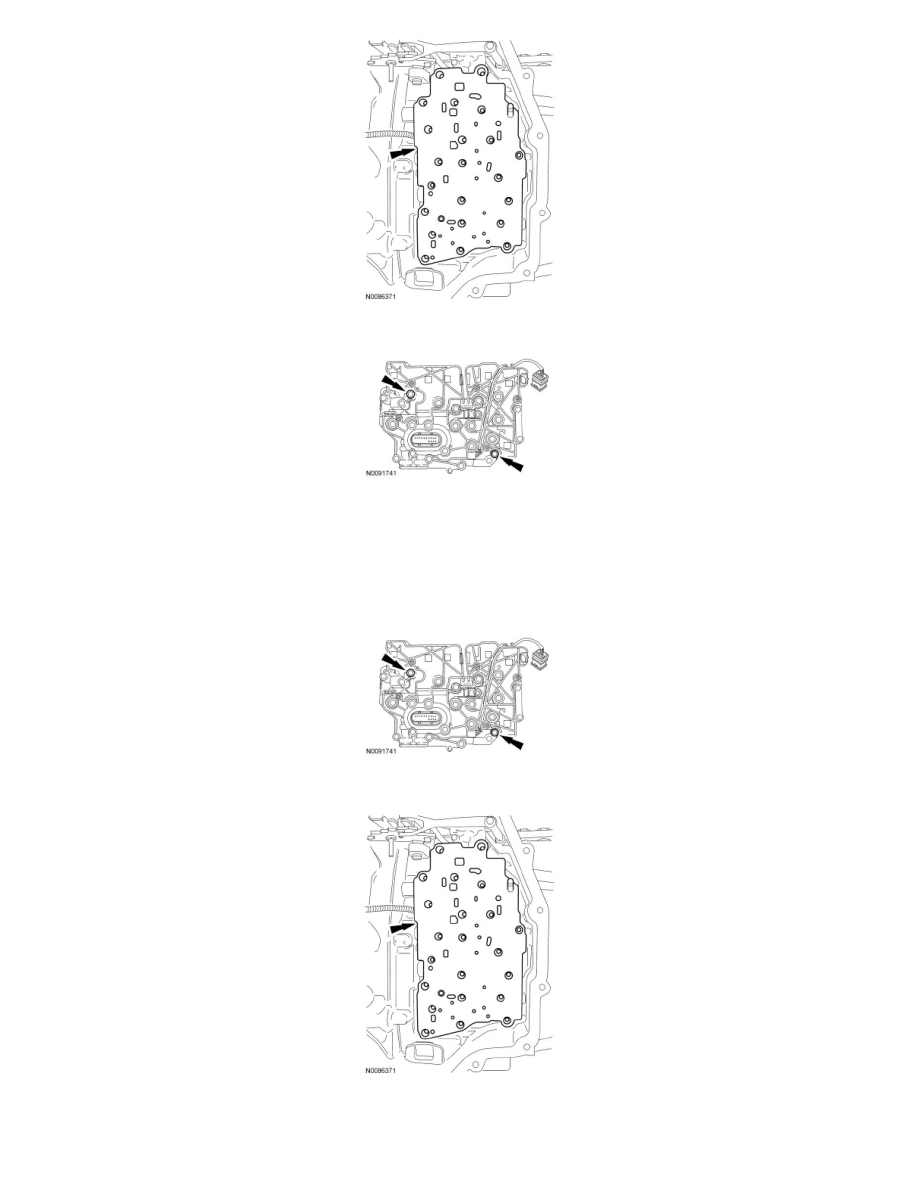
15. Remove the 2 bolts and separate the solenoid body from the main control valve body.
Installation
1. NOTE: If cleaning the solenoid body assembly or inspecting the valves, refer to Solenoid Body Assembly See: Transmission and
Drivetrain/Automatic Transmission/Transaxle/Service and Repair/Overhaul/6F35/Disassembly and Assembly of Subassemblies/Solenoid Body
Assembly. If installing a new solenoid body assembly, continue with this procedure.
Install the solenoid body onto the main control valve body. Install the 2 bolts.
-
Tighten to 10 Nm (89 lb-in).
2. Position the OSS and TR sensor wiring harnesses aside and install the main control-to-transaxle case separator plate.
3. NOTE: Make sure that the manual lever pin (part of the TR sensor) is correctly installed in the manual valve.
Install the main control.
