
Milan FWD V6-3.0L (2010)
1. Position the wheel knuckle and install the 2 new lower ball joint nuts.
-
Tighten to 200 Nm (148 lb-ft).
2. Position the tie-rod end and install the new nut and cotter pin.
-
Tighten to 48 Nm (35 lb-ft).
3. Position the upper ball joint and install the new nut.
-
Tighten to 48 Nm (35 lb-ft).
4. If equipped, position the wheel speed sensor and install the bolt.
-
Tighten to 23 Nm (17 lb-ft).
5. If equipped, install the wheel speed sensor harness bolt.
-
Tighten to 23 Nm (17 lb-ft).
6. Position the brake flexible hose bracket and install the bolt.
-
Tighten to 20 Nm (177 lb-in).
7. Position the brake caliper and anchor plate assembly and install the 2 bolts.
-
Tighten to 90 Nm (66 lb-ft).
8. Install the brake disc and the 2 brake disc bolts.
-
Tighten to 20 Nm (177 lb-in).
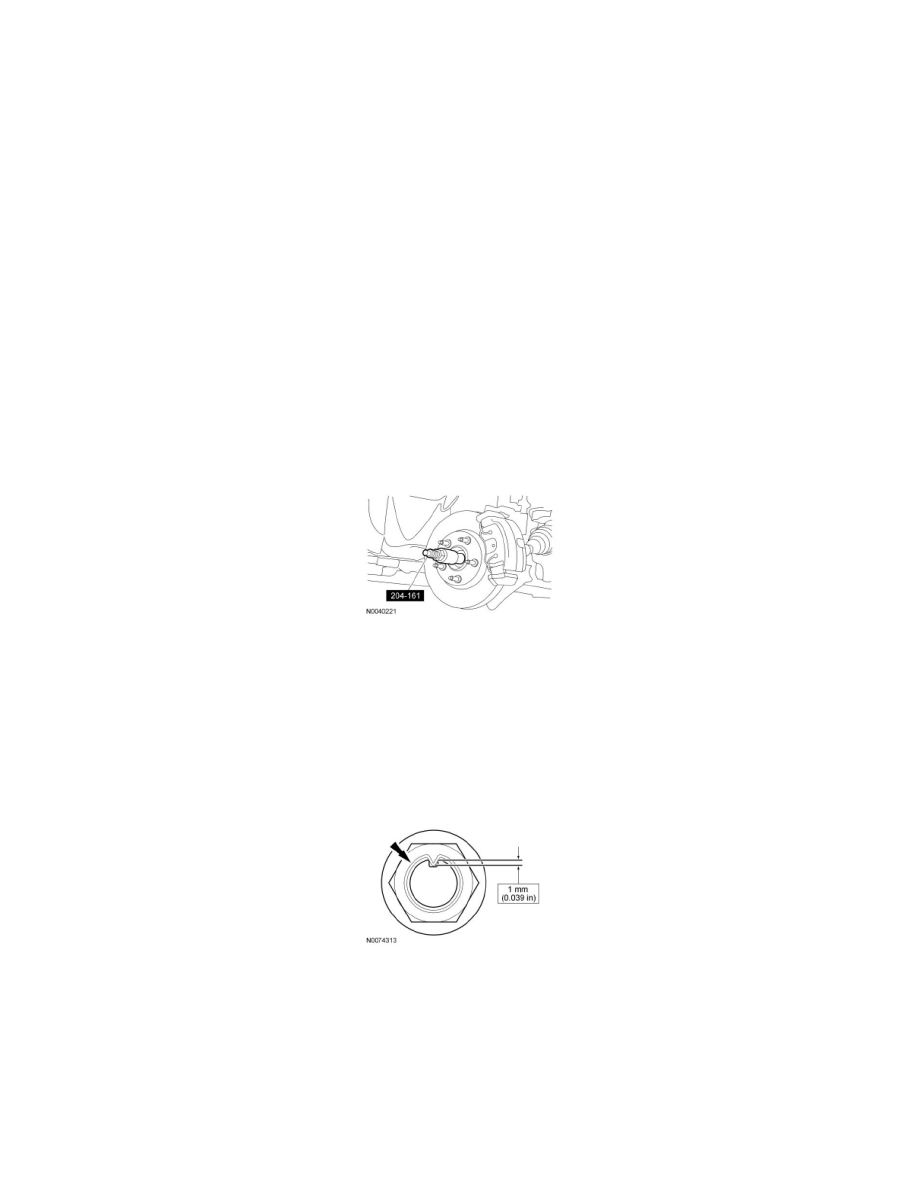
9. Using the Halfshaft Installer, install the halfshaft into the wheel hub.
10. NOTICE: Do not tighten the halfshaft nut with the vehicle on the ground. The nut must be tightened to specification before the vehicle is
lowered onto the wheels. Wheel bearing damage will occur if the wheel bearing is loaded with the weight of the vehicle applied.
NOTE: Apply the brake to keep the halfshaft from rotating.
Install the wheel hub nut.
-
Tighten to 255 Nm (189 lb-ft).
11. Stack the new nut in line with the keyway to a recommended depth of 1 mm (0.039 in) below the keyway diameter to engage the locking feature.