
Milan FWD V6-3.0L (2010)
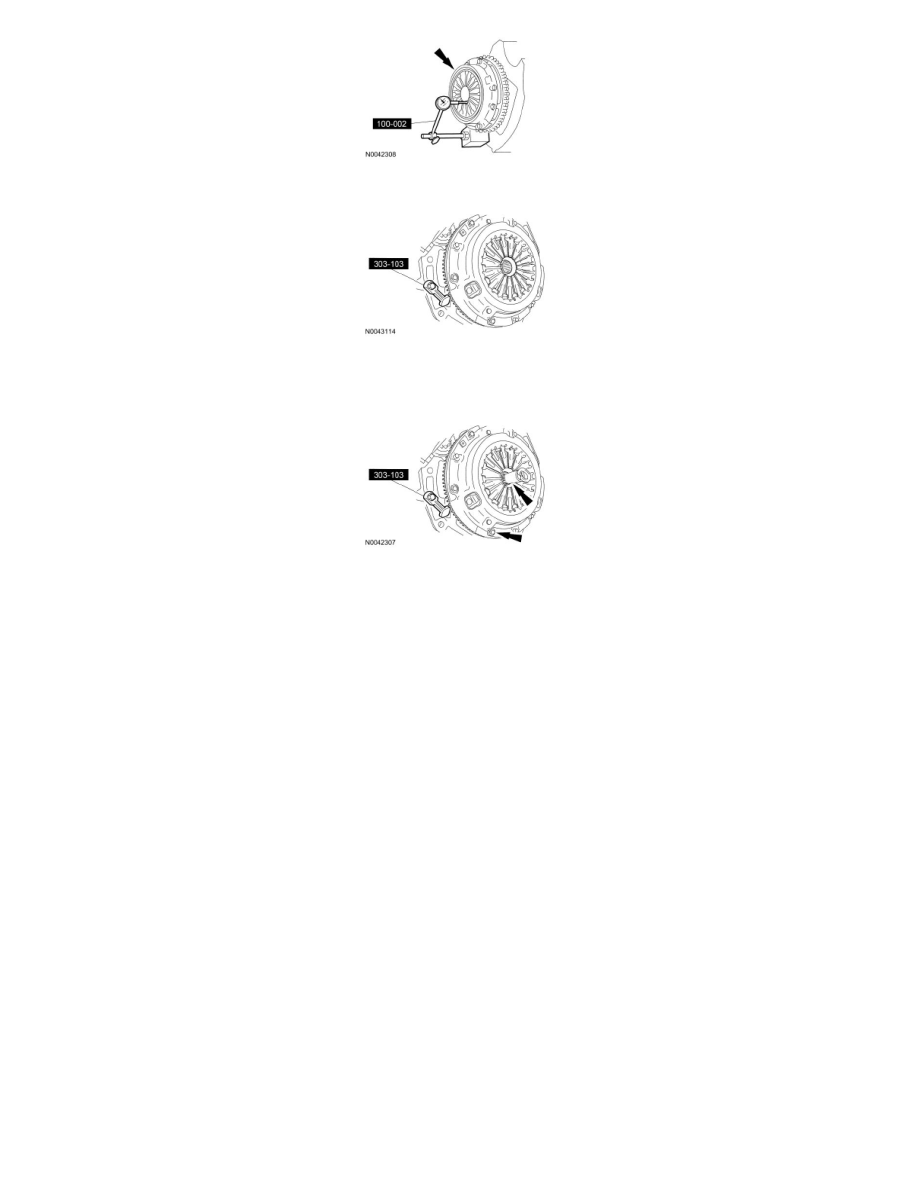
3. Using the Flywheel Holding Tool, lock the flywheel to the engine.
4. NOTE: Loosen each bolt, one turn at a time in a star pattern, until spring tension is released.
Using a suitable clutch disc aligner, remove the bolts, the clutch pressure plate and the clutch disc.
5. NOTE: Do not immerse the clutch pressure plate in solvent.
Using a suitable cleaning solution, clean the clutch pressure plate.
6. Inspect the clutch pressure plate surface for burn marks, scores, flatness, ridges or cracks. For additional information, refer to Manual
Transmission/Transaxle &/or Clutch, M/T.
-
Maximum clearance for flatness check is 0.3 mm (0.011 in).
7. NOTICE: If the clutch disc is saturated with oil, inspect the rear engine crankshaft seal or transmission input shaft seal for leakage. If
leakage is found, install a new seal prior to clutch disc installation. For additional information, refer to Engine or Manual
Transmission/Transaxle.
NOTE: Use an emery cloth to remove minor imperfections in the clutch disc lining surface.
Inspect the clutch disc for the following:
-
Oil or grease saturation
-
Worn or loose facings
-
Warpage or loose rivets at the hub
-
Wear or rust on the splines
-
Install a new clutch disc if any of these conditions are present.
8. Check the clutch disc runout. For additional information, refer to Clutch Disc Check in Manual Transmission/Transaxle &/or Clutch, M/T.
9. If necessary, conduct a Flywheel Runout Check. For additional information, refer to Manual Transmission/Transaxle &/or Clutch, M/T.
Clutch release bearing and clutch release fork
10. Remove the clutch release bearing.