Montego 2WD V6-3.0L VIN 1 (2006)

Part 2
Removal and Installation
1. For vehicles not equipped with side safety curtains, depower the SRS.
2. Remove the LH and RH A-pillar trim panels.
-
Position the weatherstrip aside near the A-pillar.
-
Pull the top outboard edge of the A-pillar trim panel toward the inside of the vehicle to disengage the retaining clips.
-
Pull the A-pillar trim panel upward to remove from the dash panel.
3. Disconnect the passenger side door check strap.
4. Remove the passenger side front seat.
5. Remove the front floor console.
6. Remove the LH and RH B-pillar trim panels.
7. Remove the LH and RH C-pillar trim panels.
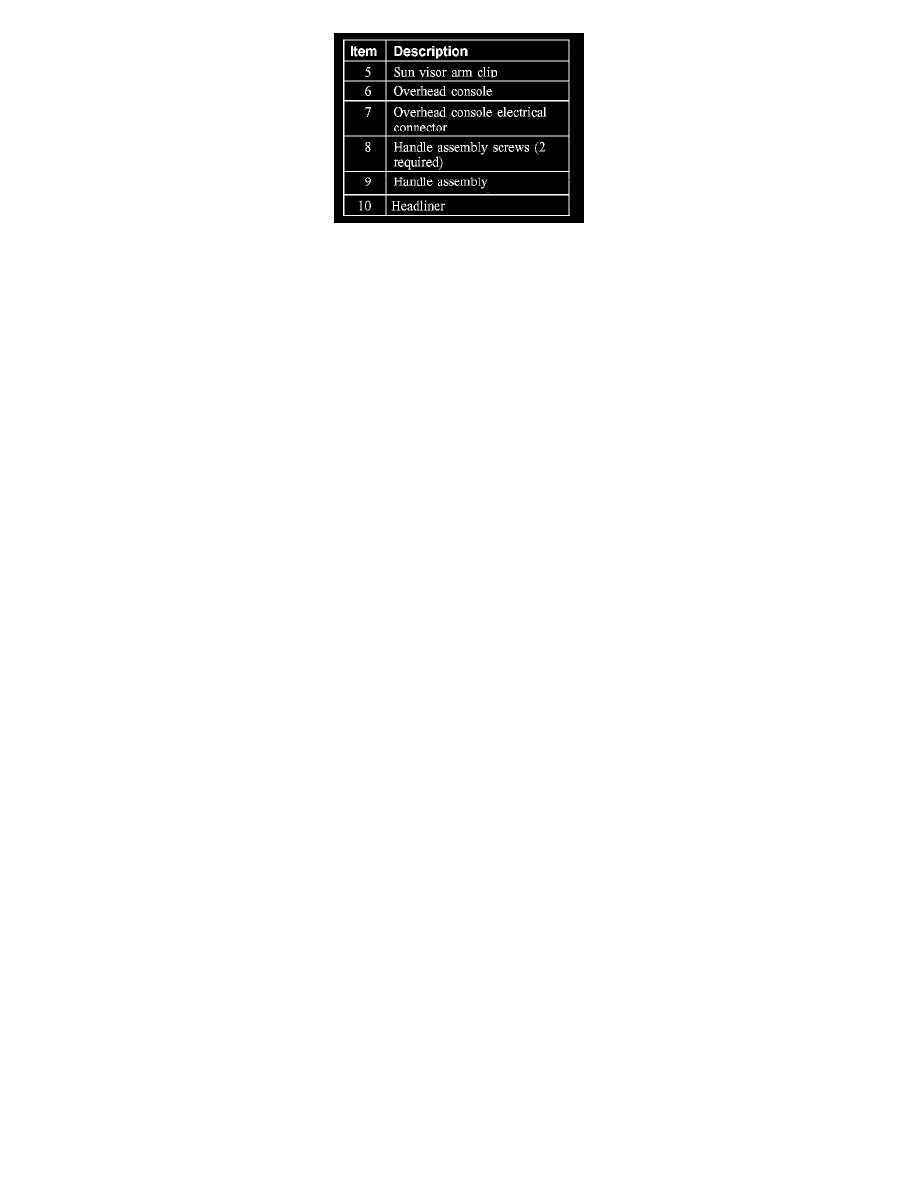
8. Remove the 3 handle assemblies from the headliner.
-
Disconnect the handle assembly screw covers.
-
Remove the handle assembly screws.
9. Remove the LH and RH sun visor assemblies.
-
Remove the 3 sun visor retaining screws.
-
Disconnect the sun visor wire harness electrical connector.
-
Remove the sun visor arm clip screw.
-
Remove the sun visor arm clip.
10. Remove the overhead console.
-
Open the bin and remove the screws.
-
Disconnect the overhead console electrical connector.
11. If equipped, disconnect the roof opening panel trim ring dual-lock from the roof opening panel.
12. If equipped, disconnect the roof opening panel electrical connector.
13. If equipped, disconnect the auto-dimming electrical connector from the interior rear view mirror.
14. If equipped, disconnect the compass sensor electrical connector from the compass sensor.
15. Disconnect the electrical connector located on the A-pillar.
-
Disconnect the wiring harness tree-clips located on the A-pillar.
16. If equipped remove the rear entertainment system.
17. If equipped, disconnect the safety canopy bridge resistor electrical connector.
18. Remove the 3 trim panel retaining clips from the rear of the headliner.
-
Remove the center retaining clip, using a push pin-puller and the 2 outer clips, using a thin-blade screwdriver to depress engagement tabs.
19. Position the driver side front seat rearward and recline.
20. Remove the headliner.
-
Lower the headliner.
-
Rotate the headliner 90 degrees clockwise and remove the headliner through the right front door opening.
21. To install, reverse the removal procedure.
