
Montego AWD V6-3.0L VIN 1 (2005)
3. Disconnect the parking brake cable end from the brake caliper lever and release the parking brake cable retainer from the caliper bracket.
4. NOTE: Loosen but do not remove the brake caliper bolts.
Loosen the brake caliper bolts.
5. CAUTION: Do not use the brake caliper sight hole to retract the pistons as this can damage the pistons and boots.
CAUTION: When removing the brake caliper, never allow it to hang from the brake flexible hose. Provide a suitable support.
Remove the 2 brake caliper anchor plate bolts and discard. Position the brake caliper anchor plate, brake caliper, and brake pads aside.
6. CAUTION: When the brake pads are separated from the brake caliper, new brake pads must be installed. The brake pads are one-time use only.
NOTE: The brake pads must be separated from the brake caliper before the brake caliper can be removed from the brake caliper anchor plate.
Using a suitable tool, separate the brake pads from the caliper.
7. Remove and discard the brake pads and spring clips from the brake caliper anchor plate.
8. Remove the 2 brake caliper bolts and separate the brake caliper from the brake caliper anchor plate.
9. NOTE: Do not remove the anchor plate guide pins. The guide pins are press fit to the brake caliper anchor plate. If the guide pins are damaged a
new anchor plate must be installed.
Inspect the brake caliper anchor plate assembly.
^
Check the guide pins and boots for binding or damage.
^
Install a new brake caliper anchor plate if it is worn or damaged.
Installation
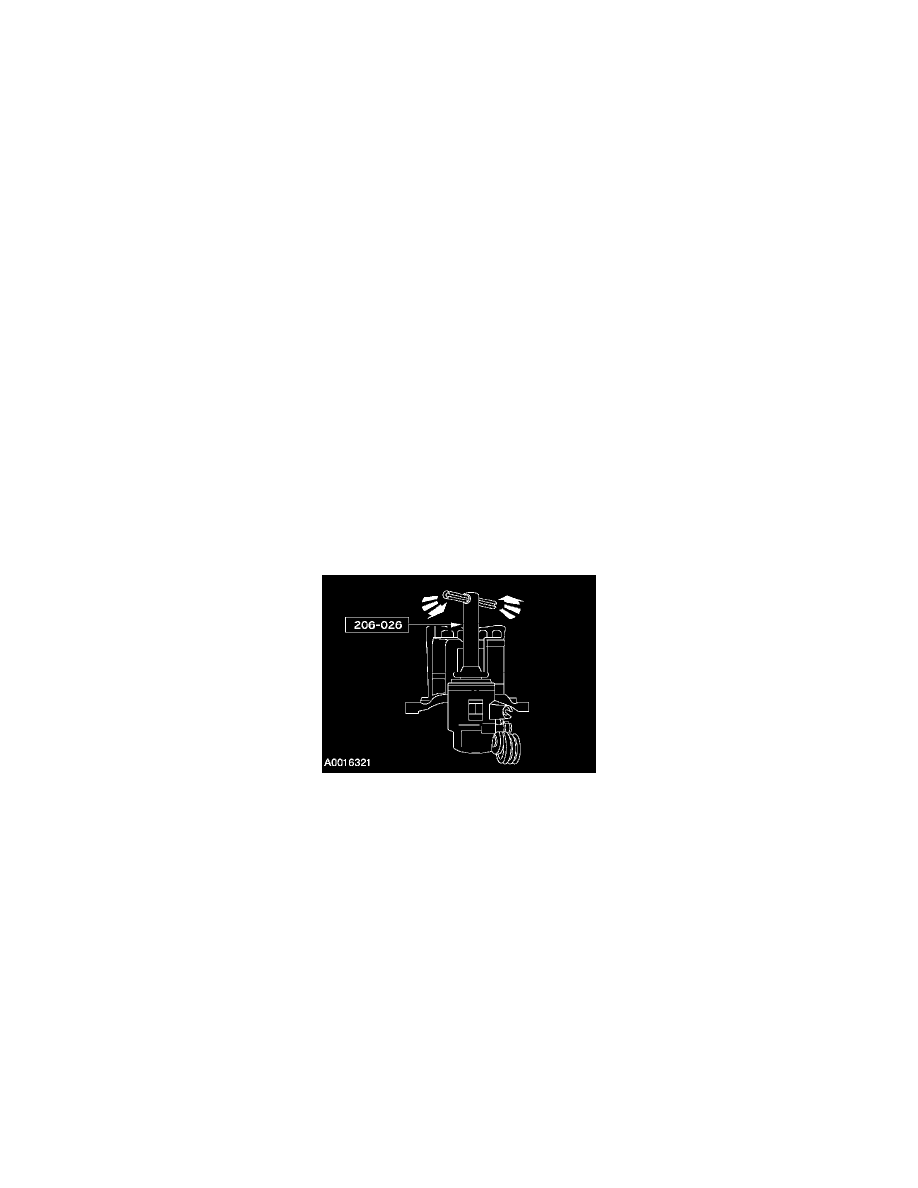
1. NOTE: The LH caliper piston turns clockwise and the RH caliper piston turns counterclockwise.
Using the special tool, compress the brake caliper piston into its cylinder.
2. Clean the residual adhesive from the brake caliper fingers and pistons using the specified brake parts cleaner.
3. Position the brake caliper anchor plate and install 2 new bolts.
^
Tighten to 110 Nm (81 ft. lbs.).
4. CAUTION: Do not allow grease, oil, brake fluid or other contaminants to contact the brake pad or caliper mating surface. Do not install
contaminated pads.
NOTE: Install all the new hardware supplied with brake pad kit.
Install the new spring clips and brake pads.
5. Position the brake caliper and install the 2 bolts.
^
Tighten to 31 Nm (23 ft. lbs.).
6. Connect the parking brake cable to the brake caliper.
7. Reload the tension on the parking brake cable.
8. If necessary, fill the brake fluid reservoir with clean specified brake fluid.
9. With the vehicle engine running, apply 89 - 133 Nm (20 - 30 lbs.) of pressure on the brakes for approximately 1 minute, to make sure the brake
pads adhere to the caliper before any contamination can be introduced.
10. Test the brakes for normal operation.