
Montego AWD V6-3.0L VIN 1 (2005)
18. Remove the front catalytic converter bracket bolt.
^
To install, tighten to 40 Nm (30 ft. lbs.).
19. Remove the front catalytic converter and discard the upper gasket.
^
Inspect the catalytic converter bracket clamp. Install a new clamp, if necessary. Tighten the clamp bolt to 40 Nm (30 ft. lbs.).
20. NOTE: Apply anti-seize lubricant to the catalyst monitor sensor threads before installation.
If installing a new catalytic converter, remove the catalyst monitor.
^
To install, tighten to 47 Nm (35 ft. lbs.).
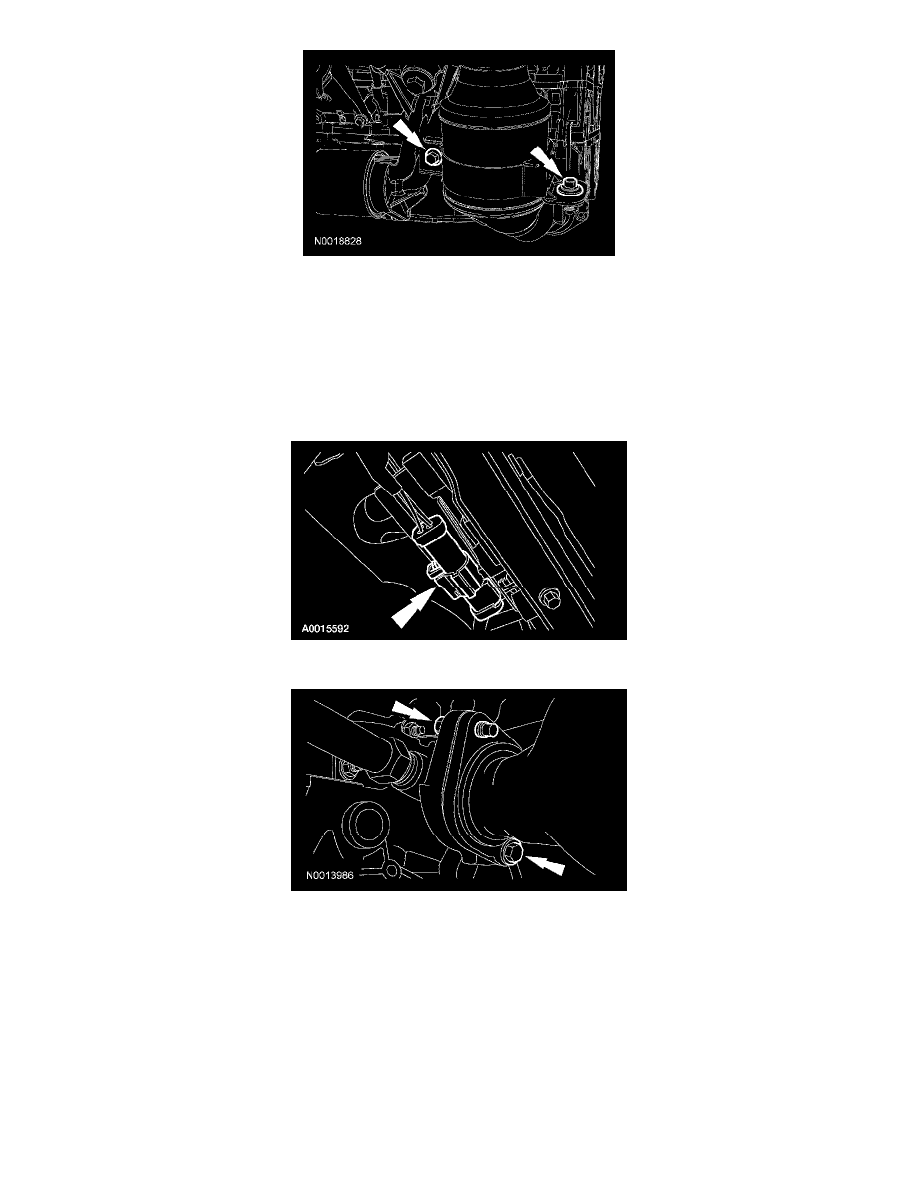
21. Disconnect the rear catalyst monitor sensor electrical connector.
22. Remove and discard the rear catalytic converter bolts.
^
To install, tighten to 40 Nm (30 ft. lbs.).
23. Remove the rear catalytic converter and discard the upper gasket.
24. NOTE: Apply anti-seize lubricant to the catalyst monitor sensor threads before installation.
If installing a new catalytic converter, remove the catalyst monitor.
^
To install, tighten to 47 Nm (35 ft. lbs.).
25. If necessary, remove the Y-pipe isolator bracket bolts, then remove the bracket.
^
To install, tighten to 30 Nm (22 ft. lbs.).
26. If necessary, remove the muffler rear isolator bracket bolts, then remove the bracket.
^
To install, tighten to 30 Nm (22 ft. lbs.).
27. NOTE: Clean the mating surfaces of the exhaust system connections.