
Montego AWD V6-3.0L VIN 1 (2005)
Part 2
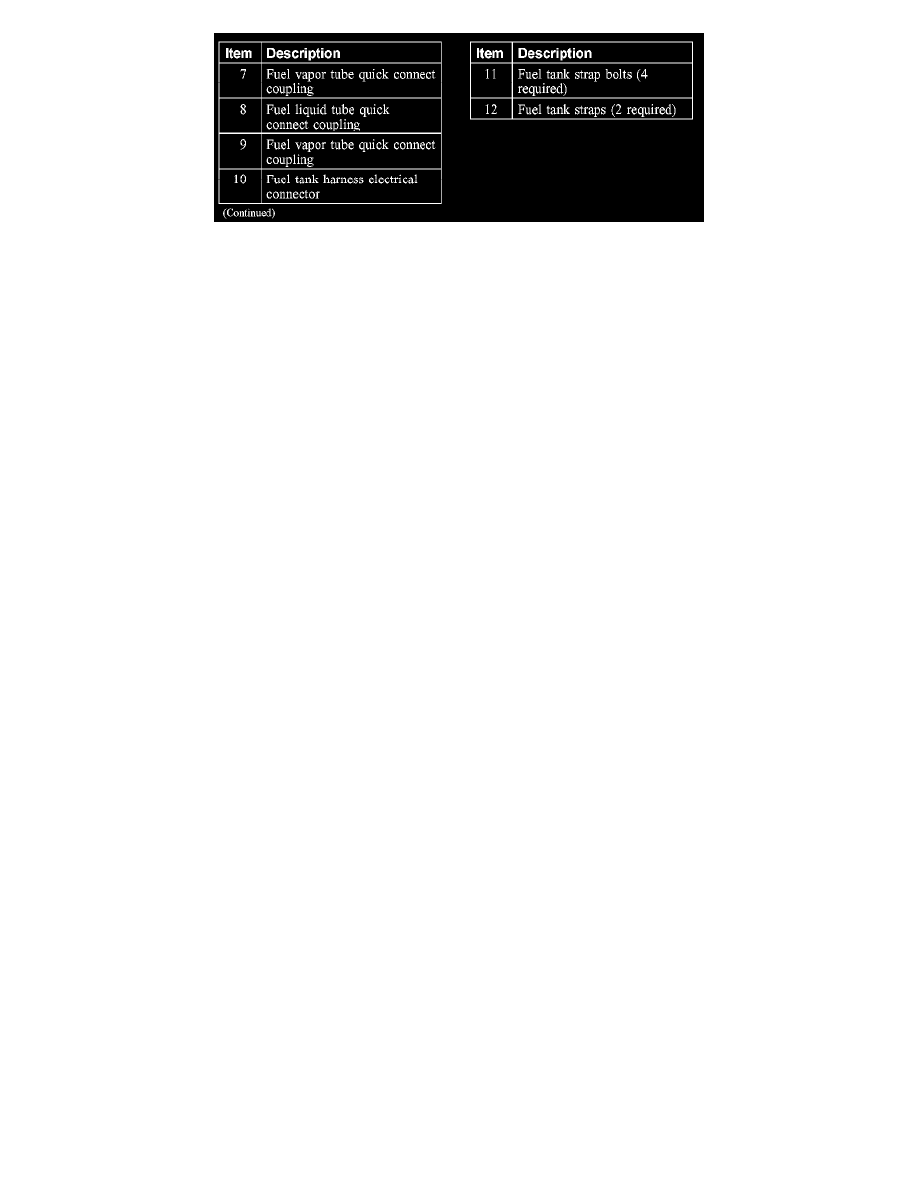
Exploded View
Removal and Installation
WARNING:
-
Do not smoke or carry lighted tobacco or an open flame of any type when working on or near any fuel-related component. Highly
flammable mixtures are always present and can be ignited, resulting in possible personal injury.
-
Do not carry personal electronic devices such as cell phones, pagers or audio equipment of any type when working on or near any
fuel-related components. Highly flammable mixtures are always present and may be ignited. Failure to follow these instructions can
result in personal injury.
1. Disconnect the battery ground cable.
2. If the fuel tank is above half capacity, drain the fuel tank until the fuel level is at or below half.
3. Remove the evaporative emission canister.
4. Remove the 2 fuel tank filler pipe upper retaining screws.
-
To install, tighten to 3 Nm (27 lb-in).
5. Remove the fuel tank filler pipe lower retaining bolt.
-
To install, tighten to 9 Nm (80 lb-in).
6. Remove the RH rear inner fender splash shield.
7. Disconnect the fuel tank filler pipe vapor tube quick connect coupling.
8. Release the clamp and remove the fuel tank filler hose from the fuel tank.
9. Remove the fuel tank filler pipe from the vehicle.
10. To install, reverse the removal procedure.