
Montego AWD V6-3.0L VIN 1 (2005)
attaching hardware should be inspected after any collision. Ford recommends new safety belt assemblies be installed unless a qualified technician finds
the assemblies show no damage and operate correctly. Safety belt assemblies not in use during a collision should also be inspected and new assemblies
installed if either damage or incorrect operation is noted.
The Automatic Locking Retractor (ALR) feature of the safety belt retractor must be checked by a qualified technician to verify that the ALR feature for a
child seat is functioning properly, in addition to other checks for proper safety belt system function. A belt and retractor assembly must be replaced if the
safety belt assembly's "automatic locking retractor" feature or any other safety belt function is not operating properly when inspected according to the
functional inspection procedures. Failure to replace the belt and retractor assembly could increase the risk of injury in collisions.
1. Remove the third row bench seat.
2. Remove the third row seat backrest.
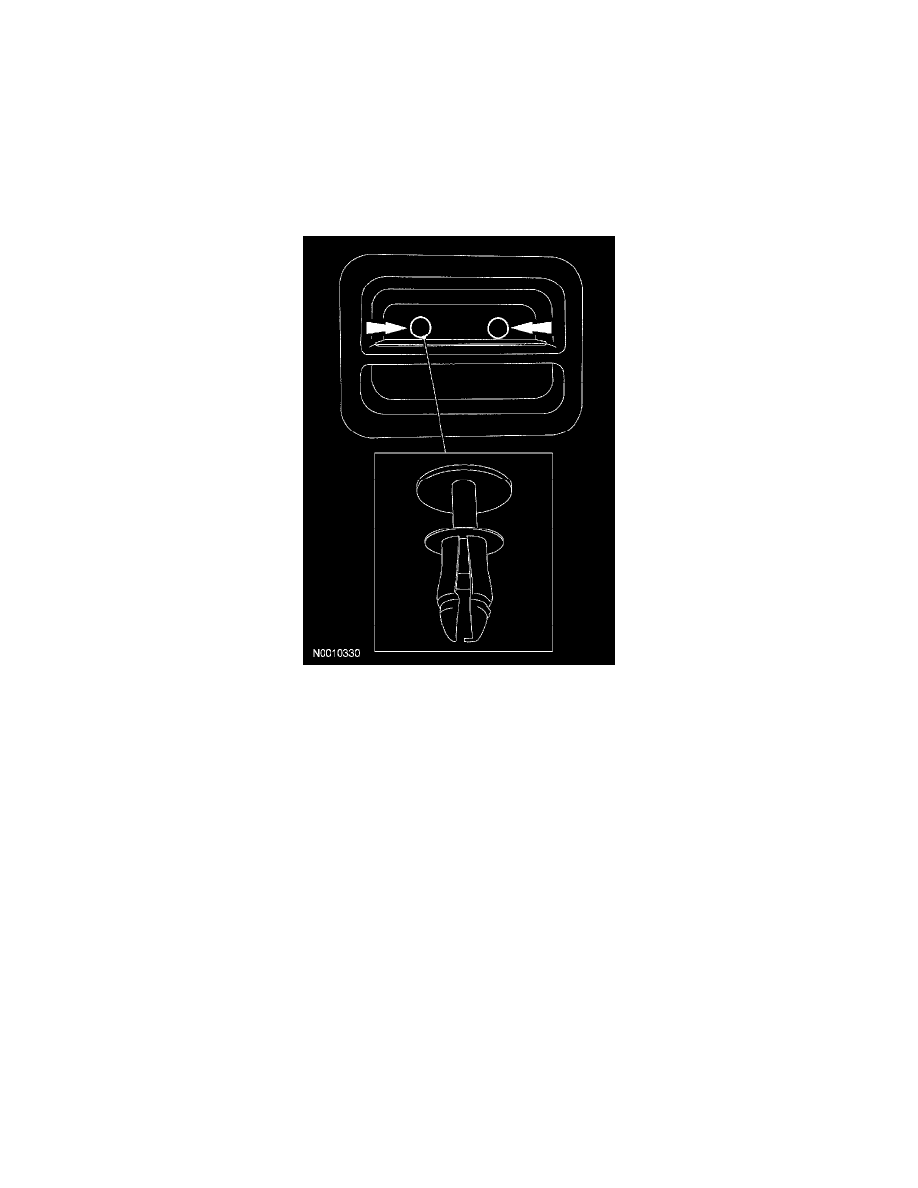
3. NOTE: If damaged when removed, install new plastic rivets.
Remove the 2 rivets and pull the cushion handle out of the pocket.
-
Using an appropriate tool, from under the rivet head, pry the rivet up.
-
When removing the plastic rivet, make sure not to get under the insert or the rivet will not come out.
-
Another method that can be used to remove the plastic rivets is to drive a screw partially into the rivet head and pull the screw and rivet head
out. This will require new plastic rivets to be installed.
4. Separate the pivot release cable and casing and remove the pivot release handle.
5. Remove the 2 screws on each side at the bottom of the load floor panel.
6. Pull out to release the retainers and remove the load floor panel.
-
Use a suitable tool (pin-type retainer tool, etc.) to disengage the load floor from the seat.
7. Remove the screw, release the tab and remove the LH floor latch cover.
8. Remove the screw, release the tab and remove the RH floor latch cover.