Monterey V6-4.2L VIN 2 (2004)

1. CAUTION: When reusing liquid or vapor tube connectors, make sure to use compressed air to remove any foreign material from the
connector retaining clip area before separating the tube.
NOTE: If the fuel tube or retainer clip is broken or damaged, install a new clip using a suitable fuel line disconnect tool to separate the retainer
clip legs. Once the retainer clip legs have been separated, lift the clip out of the connector housing, lifting from the stamped side of the connector
body.
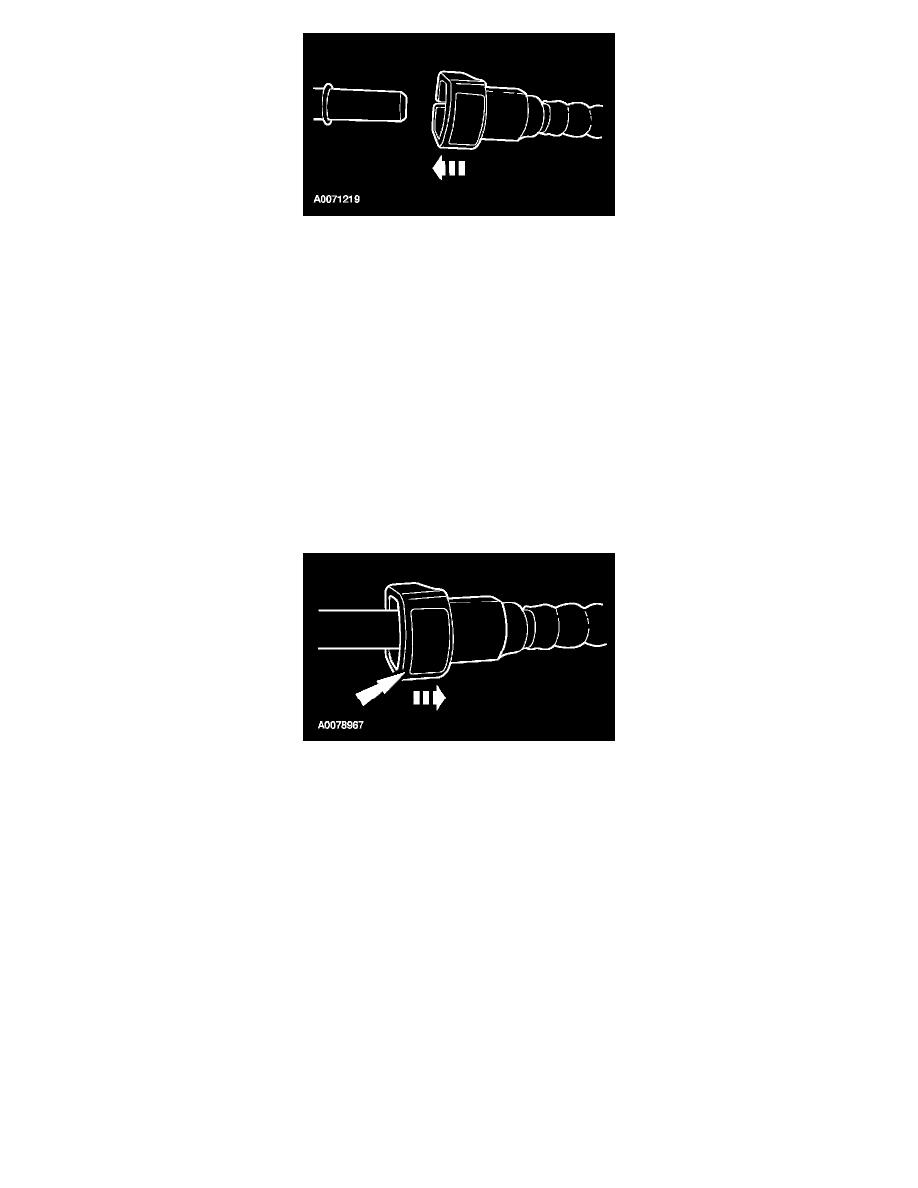
Disconnect the fuel tube quick release coupling.
-
Push the connector towards the tube to release pressure.
-
Press the fuel tube quick release coupling button and pull the fuel tube to disconnect.
INSTALLATION
1. To install, reverse the removal procedure.
2. Carry out a leak test. See: Testing and Inspection/Component Tests and General Diagnostics/Evaporative Emission System Leak Test
3. Carry out the evaporative emission repair verification drive cycle. See: Testing and Inspection/Component Tests and General
Diagnostics/Evaporative Emission Repair Verification Drive Cycle
Item 3: Vapor Tube Quick-Connect Fittings Installation Note
1. CAUTION: Make sure the fuel tube clicks into place when installing the tube. To make sure the tube is fully seated, pull on the tube.
NOTE: Apply clean engine oil to the end of the tube before inserting a tube into the connector.
Install the fuel tube quick-release coupling.
