
Monterey V6-4.2L VIN 2 (2004)
and hood latches.
The front impact severity sensor is located under the hood latch bracket.
The first row side impact sensors (if equipped) are located under the seat, beneath the carpet.
The second row side impact sensors (if equipped) are located at or near the base of the C-pillar.
To deplete the backup power supply energy, disconnect the battery ground cable and wait at least one minute. Be sure to disconnect auxiliary
batteries and power supplies (if equipped).
Disconnect the battery ground cable and wait at least one minute.
6. WARNING: To reduce the risk of serious personal injury, read and follow all warnings, cautions, notes, and instructions in the
supplemental restraint system (SRS) deactivation/reactivation procedure. Refer to Air Bag(s) Arming and Disarming.
Reactivate the supplemental restraint system (SRS). Refer to Air Bag(s) Arming and Disarming.
7. Connect the battery ground cable.
8. WARNING: The restraint system diagnostic tool is for restraint system service only. Remove from the vehicle prior to road use. Failure
to remove could result in injury and possible violation of vehicle safety standards.
With all the restraint system diagnostic tools removed, prove out the supplemental restraint system (SRS). See: Air Bag(s) Arming and
Disarming/Service and Repair/Prove Out Procedure
9. Check the active restraint system for correct operation.
Item 15: Safety Belt Buckle Pretensioner Assembly Installation Note
1. The anti-rotation tab must be correctly aligned for correct installation.
-
After installing the safety belt buckle pretensioner assembly, reconnect the safety belt buckle switch connector.
Item 13: Seat Side Trim Panel Installation Note
1. CAUTION: It is necessary to rezero the OCS system when a front passenger seat cushion is disassembled, a new trim cover installed, a
seat side shield removed, or an OCS service kit is installed. A scan tool is used to trigger the active command to carry out rezeroing of the
OCS system.
After completing the installation of the passenger seat side trim panel and seat, the OCS system must be rezeroed to ensure system integrity.
Item 11: Seat Assembly Installation Note
1. Install the seat. When installing the seat, make sure the wiring harness is routed correctly and is not in a position to be pinched.
Item 8: Upper B-pillar Trim Panel Installation Note
1. Make sure when installing the upper B-pillar trim panel, the weatherstrip around the door openings is in the correct position.
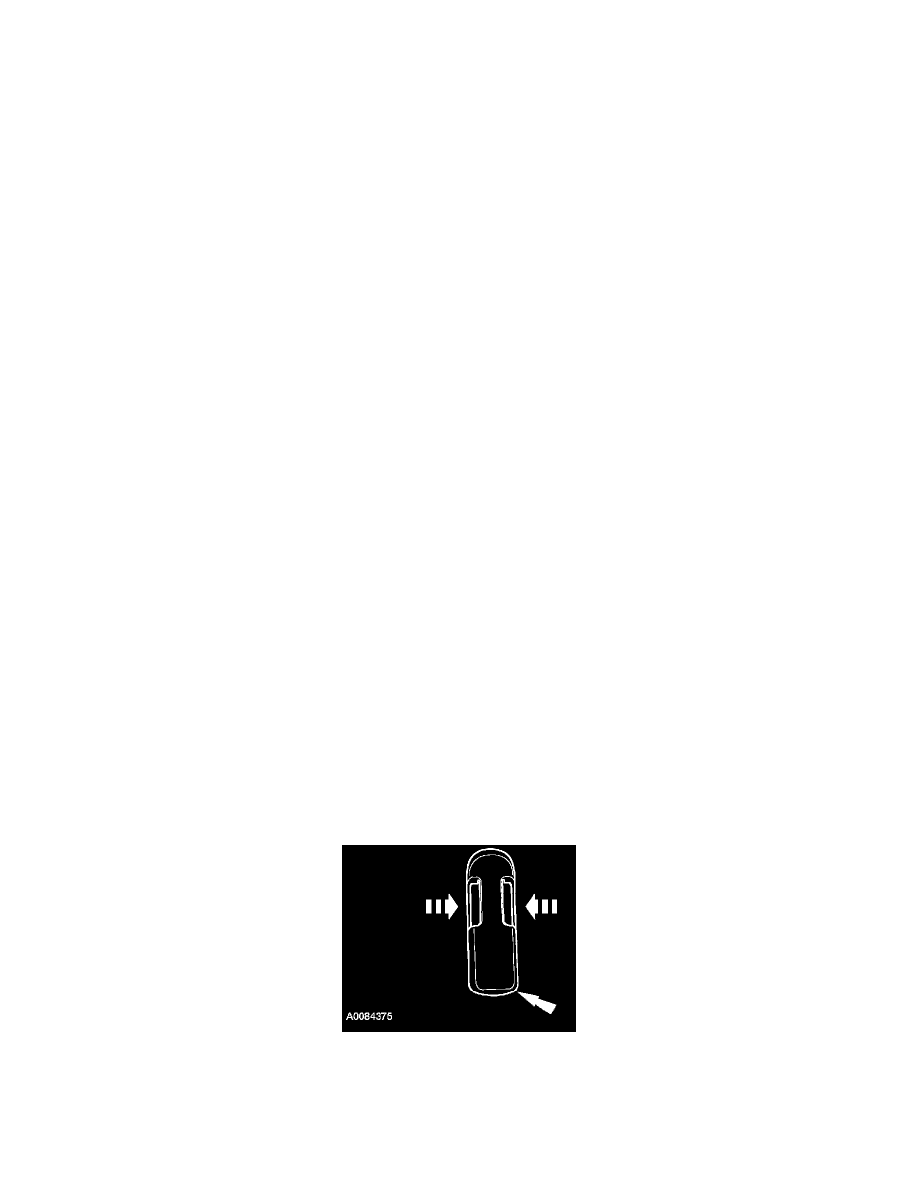
Item 4: Height Adjuster Button Cover Installation Note
1. To install the height adjuster button cover, squeeze the buttons and place the bottom of the cover in first.
Item 3: Lower B-Pillar Trim Panel Installation Note
1. Make sure when installing the lower B-pillar trim panel, the weatherstrip around the door openings is in the correct position.
Bench Seat