Monterey V6-4.2L VIN 2 (2004)

1. The anti-rotation tab must be correctly aligned for correct installation.
Item 8: Seat Side Trim Panel and Recliner Lever Installation Note
1. Install the seat side trim panel, two screws and recliner lever.
Item 1: D-ring and Height Adjuster Button Cover Installation Note
1. To install the height adjuster button cover, squeeze the button and place the bottom of the cover in first.
Bucket Seat
REAR SAFETY BELT - BUCKET SEAT, SECOND ROW
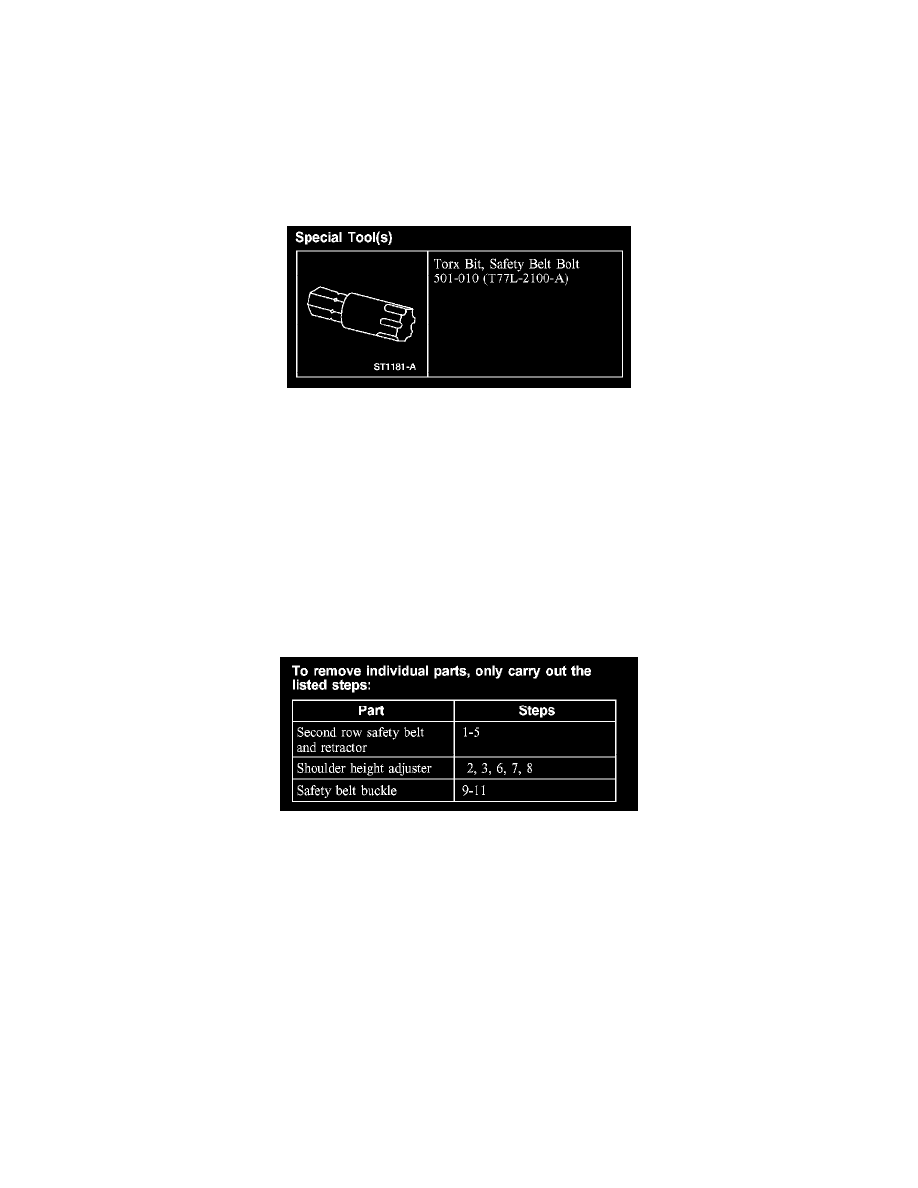
Torx Bit, Safety Belt Bolt
SPECIAL TOOL(S)
REMOVAL
WARNING: All safety belt assemblies including retractors, buckles, front seat belt buckle support assemblies (slide bar), shoulder belt height
adjusters (if so equipped) child safety seat tether attachments and attaching hardware should be inspected after any collision. All belt
assemblies should be installed new unless a qualified technician finds the assemblies show no damage and operate properly. Belt assemblies not
in use during a collision should also be inspected and installed new if either damage or improper operation is noted.
NOTE: Lower rear quarter trim removed for clarity. Right side shown, left side similar.
1. To access the second row outboard safety belt retractor, remove the quarter trim panel.
