
Mountaineer V8-302 5.0L VIN P EFI (1998)
Brake Bleeding: Service and Repair
4 Wheel Anti-Lock Brakes (4WABS)
NOTE: This procedure only needs to be performed if the 4-wheel anti-lock brake (4WABS) hydraulic control unit (HCU) has been replaced.
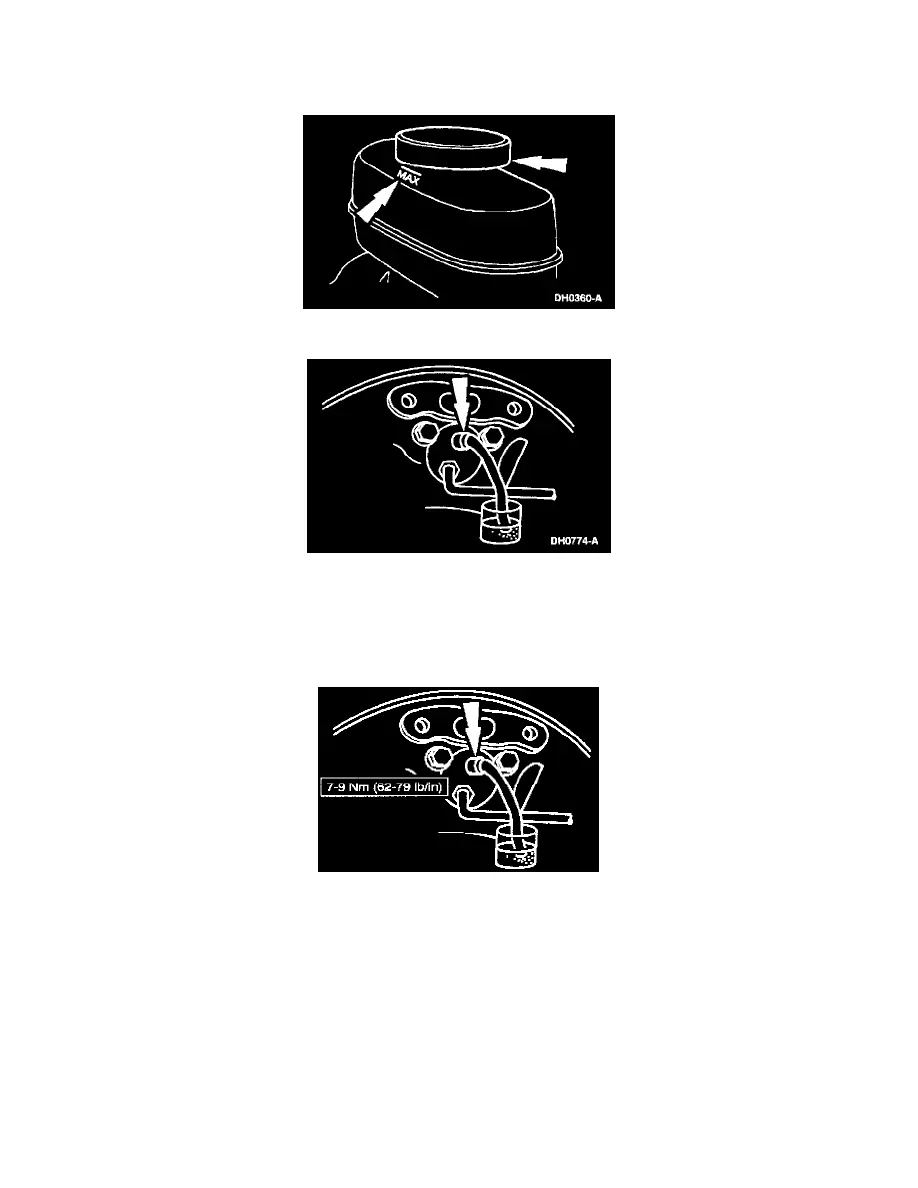
1. Clean all dirt from and remove the brake master cylinder filler cap, and fill the brake master cylinder reservoir with the specified brake fluid.
2. Connect a clear drain tube to the RH rear bleeder screw and the other end in a container partially filled with recommended brake fluid.
3. Have an assistant pump the brake pedal and then hold firm pressure on the brake pedal.
4. Loosen the RH rear bleeder screw until a stream of brake fluid comes out. While the assistant maintains pressure on the brake pedal, tighten the
bleeder screw.
-
Repeat until clear, bubble-free fluid comes out.
-
Refill the brake master cylinder reservoir as necessary.
5. Tighten the bleeder screw.
6. Repeat Steps 2-5 for the LH rear bleeder screw, the RH front bleeder screw and the LH front bleeder screw, in that order.
7. Connect the NGS DCL cable adapter into the vehicle Data Link Connector (DLC) under the dash, and follow the NGS instructions for bleeding.
8. Repeat the conventional bleed procedure as outlined in Steps 2-6.