
Mountaineer V8-302 5.0L VIN P EFI (1998)
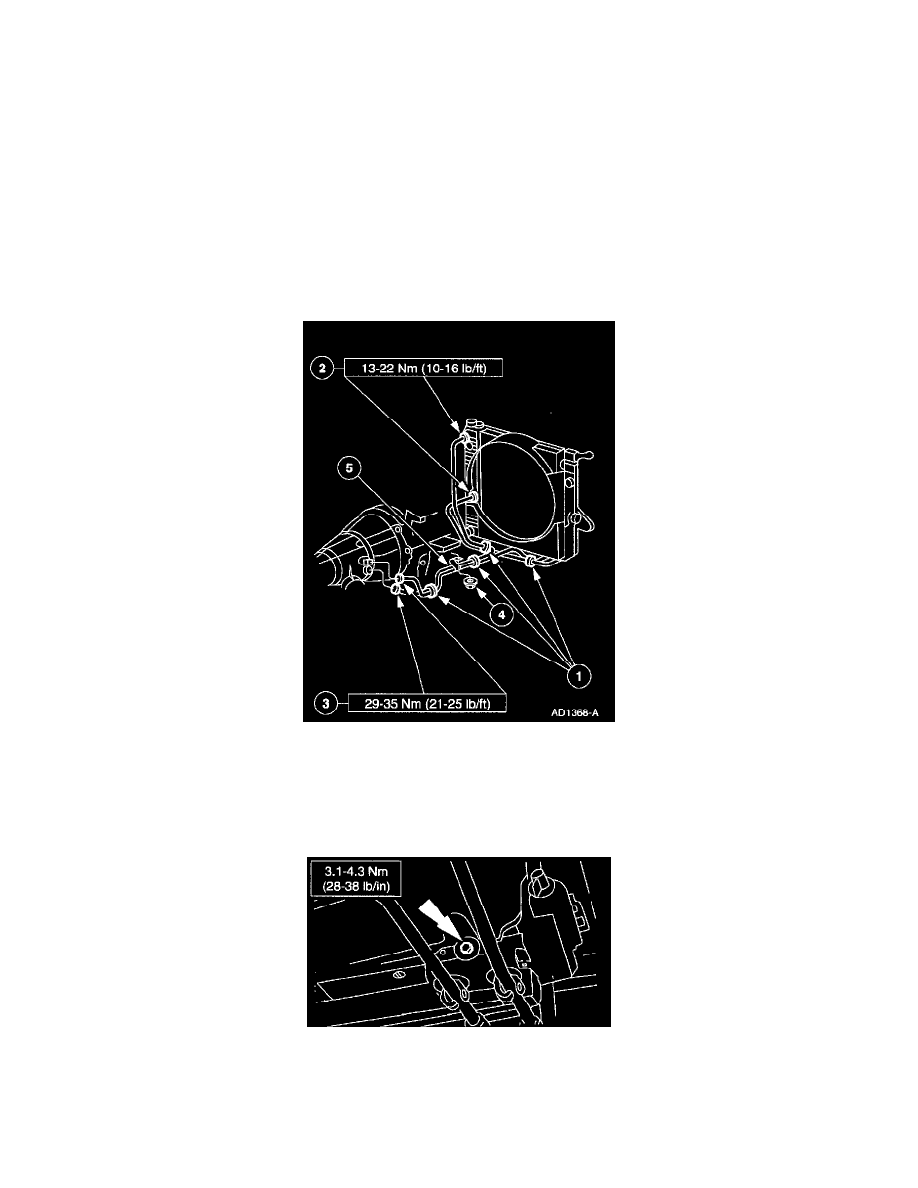
1
Remove the clips.
2
Disconnect the fittings.
3
Remove the nut.
4
Remove the transmission fluid cooler tubes.
INSTALLATION
1. NOTE: When a transmission fluid cooler tube is replaced, each replacement tube must be fabricated from the same size tube as the original.
Shape a new transmission fluid cooler tube.
-
Use the prior tube as a guide.
-
Install the appropriate fittings.
CAUTION:
-
To prevent damage, make sure all plugs are removed from port openings before installing tubes.
-
To prevent cross threading, all tube nuts must be hand started before being torqued to specification.
2. Install the transmission fluid cooler tubes.
1
Install the clips.
2
Connect the tube fittings to the radiator.
3
Connect the tube fitting to the transmission.
4
Install the tube bracket nut.
5
Install the transmission fluid cooler tubes.
3. Install the transmission cooler line bracket and nut and bolt.