
Mountaineer V8-302 5.0L VIN P EFI (1998)
Selector Shaft: Service and Repair
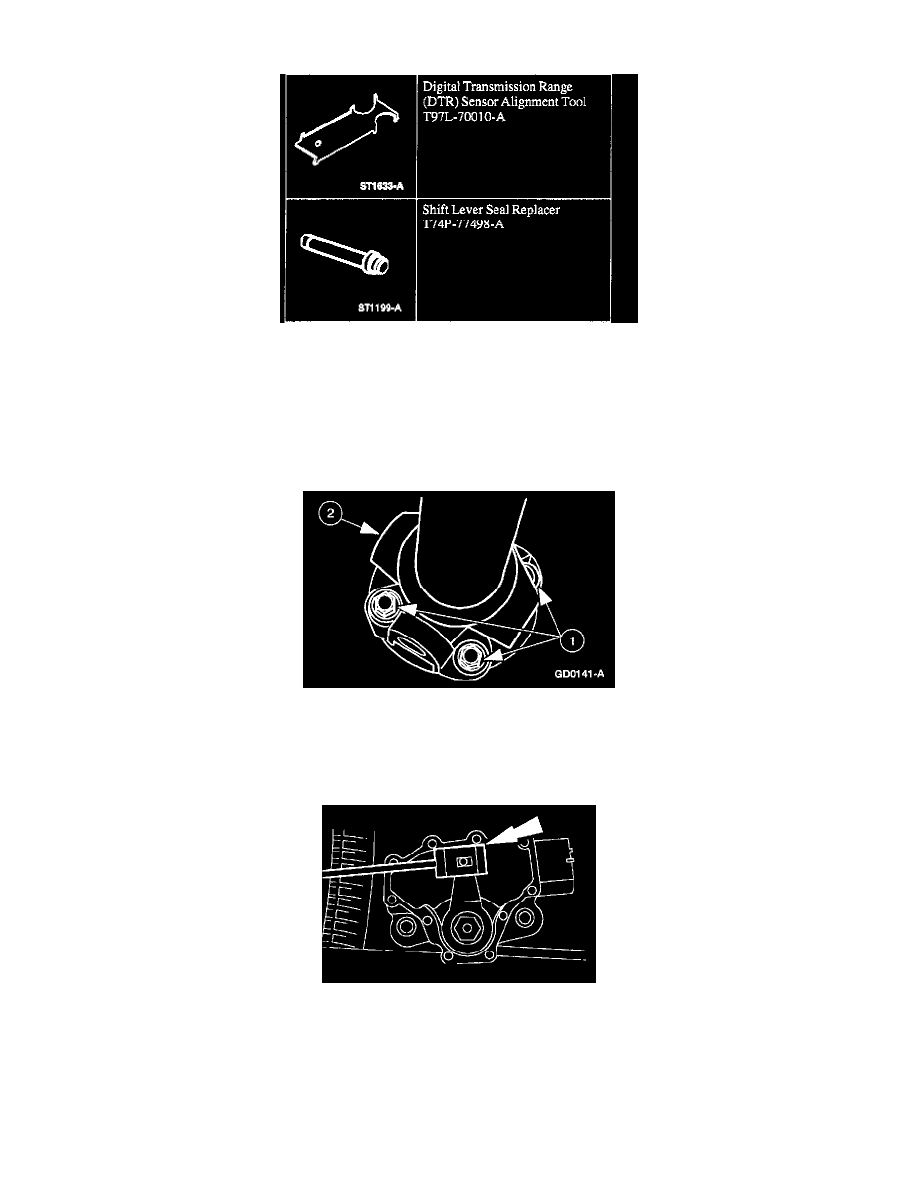
Special Tools
REMOVAL
1. If equipped, turn the air suspension switch off.
2. Disconnect battery ground cable.
3. Raise and support the vehicle.
4. NOTE: Mark the driveshaft flange and rear axle companion flange for correct alignment during installation.
On 4x4 vehicles, remove the front driveshaft.
1
Remove the eight front driveshaft bolts (four each end).
2
Remove the front driveshaft.
5. Drain the transmission fluid and remove the fluid pan and filter.
6. Disconnect digital Transmission Range (TR) sensor electrical connector.
7. Disconnect the transmission shift linkage.
8. CAUTION: Discard outer manual control lever shaft nut. Do not reuse. The old nut will not retain torque specification.