
Mountaineer 2WD V6-245 4.0L VIN X SFI (2000)
1. Note: Tighten the front suspension lower arm pivot bolts and nuts until snug. Do not tighten to specification until the installation procedure is
complete.
Note: Inspect the front suspension lower arm ball joints and boot seals for damage.
Install the front suspension lower arm.
1
Position the front suspension lower arm to the front suspension crossmember.
2
Install the pivot bolts and nuts and tighten until snug.
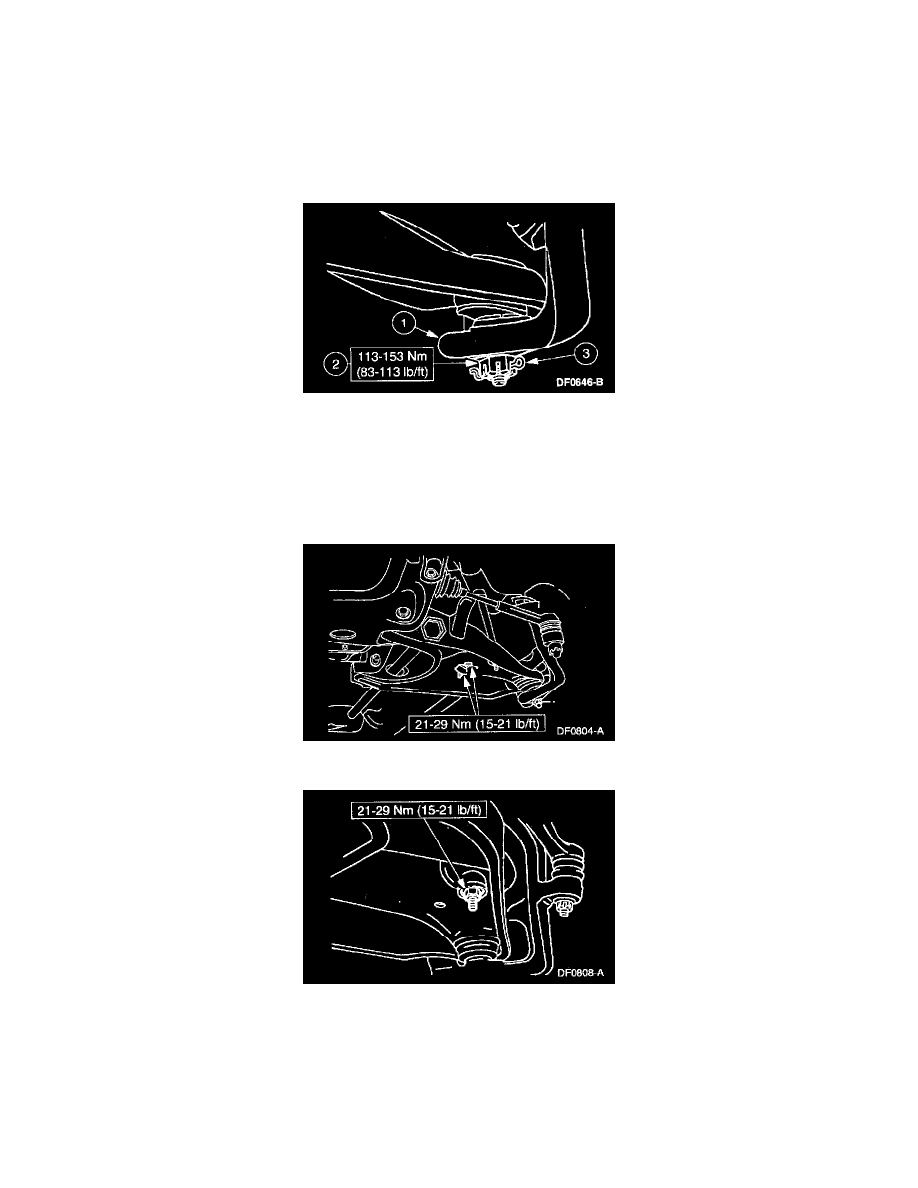
2. CAUTION: Install the cotter pin into the lower ball joint from outboard to inboard with the fingers bent together at a right angle. Failure to do so
will cause damage to the wheel and tire assembly.
Connect the front suspension lower arm to the front wheel knuckle/spindle.
1
Position the lower ball joint into the front wheel knuckle/spindle.
2
Install the new castellated nut.
3
Install a new cotter pin.
3. Install the front shock absorber-to-front suspension lower arm nuts.
4. Install the stabilizer link bushing, washer, and nut.
5. Note: Whenever the torsion bar or torsion bar adjuster is removed, the vehicle ride height must be checked.
Install the torsion bar.
6. Install the tire and wheel assembly.
7. Note: If equipped with air suspension, reactivate the system by turning on the air suspension switch.