
Mountaineer 2WD V6-4.0L VIN K (2007)
Parking Brake Control (Part 2)
Removal and Installation
1. Remove the screw and the hood latch release handle.
2. Remove the pin-type retainer and the LH A-pillar lower trim panel.
3. Remove the hood latch release cable assembly screw and position the release cable assembly aside.
4. Release the tension on the parking brake cable.
5. Remove the 2 screws and the instrument panel steering column cover.
6. Remove the 2 parking brake release handle bolts from the bracket.
^
To install, tighten to 3 Nm (27 inch lbs.).
7. Disconnect the parking brake switch electrical connector.
8. Remove the wiring harness bracket screw and position the harness and bracket aside.
9. Remove the 3 bolts from the parking brake control.
^
To install, tighten to 20 Nm (15 ft. lbs.).
10. Position the carpet aside and position the cable conduit grommet up through the floor.
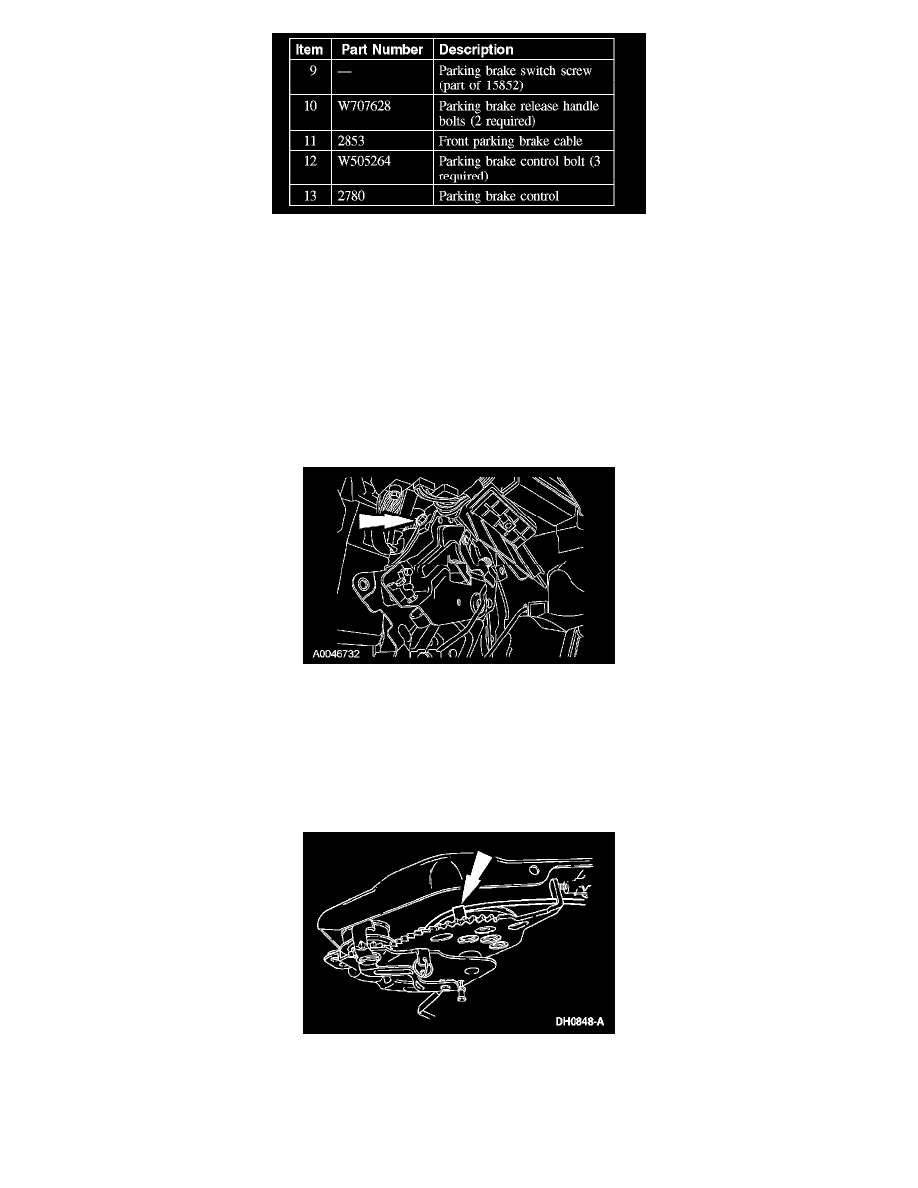
11. NOTE: The parking brake control take-up spool tab may need to be bent aside to allow the cable to be removed.
Disconnect the front parking brake cable and conduit from the parking brake control.
12. Remove the parking brake control from the vehicle.
13. To install, reverse the removal procedure.
^
Test the parking brake system for correct operation.