
Mountaineer 2WD V6-4.0L VIN K (2007)
17. Remove the bolts and the lower fan shroud.
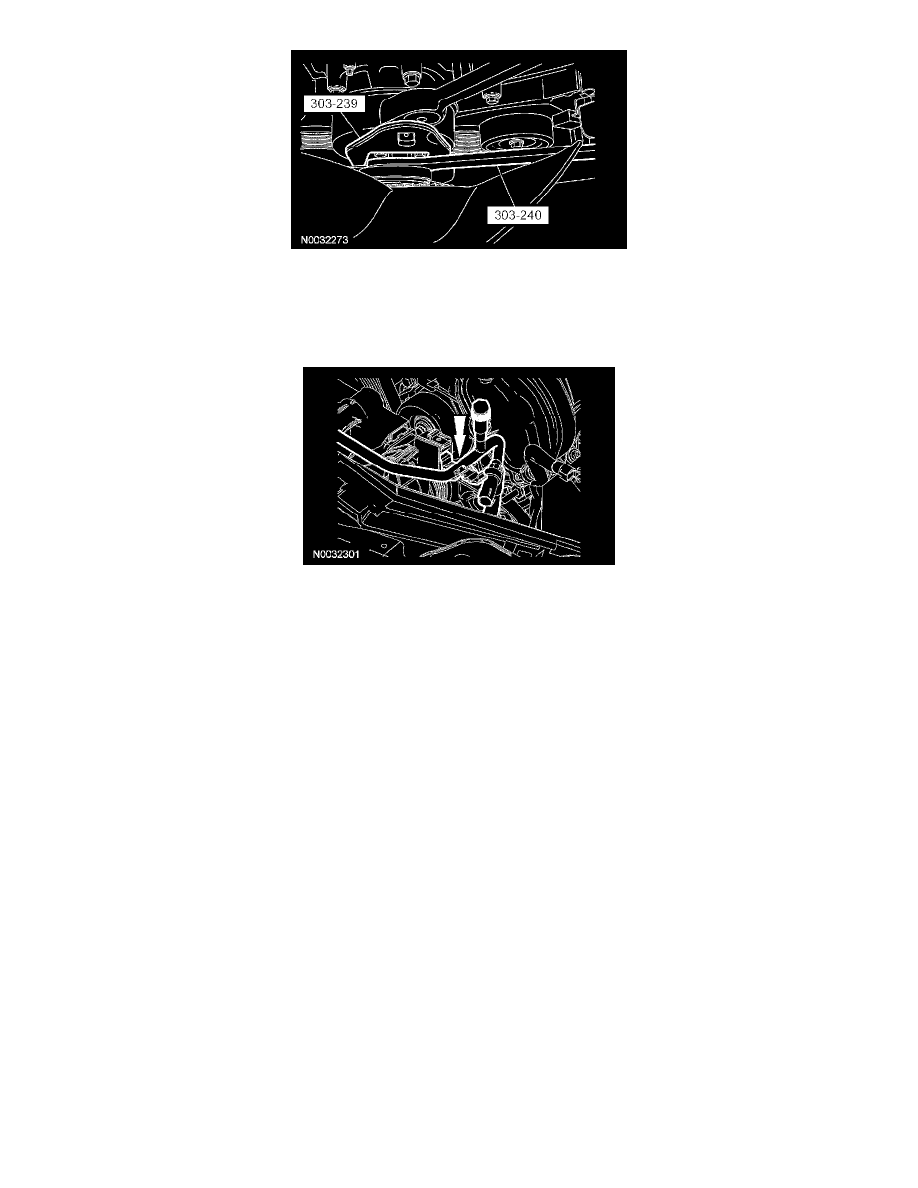
18. NOTE: 4.6L (3V) engine shown, 4.0L SOHC similar.
Detach the A/C tube from the retainer.
19. Remove the radiator support bracket-to-radiator support bolts.
^
To install, tighten to 15 Nm (11 ft. lbs.).
20. Remove the radiator top seal.
21. NOTE: Do not remove the A/C condenser seals.
Deflect the A/C condenser seals and remove the A/C condenser-to-radiator support bracket bolts.
^
Position the A/C condenser aside.
^
To install, tighten to 12 Nm (9 ft. lbs.).
22. Remove the radiator and the radiator support brackets as an assembly.
23. Remove the bolts and separate the radiator support brackets and the radiator.
^
To install, tighten to 12 Nm (9 ft. lbs.).
24. To install, reverse the removal procedure.