
Mountaineer 2WD V6-4.0L VIN K (2007)
CAUTION: If not secured within 4 minutes, the sealant must be removed and the sealing area cleaned. To clean the sealing area, use
silicone gasket remover and metal surface prep. Follow the directions on the packaging. Failure to follow this procedure can cause future
oil leakage.
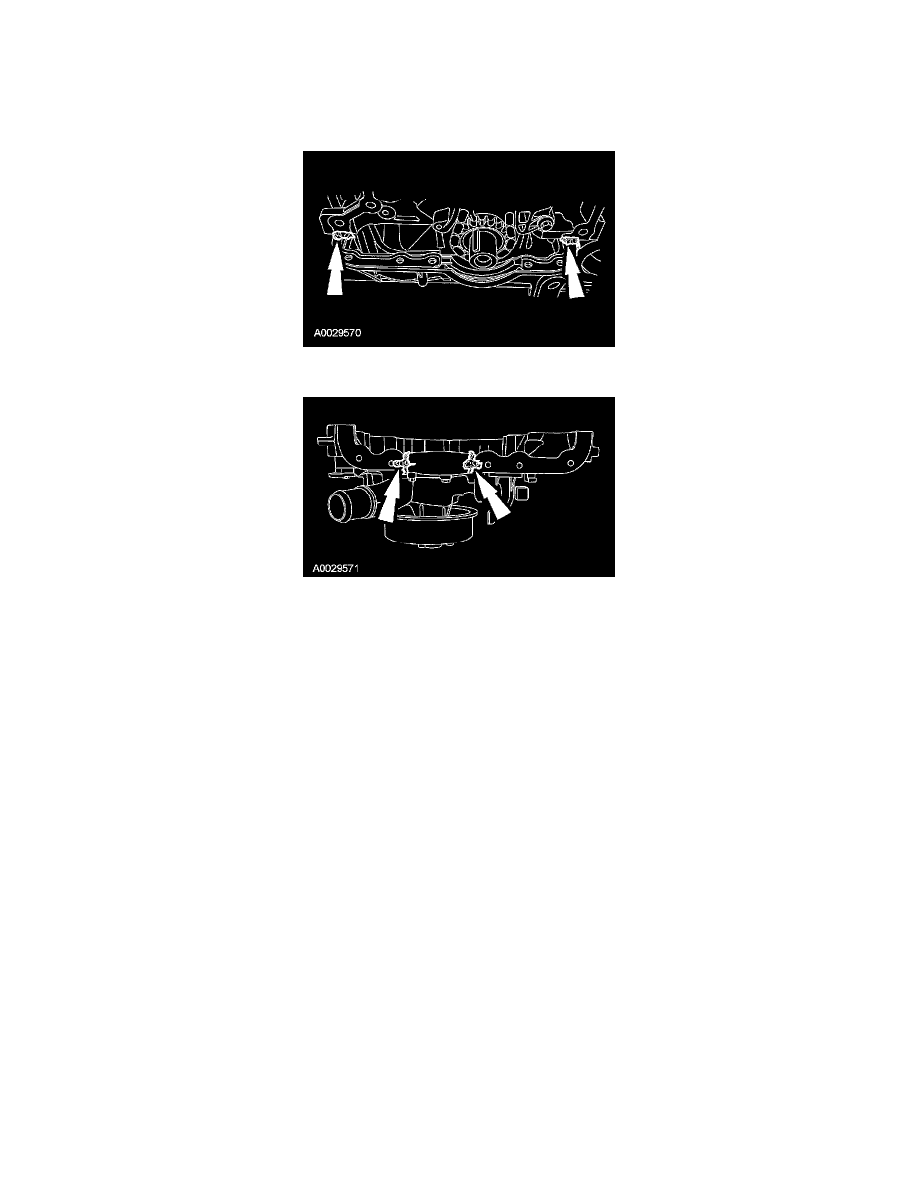
3. Apply silicone gasket and sealant to the oil pan and engine block mating surfaces.
4. Apply silicone gasket and sealant to the front cover in 2 places.
5. NOTE: Make sure the stud bolts are installed in their original positions.
Position the engine front cover and install the 10 bolts.
^
Tighten to 19 Nm (14 ft. lbs.).
6. NOTE: Make sure the coolant bypass hose is attached to the coolant pump.
Position the thermostat housing and install the 3 bolts.
^
Tighten to 11 Nm (8 ft. lbs.).
7. Position the bypass hose clamp.
8. Connect the upper radiator hose to the thermostat housing.
9. Connect the heater hose to the thermostat housing.
10. Connect the ECT sensor electrical connector.
11. Install new wiring harness retainers and position the CKP sensor wiring.
12. Connect the CKP sensor electrical connector.
13. Position the LH accessory drive bracket and install the 4 bolts.
^
Tighten to 42 Nm (31 ft. lbs.).
14. Install the ignition coil bracket-to-LH accessory drive bracket bolt.
^
Tighten to 10 Nm (89 inch lbs.).
15. Position the generator bracket and install the 3 bolts.
^
Tighten to 42 Nm (31 ft. lbs.).
16. Connect the generator electrical connectors and the wiring harness retainer.
^
Tighten to 9 Nm (80 inch lbs.).
17. Connect the heater hose to the coolant pump.
18. Position the accessory drive belt tensioner and install the bolt.
^
Tighten to 47 Nm (35 ft. lbs.).