
Mountaineer 2WD V6-4.0L VIN K (2007)
All Vehicles (Part 2)
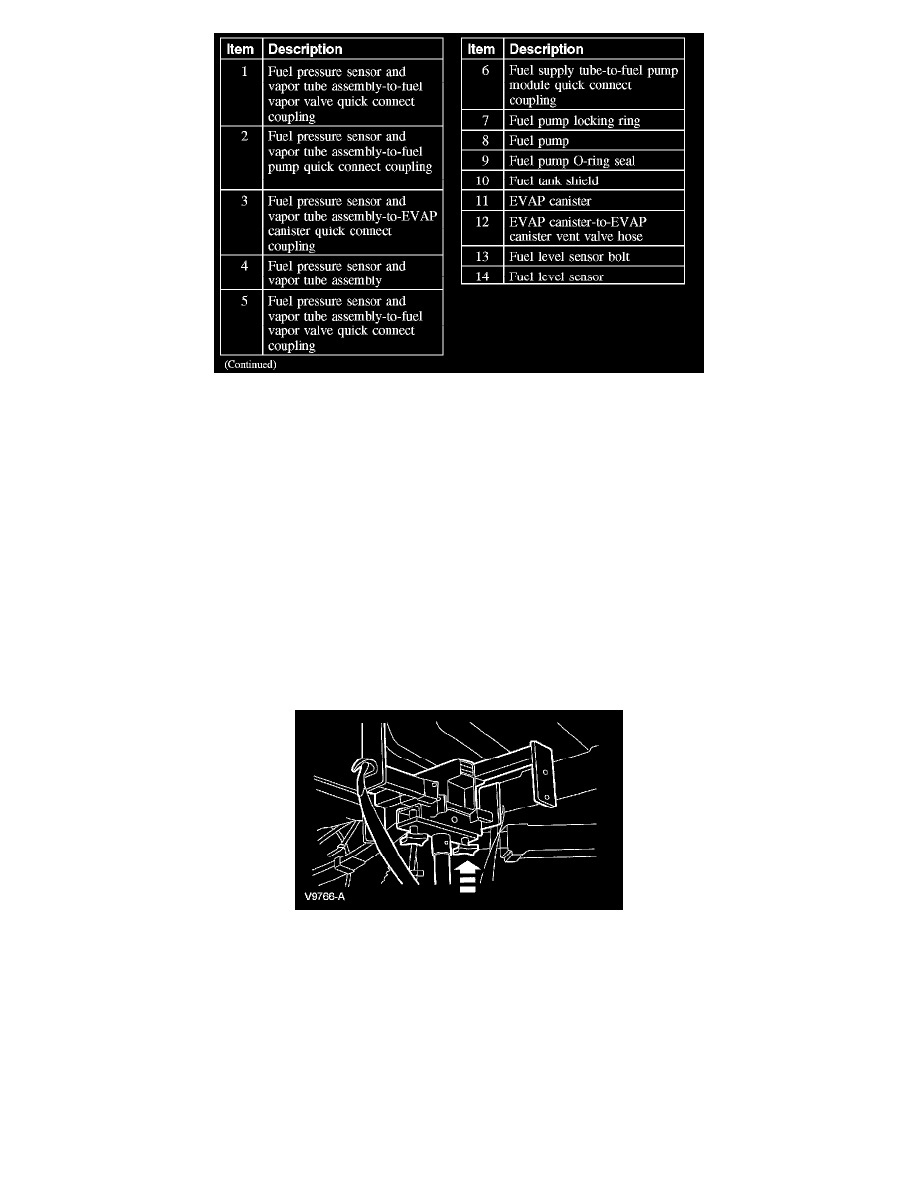
Exploded View
Removal and Installation
WARNING: Do not smoke or carry lighted tobacco or open flame of any type when working on any fuel-related component. Highly flammable
mixtures are always present and may be ignited. Failure to follow these instructions may result in personal injury.
All vehicles
1. With the vehicle in NEUTRAL, position it on a hoist.
2. If equipped, remove the 4 bolts, the nut and the fuel tank skid plate.
-
To install, tighten to 40 Nm (30 lb-ft).
Explorer/Mountaineer
3. Remove the driveshaft.
All vehicles
4. Using a suitable jack, support the fuel tank.
5. Remove the bolt and the fuel tank rear support strap.
-
To install, tighten to 48 Nm (35 lb-ft).
6. Remove the nut and the fuel tank front support strap.
-
To install, tighten to 48 Nm (35 lb-ft).
7. To install, reverse the removal procedure.