
Mountaineer 2WD V6-4.0L VIN K (2007)
^
To install, tighten to 350 Nm (258 ft. lbs.) at curb height.
8. Remove and discard the lower arm forward nut and bolt.
^
To install, tighten to 400 Nm (296 ft. lbs.) at curb height.
9. Remove the lower arm rearward nut and bolt and the lower control arm.
^
Discard the nut and bolt.
^
To install, tighten to 200 Nm (148 ft. lbs.) at curb height.
10. CAUTION: Before tightening any suspension bushing fasteners, use a suitable jack to raise the suspension until the distance between the
center of the hub and the lip of the fender is equal to the measurement taken in Step 1 (curb height).
To install, reverse the removal procedure.
^
Check and, if necessary, align the front end.
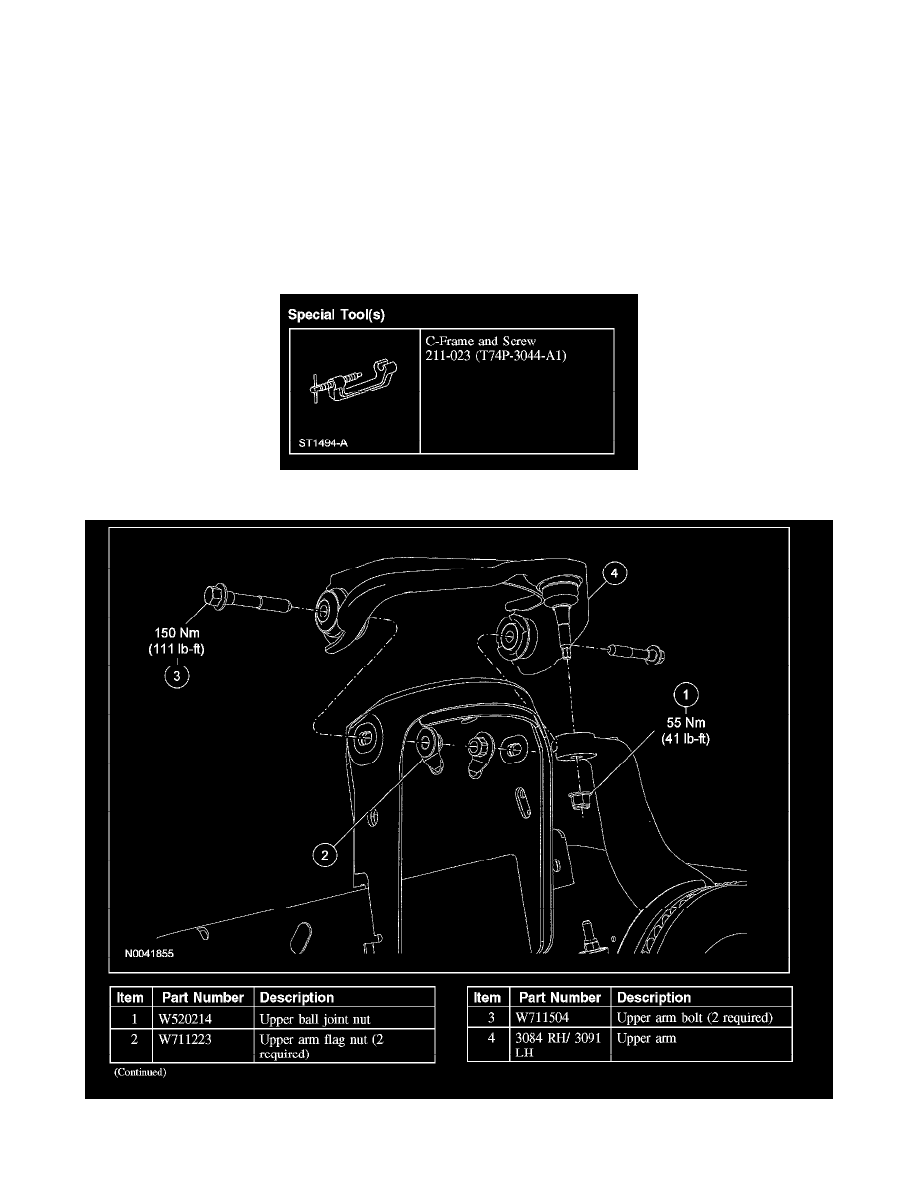
Upper Arm
Upper Arm
Special Tool(s)
Removal and Installation