
Mountaineer 2WD V6-4.0L VIN K (2007)
2. Remove the check balls.
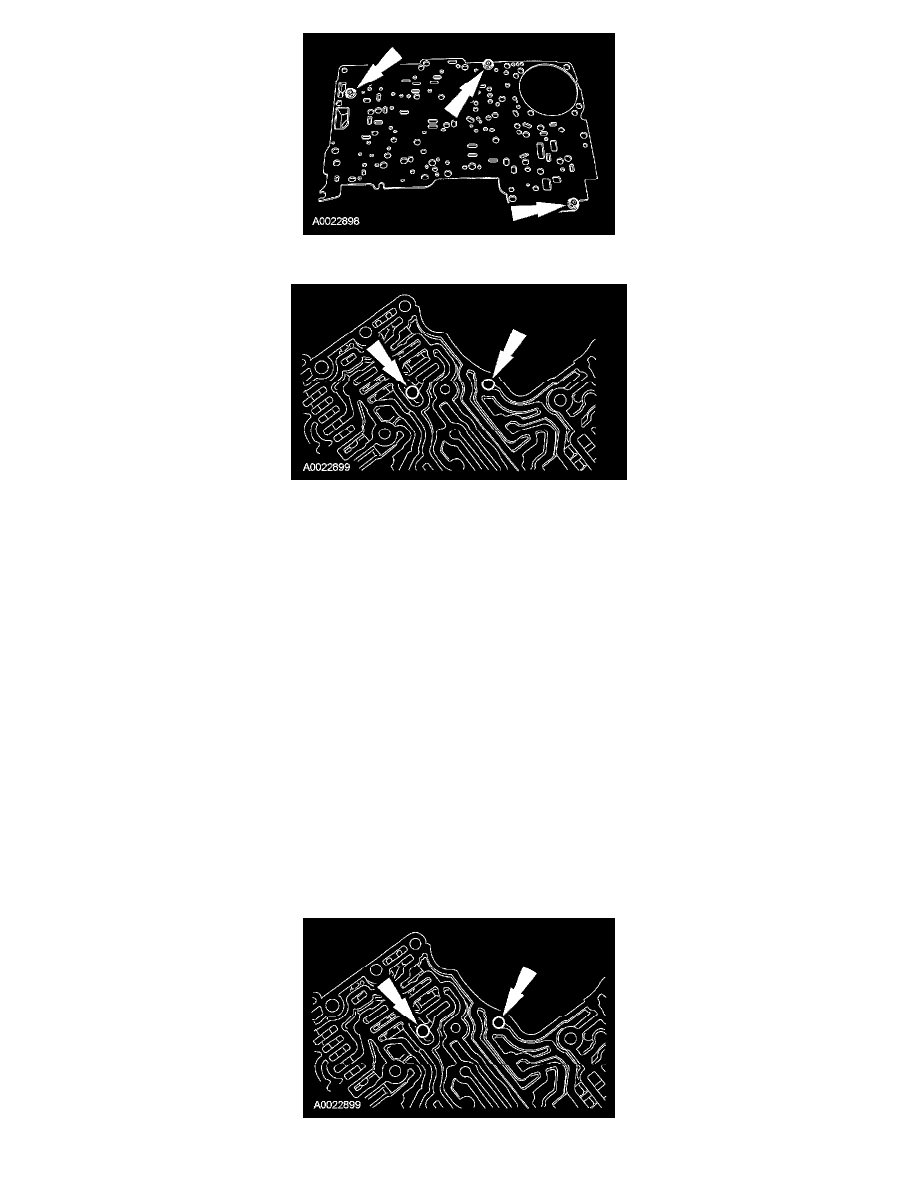
3. NOTE: Refer to the disassembled view.
Disassemble the main control valve body only if cleaning is required.
Assembly
1. CAUTION: Do not lose parts when cleaning or repairing.
Thoroughly clean all parts in solvent and blow dry with moisture-free compressed air.
2. CAUTION: Do not stone, file or sand the valves. This will remove the anodized finish and may result in further main control or
transmission damage.
After cleaning the main control valve body:
^
Inspect all valve and plug bores for scoring or burrs
^
Check all fluid passages for obstructions
^
Inspect all valves and plugs for burrs
^
Inspect all mating surfaces for burrs or distortion
^
Inspect all springs for distortion
^
Check all valves and plugs for free movement in their respective bores
-
Valves and plugs, when dry, must fall from their own weight into their respective bores
^
Roll the manual valve on a flat surface to check for a bent condition
3. Assemble the main control valve body.
4. Install the main control valve body check balls.