
Mountaineer 2WD V6-4.0L VIN K Flex Fuel (2002)
14. Remove the snap ring from the ball joint. Discard the snap rind.
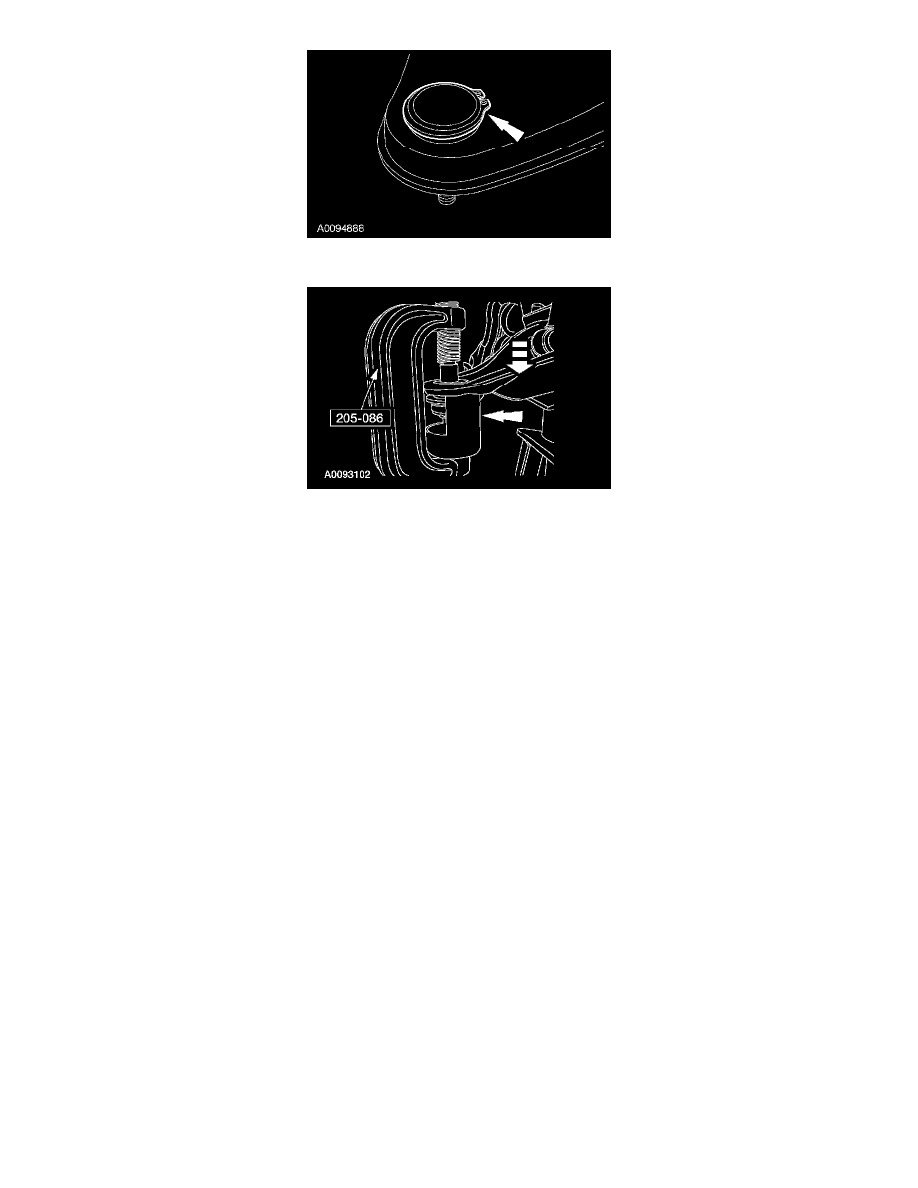
15. Using a suitable ball joint remover tool, remove the ball joint.
16. CAUTION: Do not damage the ball joint boot when installing the special tool.
NOTE: Clean and inspect the control arm ball joint bore for damage before installing a new ball joint.
NOTE: Make sure the new ball joint snap ring is fully seated.
To install, reverse the removal procedure.
Always install new castellated nuts and cotter pins.