
Mountaineer 2WD V8-4.6L (2010)
2. Remove the second row seat. For additional information, refer to Seats.
All vehicles
3. Remove the C-pillar lower safety belt anchor bolt.
-
To install, tighten to 40 Nm (30 lb-ft).
4. Position the door opening weatherstrip aside.
5. Remove the C-pillar trim panel.
6. To install, reverse the removal procedure.
-
Be sure the hole on the back of the C-pillar upper trim panel is seated over the upper safety belt anchor bolt.
Cab Rear Trim Panel
Cab Rear Trim Panel
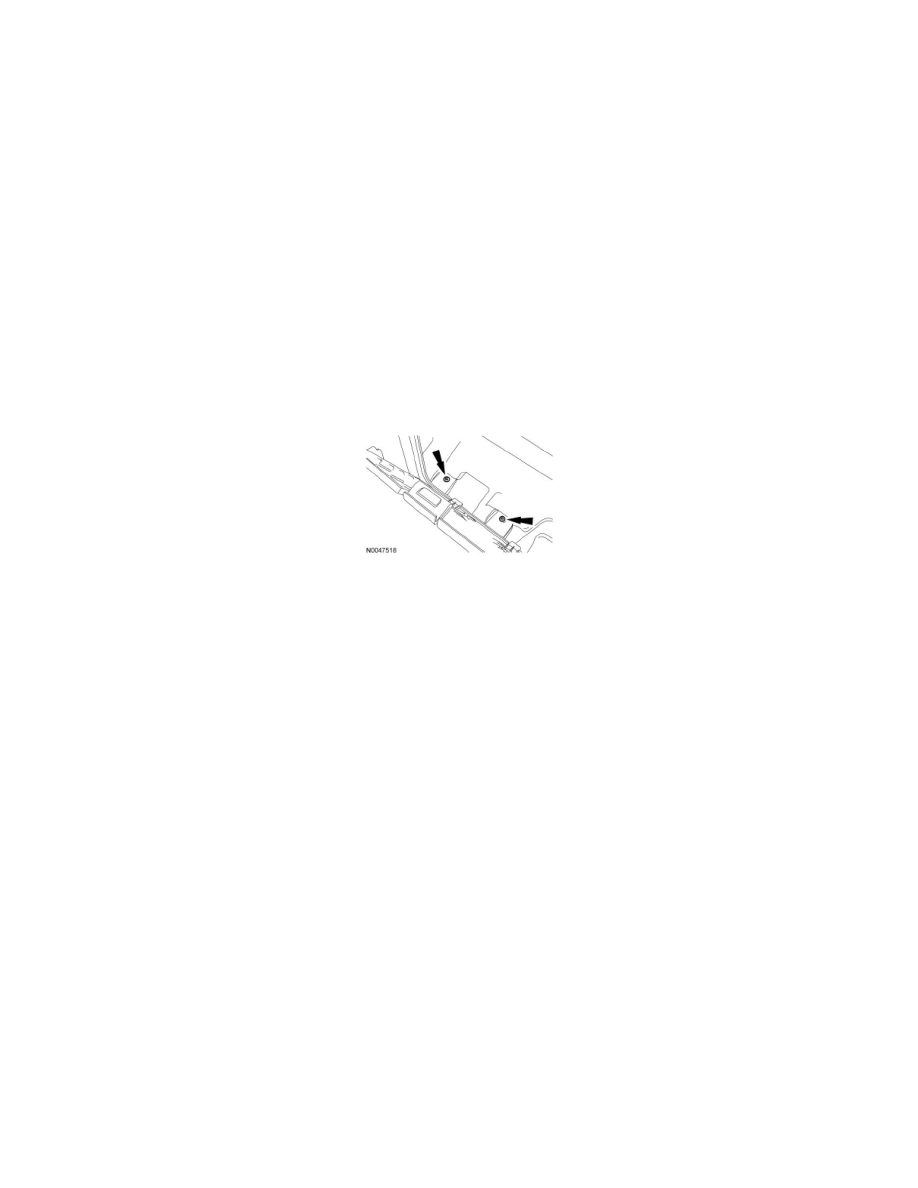
1. Position the second row seat back forward.
2. Remove the 2 screws from the storage compartment.
3. NOTE: When removing the cab rear trim panel, start in the upper left corner, moving clockwise and remove the panel from the retaining clips.
Remove the rear trim panel.
4. To install, reverse the removal procedures.
Cowl Side Trim Panel
Cowl Side Trim Panel
Removal and Installation
All vehicles
1. Remove the front door scuff plate.
Passenger side
2. Remove the cowl trim panel.
Driver side
3. Remove the hood release lever.
1. Remove the screw.
2. Remove the hood release lever.