
Mountaineer 2WD V8-4.6L SOHC VIN W (2003)
Part 2
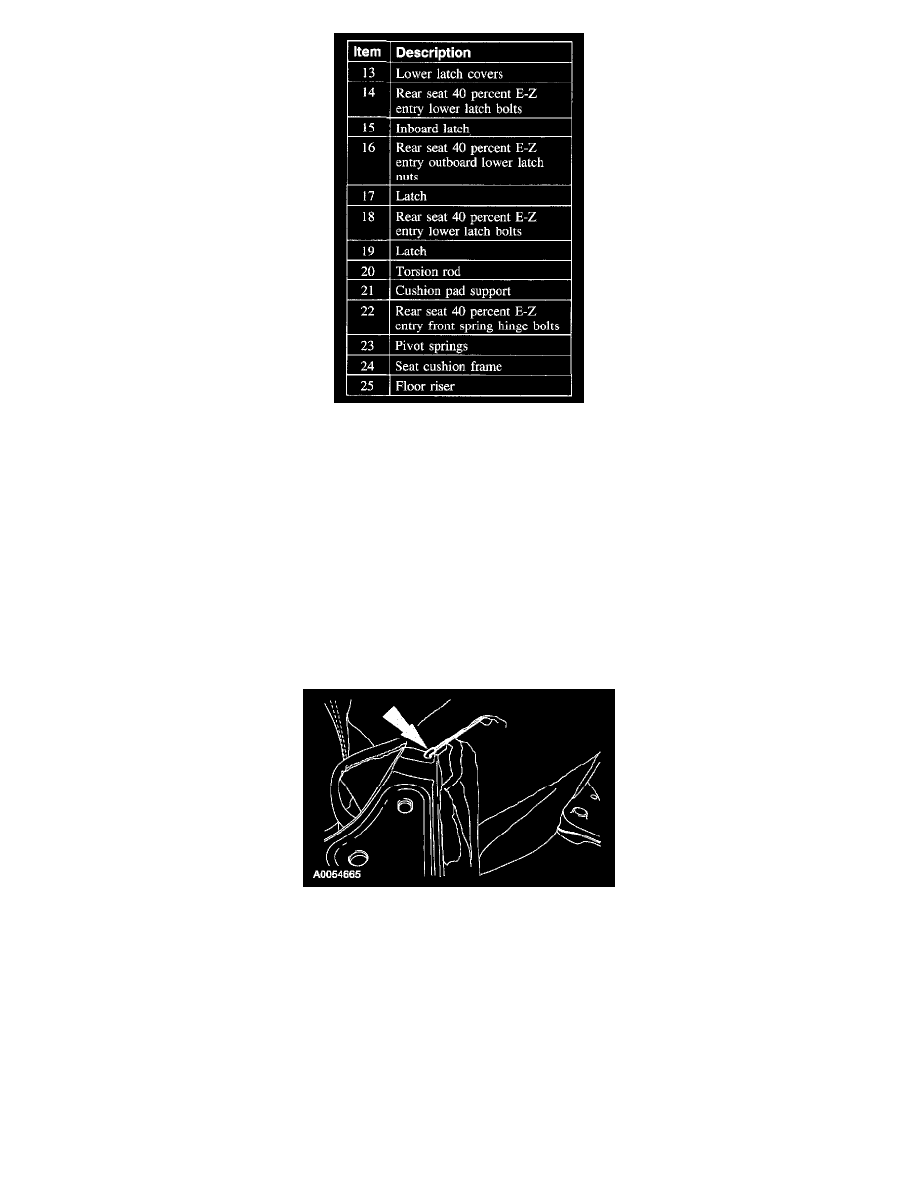
2. Disassemble the components in the order listed in the illustration and table. To remove individual components, carry out only the steps.
Item 1: Rear Seat 40 Percent E-Z Entry Upper Latch Bolts Disassembly Note
1. Release all of the seat backrest J-clips. Slightly raise the backrest trim cover.
2. Remove all of the staples in the backrest trim cover.
3. Pull the seat backrest material up and remove the four backrest bolts. Remove the backrest assembly.
Item 9: Cushion Trim Cover Disassembly Note
1. CAUTION: Use care when separating the seat upholstery from the hook and loop strip, or the hook and loop strip can be torn from the
seat cushion foam pad.
Separate the hook and loop fasteners.
2. Release the cable from the seat riser and remove the cushion trim cover.
ASSEMBLY
1. To assemble, reverse the disassembly procedure.
60 Percent of 60/40 Bench, Second Row
REAR SEAT CUSHION - 60 PERCENT OF 60/40 BENCH, SECOND ROW
DISASSEMBLY
1. Remove the second row, 60 percent seat.