
Mountaineer 4WD V6-4.0L VIN E (1999)
4. NOTE: If a transmission has been disassembled to replace worn or damaged parts and the valves in the main control valve body stick repeatedly
from foreign material, the torque converter must be removed and cleaned by using a mechanically agitated cleaner, such as the Torque
Converter/Fluid Cooler Cleaner.
Remove the transmission fluid pan.
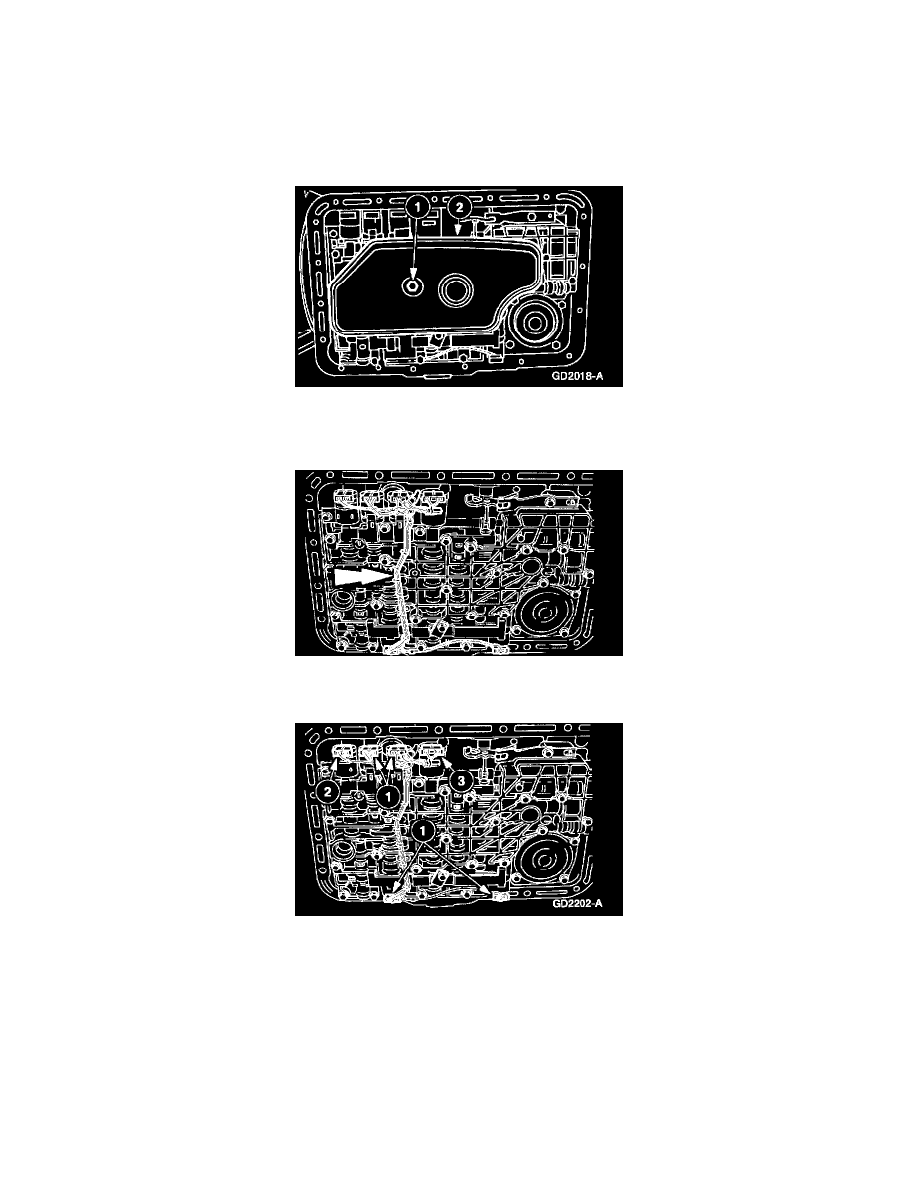
1
Remove the transmission fluid pan.
2
Remove and discard the transmission fluid pan gasket.
5. Remove and discard the transmission fluid filter.
1
Remove the transmission fluid filter screw.
2
Remove the transmission fluid filter.
6. Unclip main control valve body wire harness.
-
Lift up on wire harness guide and protector and disengage the retaining pins from the solenoid clamps.
7. Disconnect the six solenoid electrical connectors.
1
Disconnect the SSA, SSB, SSC and SSD electrical connectors.
2
Disconnect the Torque Converter Clutch (TCC) solenoid electrical connector.
3
Disconnect the Electronic Pressure Control (EPC) solenoid electrical connector.