
Mountaineer AWD V6-4.0L (2008)
3. Position the backrest assembly to the inboard and outboard recliners and hand start the 2 inboard and 2 outboard recliner-to-backrest frame bolts.
4. CAUTION: The recliner-to-backrest frame bolts must be tightened in sequence or recliner latches that do not lock in place or binding
may occur.
Install the recliner-to-backrest frame bolts in the following sequence.
1
Install the inboard recliner-to-backrest frame upper bolt.
-
Tighten to 55 Nm (41 lb-ft).
2. Install the inboard recliner-to-backrest frame lower bolt.
-
Tighten to 55 Nm (41 lb-ft).
3. Install the outboard recliner-to-backrest frame upper bolt.
-
Tighten to 55 Nm (41 lb-ft).
4. Install the outboard recliner-to-backrest frame lower bolt.
-
Tighten to 55 Nm (41 lb-ft).
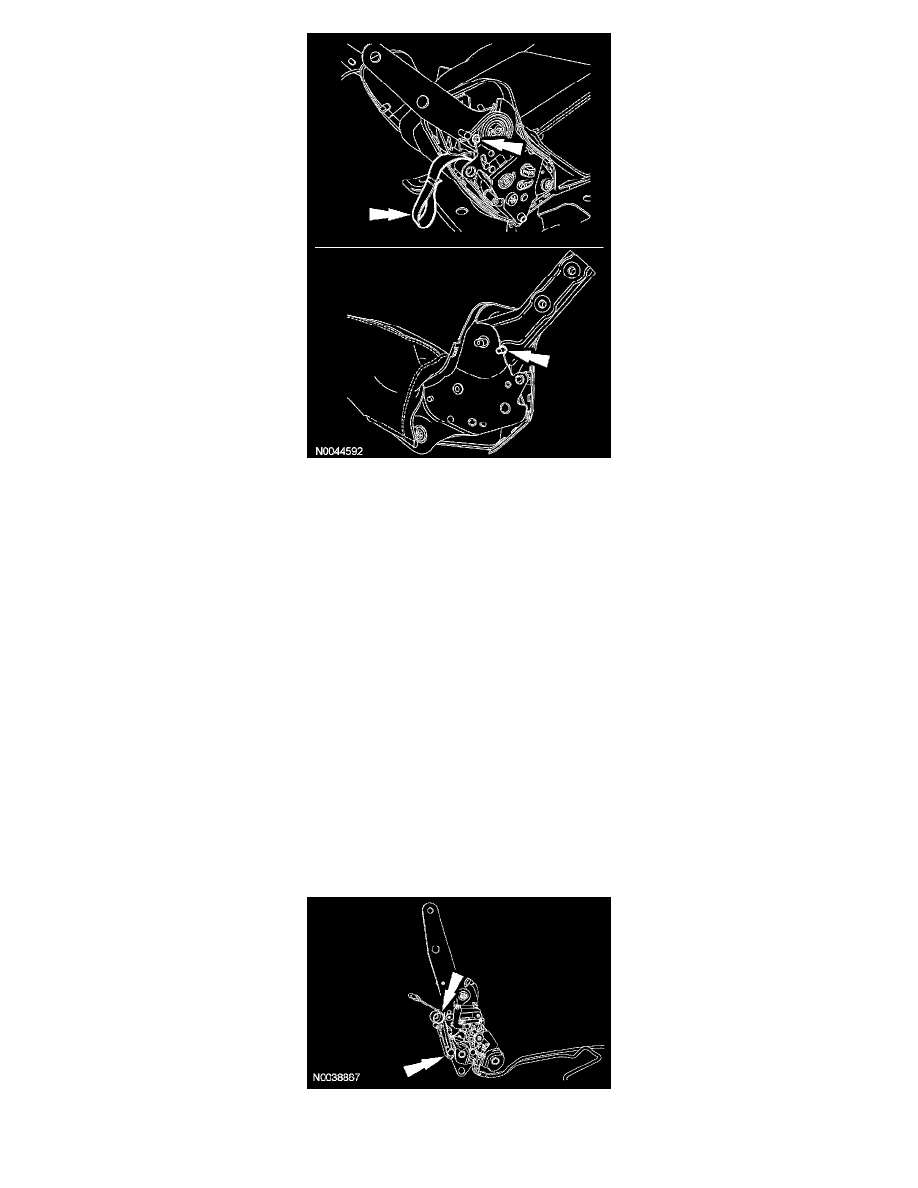
5. Position the kneeling mechanism release handle and cable back through the backrest frame and backrest trim cover openings.
-
Attach the kneeling mechanism release cable to the backrest frame.
6. Roll the backrest trim cover down, attach the hook-and-loop strips and connect the backrest trim cover lower J-clip.
7. Position the kneeling mechanism release handle to the backrest opening and push in, engaging the clips.
8. Route the outboard recliner release strap before installing the outboard recliner outer cover.
9. Position the outboard recliner outer cover, recliner handle and install the 3 screws.