
Mountaineer AWD V6-4.0L (2008)
All wheel drive (AWD) vehicles
13. Remove the bolts and the stabilizer bar brackets.
14. Remove the bolts and the crossmember.
All vehicles
15. Remove the RH engine support insulator nut.
16. Remove the LH engine support insulator through bolt.
17. Remove the 2 transmission-to-cylinder block cradle bolts.
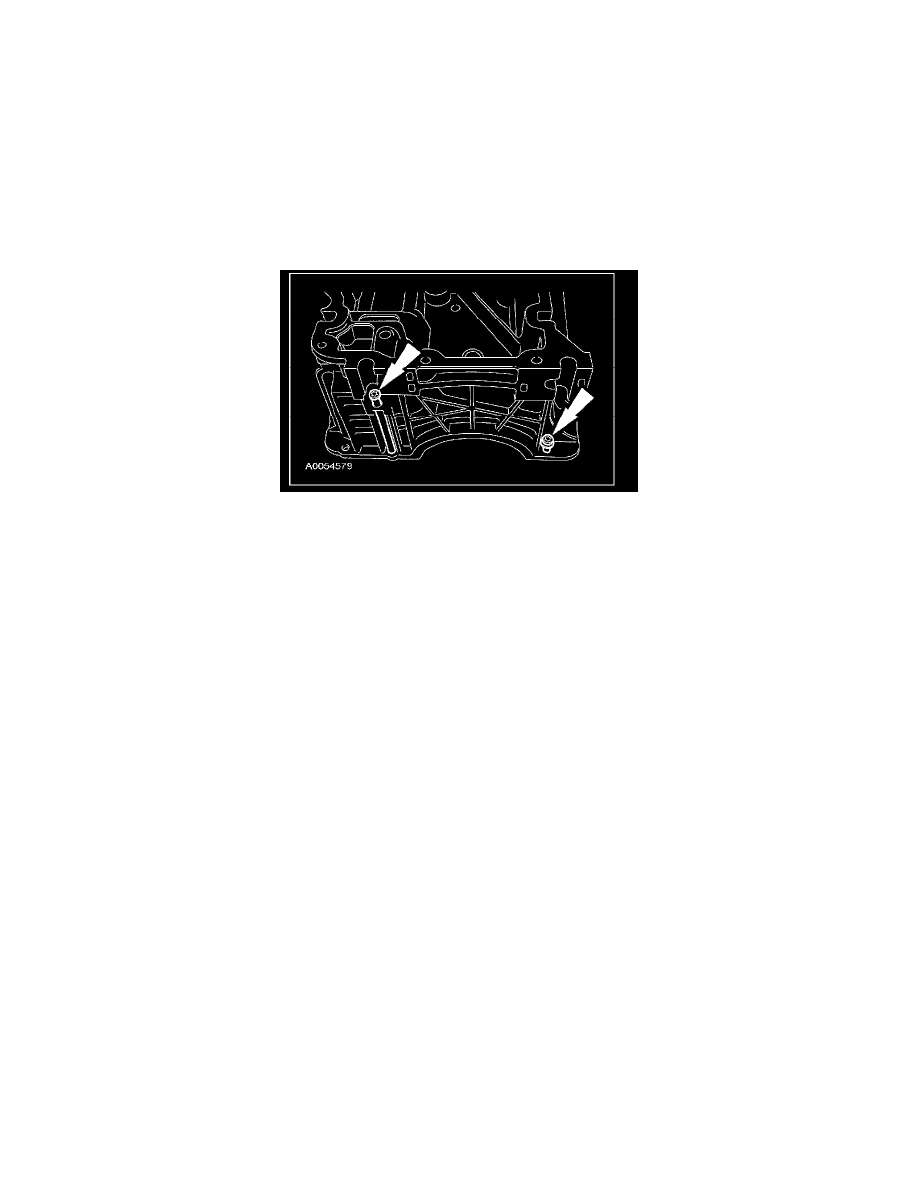
18. NOTE: Cylinder block cradle is shown removed for clarity. Note the location of the 2 Torx(R) head bolts at the rear of the cylinder block cradle.
Remove the cylinder block cradle rear bolts.
19. Remove the 20 bolts and 2 nuts along the outside of the cylinder block cradle.
20. NOTE: Note the location of the 2 silver-colored bolts that have washer seals. They must be installed in the same position with new washer seals.
Remove the 8 cylinder block cradle inner bolts and the 2 washer seals.
^
Discard the washer seals.
21. Raise the engine.
AWD vehicles
22. WARNING: Secure the assembly to the jack. Avoid any obstructions while lowering and raising the jack. Contact with obstructions may
cause the assembly to fall off the jack, which may result in serious personal injury.
Support the front axle with a suitable jack.
23. Disconnect the vent hose from the differential housing vent tube.
24. CAUTION: Any time bolts, washers, spacers or nuts are loosened in the differential support for any reason, install new components to
prevent damage.
Remove and discard the axle housing bolts and flagnuts. Lower the axle.
All vehicles
25. Remove the cylinder block cradle.
Installation
All vehicles
1. CAUTION: Failure to back off the set screws may result in damage to the cylinder block cradle.
Back the set screws off until they are below the cylinder block cradle boss.