Mountaineer AWD V6-4.0L VIN K Flex Fuel (2003)

1.
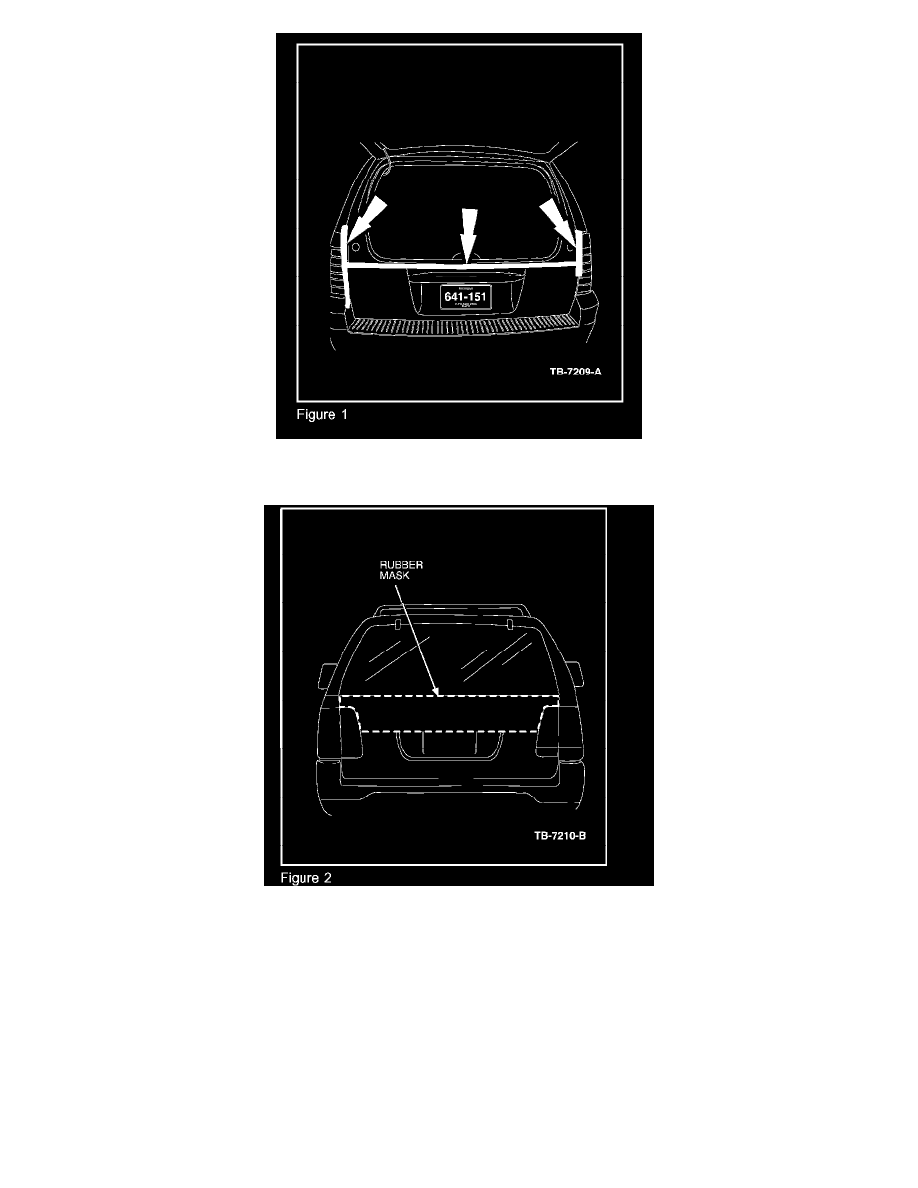
Note the locations of the existing emblems. Open liftglass and install a double layer of body tape in the opening area around the liftglass opening.
This will protect the liftgate area from possible scratches when removing the applique (Figure 1).
2.
Use a T-Handle windshield knife with a one (1) inch blade. DO NOT USE MECHANICAL WINDSHIELD KNIVES. Insert blade in the top left
corner between the colored applique and black glass rubber. Pull knife downward (top to bottom). This will cut most of the left side urethane bead.
Use a soft tip or dead blow hammer to hammer the sharpened spatula/putty knife to cut the remaining urethane holding the applique. Repeat on
right side.
NOTE
DO NOT TRY TO CUT TOP EDGE.
3.
Insert the knife into one of the bottom corners between the colored applique and black rim. Pull the knife across the entire bottom edge. Use a
spatula/puffy knife to remove residual urethane. Do not try to cut the top edge. Completing Steps 2 and 3 have cut the majority of the urethane
between the applique and black rim.
4.
Insert a spatula at the bottom corner of the applique and gently begin to pry up to allow you to firmly grip one end of the applique.
