
Mountaineer AWD V6-4.0L VIN K Flex Fuel (2003)
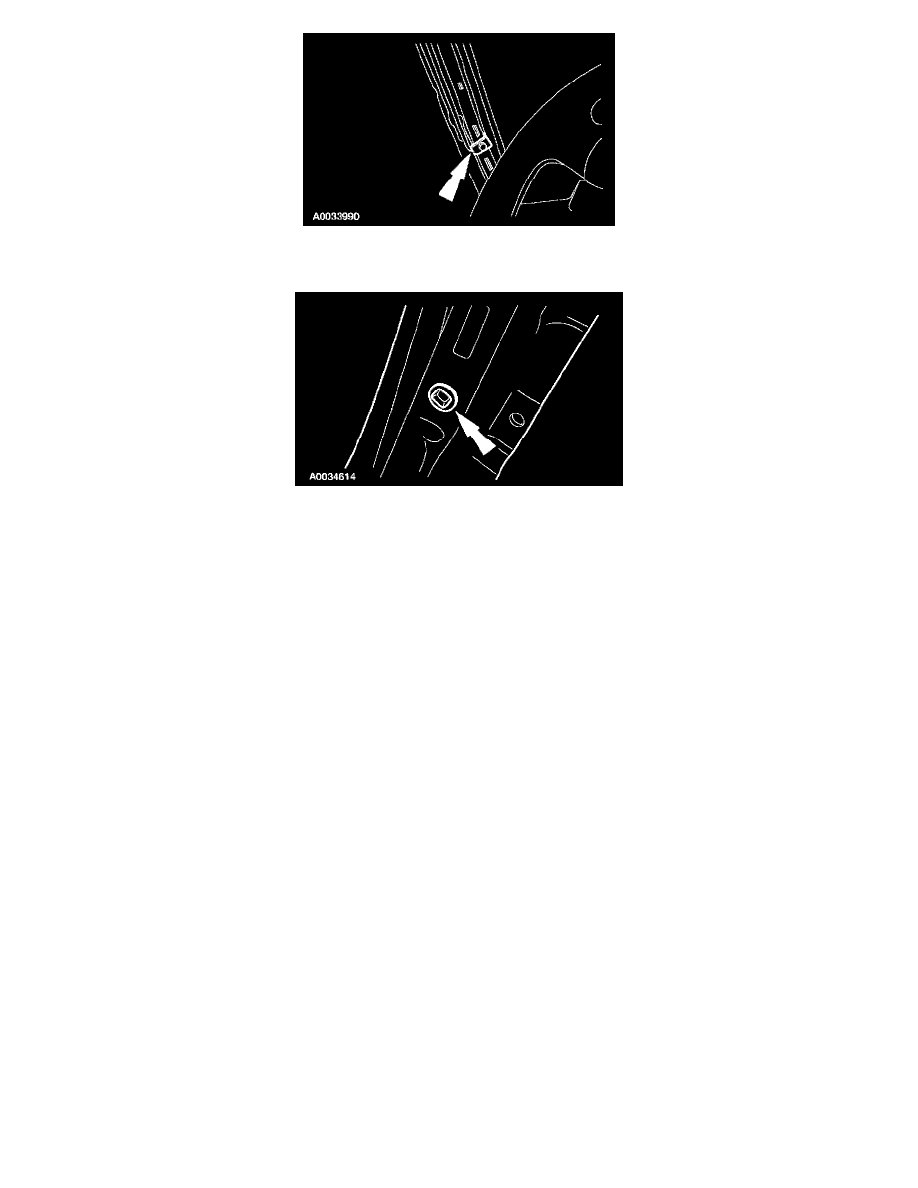
3. Remove the bolt and bracket for the tether cord from the A-pillar.
4. Position and secure the side air curtain tether cord and bracket assembly out of the way.
5. Using the appropriate service tool, sand the rivet nut shoulder until the shoulder surface is removed.
6. Punch the remaining portion of the rivet nut through the rivet nut hole.
7. NOTE: Use only Ford Motor Company factory-authorized replacement parts for rivet nut repair procedure.
Obtain the correct square shank rivet nut for the vehicle application from the Ford Master Parts Catalog, and insert it into the rivet nut hole.
8. Using a suitable rivet nut installing tool, install the rivet nut.
9. Position the A-pillar tether cord. Install the bolt. See the appropriate component removal and installation procedure or Specifications for the
correct torque specification.
10. NOTE: The tether cord must be positioned correctly in place before installing the A-pillar trim panel.
Install the A-pillar trim panel.
11. WARNING: To reduce the risk of serious injury, read and follow all warnings, cautions, notes, and instructions in the supplemental
restraint system (SRS) deactivation/reactivation procedure.
Reactivate the supplemental restraint system (SRS).
12. WARNING: The restraint system diagnostic tools are for restraint system service only. Remove from the vehicle prior to road use.
Failure to remove could result in injury and possible violation of vehicle safety standards.
With all the restraint system diagnostic tools removed, prove out the supplemental restraint system (SRS). See: Air Bag(s) Arming and
Disarming/Service and Repair/Prove Out Procedure