
Mountaineer AWD V6-4.0L VIN K Flex Fuel (2003)
Remove the bolt and separate the upper arm from the wheel knuckle
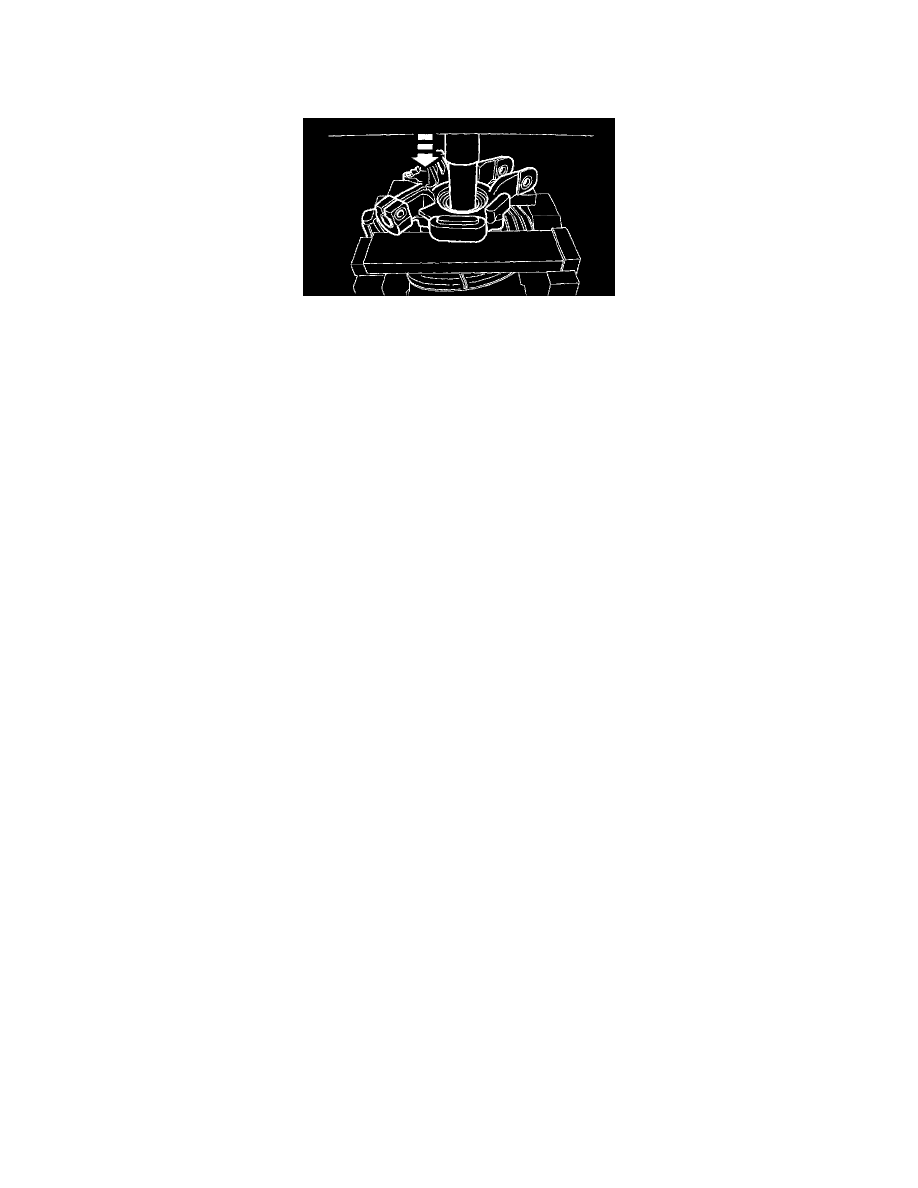
Item 10: Wheel Hub Removal Note
1. Using a suitable press, remove the wheel hub.
Item 13: Wheel Bearing Removal Note
1. Using a suitable press, remove the wheel bearing.
Item 17: Stabilizer Bar Link-to-Stabilizer Bar Nut and Bushing Removal Note
1. Remove the nut and the stabilizer bar link.
Item 26: Upper Arm-to-Frame Bolt (Rearward Mounting) Removal Note
1. Remove the spare tire to gain access to the bolts.
Item 30: Upper Arm-to-Frame Bolt (Forward Mounting) Installation Note
1. Do not tighten until the installation procedure is complete and the weight of the vehicle is resting on the wheel and tire assemblies.
Item 26: Upper Arm-to-Frame Bolt (Rearward Mounting) Installation Note
1. CAUTION: Make sure that the upper arm-to-frame mounting bolts are routed through the frame and the bushing before tightening.
Do not tighten until the installation procedure is complete and the weight of the vehicle is resting on the wheel and tire assemblies.
Item 23: Lower Arm-to-Frame Nut (Forward Mounting) Installation Note
1. Do not tighten until the installation procedure is complete and the weight of the vehicle is resting on the wheel and tire assemblies.
Item 20: Lower Arm-to-Frame Nut (Rearward Mounting) Installation Note
1. Do not tighten until the installation procedure is complete and the weight of the vehicle is resting on the wheel and the assemblies.
Item 18: Shock Absorber-to-Lower Arm Bolt Installation Note
1. Do not tighten until the installation procedure is complete and the weight of the vehicle is resting on the wheel and tire assemblies.