
Mountaineer AWD V8-4.6L (2010)
Assembly
1. Position the kneeling mechanism to the mounting plate and install the nuts.
-
Tighten to 41 Nm (30 lb-ft).
2. NOTE: Latch feet will hang down lower than the mounting plate, potentially causing the latch feet to partially latch. Make sure the latch feet are
completely latched.
Position the latching feet assembly to the mounting plate strikers and latch the feet in place.
3. Install the cushion frame.
-
Position the cushion frame to the latch feet assembly and kneeling mechanism.
-
Install the 2 latch feet assembly-to-cushion frame bolts.
-
Tighten to 45 Nm (33 lb-ft).
-
Install the 2 kneeling mechanism-to-cushion frame bolts.
-
Tighten to 45 Nm (33 lb-ft).
4. Position the recliner release shaft onto the inboard recliner release pivot stub.
5. Position the inboard recliner and recliner release shaft to the cushion frame.
-
Position the inboard recliner to the cushion frame with the recliner release shaft through the cushion frame opening.
-
Position the safety belt buckle to the inboard recliner forward bolt hole and install the 2 inboard recliner-to-cushion frame bolts.
-
Tighten to 55 Nm (41 lb-ft).
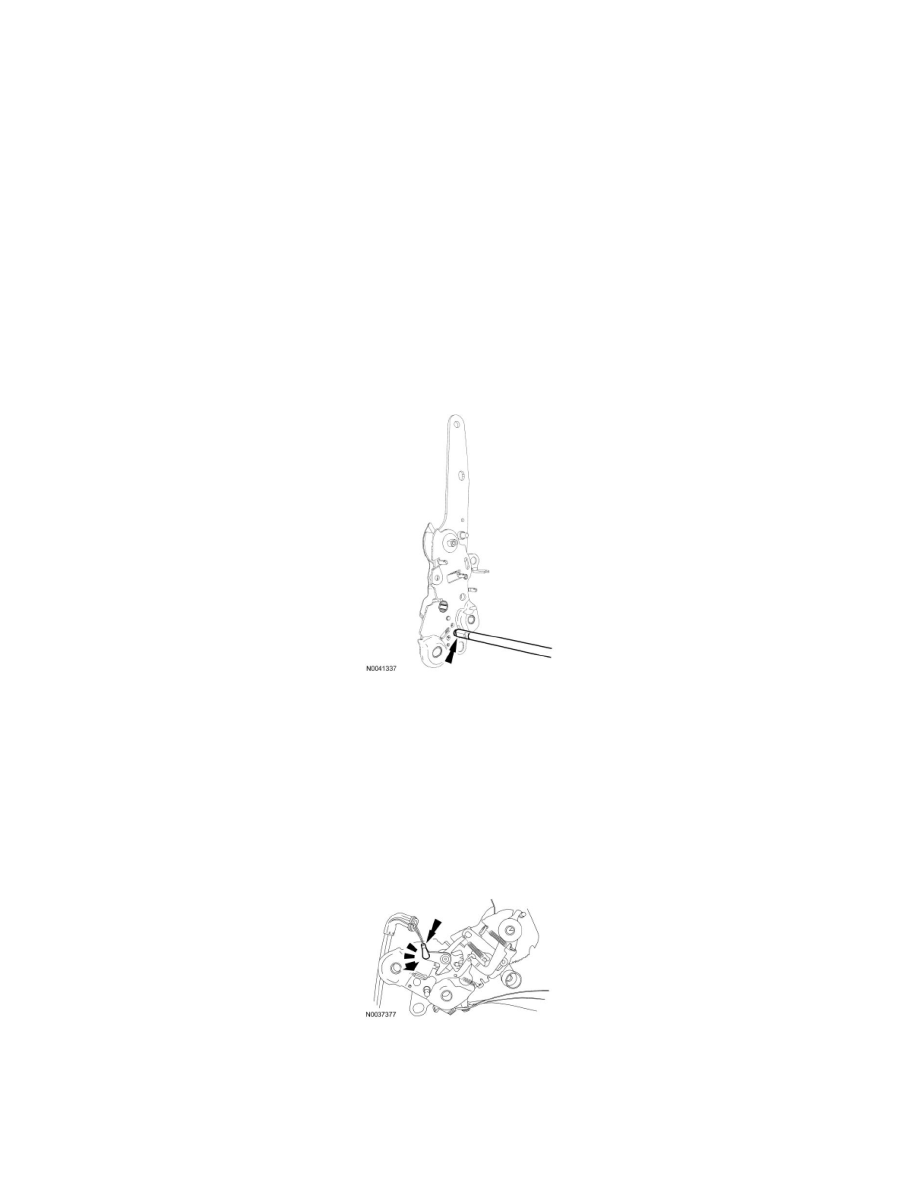
6. NOTE: The cable ends are color coded/keyed to the levers.
Position each keyed cable end to the outboard recliner lever and rotate to the locked position.
-
Install the cable casing to the outboard recliner.
7. Position the outboard recliner release pivot stub into the recliner shaft and install the outboard recliner-to-cushion frame bolts.
-
Tighten to 55 Nm (41 lb-ft).