
Mountaineer AWD V8-4.6L (2010)
Fan Shroud: Service and Repair
Cooling Fan Shroud
Removal and Installation
Vehicles equipped with a 4.6L (3V) engine
1. Remove the Air Cleaner (ACL) outlet pipe. For additional information, refer to Fuel Delivery and Air Induction.
All vehicles
2. Remove the coolant expansion tank. For additional information, refer to Coolant Expansion Tank See: Coolant Reservoir/Service and Repair.
3. Remove the bolt and position the power steering fluid reservoir aside.
-
To install, tighten to 10 Nm (89 lb-in).
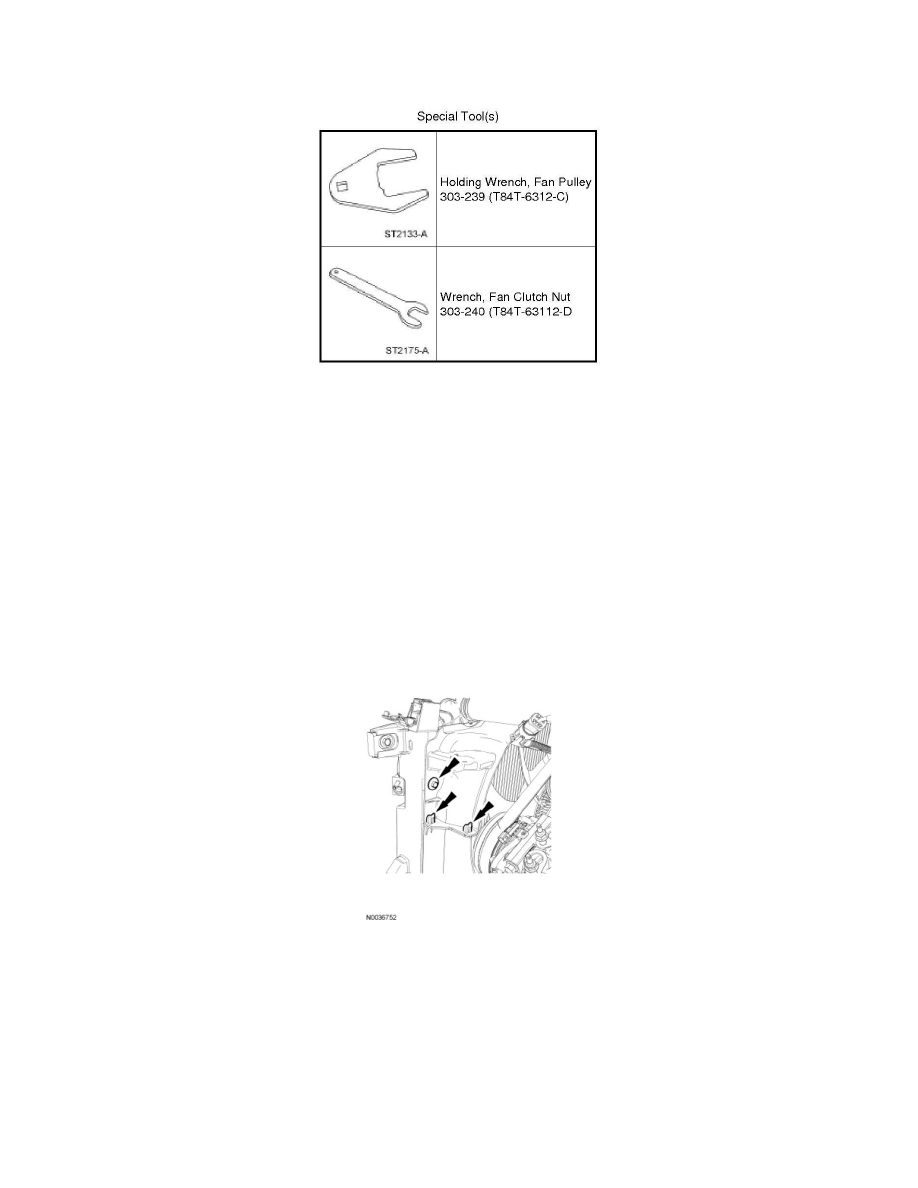
4. Remove the 2 bolts, then unclip the upper fan shroud from the lower fan shroud and remove the upper fan shroud.
-
To install, tighten to 7 Nm (62 lb-in).
5. Disconnect the fan clutch electrical connector.
6. Remove the fan clutch wiring harness bracket bolt.
-
To install, tighten to 7 Nm (62 lb-in).
7. NOTICE: Do not side load the cooling fan clutch coil or the cooling fan clutch coil may be damaged.
NOTE: 4.6L (3V) engine shown, 4.0L SOHC engine similar.
Using the Fan Pulley Holding Wrench and the Fan Clutch Nut Wrench, remove the cooling fan.
-
To install, tighten to 55 Nm (41 lb-ft).