
Mountaineer AWD V8-4.6L (2010)
Exhaust Pipe: Service and Repair
Tailpipe
Tailpipe
Removal
NOTICE: Do not use oil or grease-based lubricants on the isolators. These lubricants may cause deterioration of the rubber. This can lead to
separation of the isolator from the exhaust hanger bracket during vehicle operation. Use only water-based lubricants on the isolators.
NOTE: Exhaust fasteners are of a prevailing torque design. Use only new fasteners with the same part number as the original. Torque values must be
used as specified during reassembly to make sure of correct retention of exhaust components.
1. With the vehicle in NEUTRAL, position it on a hoist. For additional information, refer to Vehicle Jacking and Lifting.
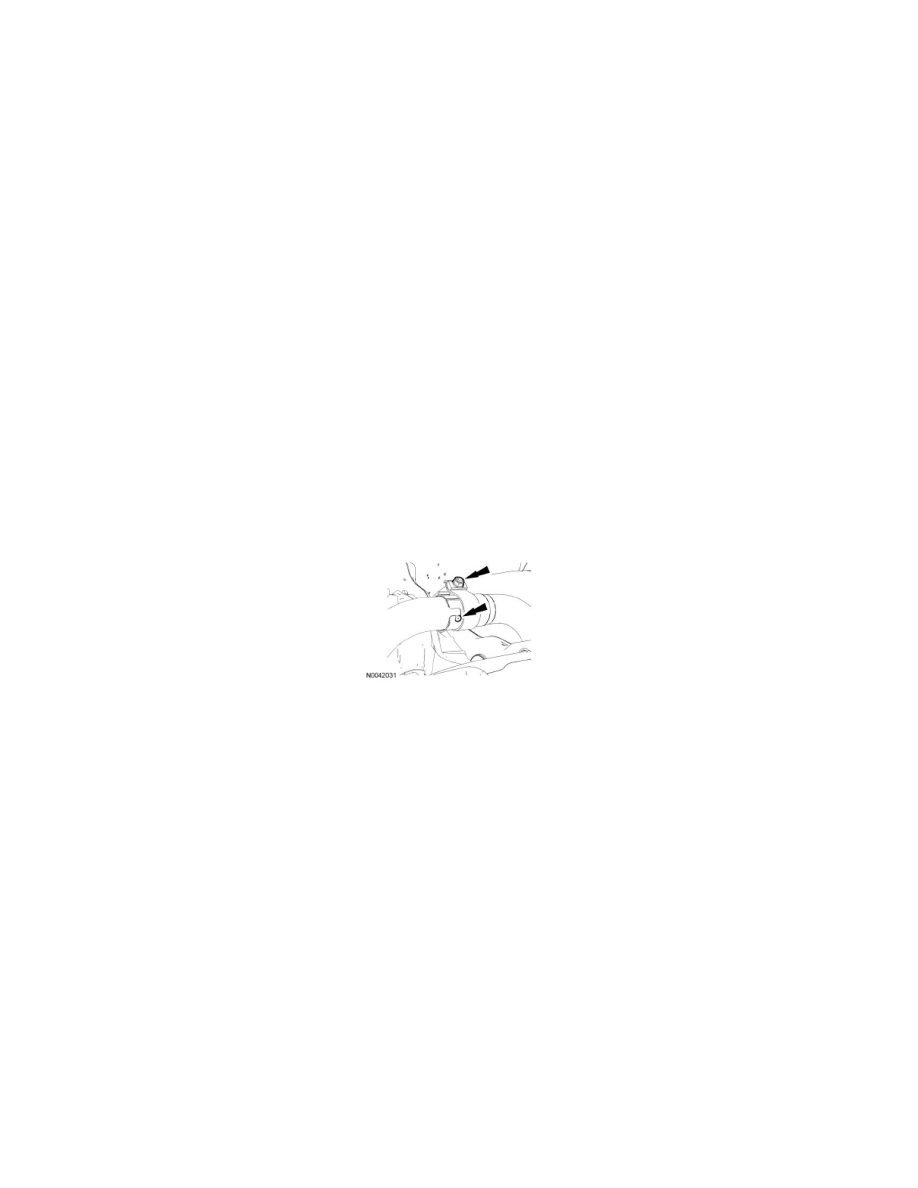
2. Loosen the muffler assembly-to-tail pipe Torca(R) clamp.
3. Disconnect the rubber isolator and remove the tail pipe.
Installation
1. Position the tail pipe and connect the rubber isolator.
2. NOTE: Using an abrasive pad, clean the muffler assembly-to-tail pipe surface area of any rust.
Position the muffler assembly-to-tail pipe and make sure the tab on the muffler assembly is seated inside the notch on the tail pipe and then tighten
the Torca(R) clamp.
-
Tighten to 48 Nm (35 lb-ft).
3. Check to see if the exhaust system isolators are at zero load. If the exhaust system isolators are not at zero load, then carry out the exhaust system
alignment procedure. For additional information, refer the Exhaust System Alignment See: Service and Repair/Procedures/Exhaust System
Alignment.