
Mountaineer AWD V8-4.6L (2010)
Removal and Installation
NOTE: Clean and lubricate the coolant hoses with plain water only if needed.
1. With the vehicle in NEUTRAL, position it on a hoist. For additional information, refer to Vehicle Jacking and Lifting.
2. Recover the refrigerant.
3. Drain the engine coolant. For additional information, refer to Cooling System &/or Engine Block Heater.
4. Remove the LH quarter trim panel.
5. Detach the headliner duct from the auxiliary climate control housing.
6. Remove the auxiliary evaporator inlet and outlet line fitting nuts.
-
Discard the O-ring seals.
-
Discard the Thermostatic Expansion Valve (TXV) filter.
-
To install, tighten to 8 Nm (71 lb-in).
7. Release the heater hose clamps and disconnect the heater hoses.
-
After disconnecting the heater hoses, allow any residual coolant to drain from the auxiliary heater core to avoid coolant spilling inside the
passenger compartment.
8. Remove the 2 auxiliary line floorpan bracket nuts.
-
To install, tighten to 8 Nm (71 lb-in).
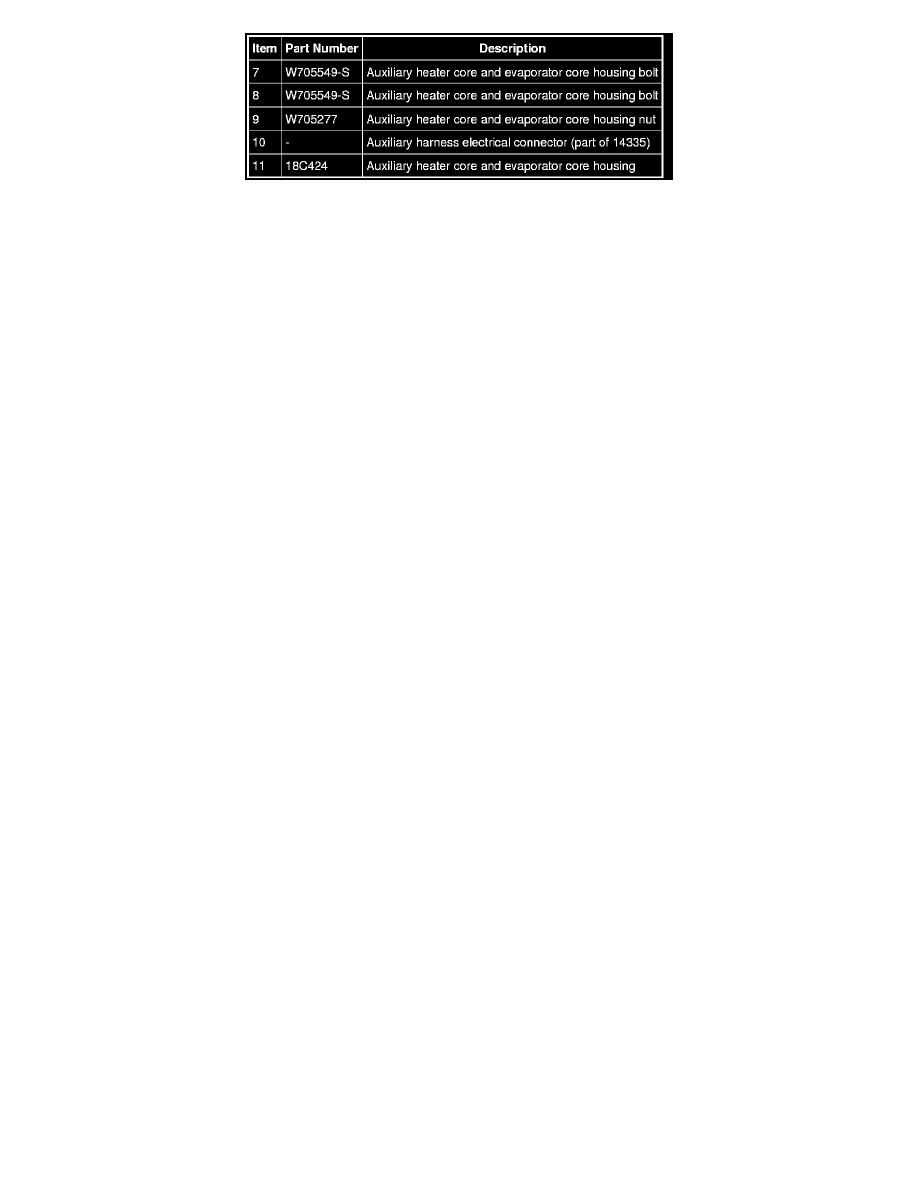
9. Remove the 2 auxiliary heater core and evaporator core housing bolts.
-
To install, tighten to 6 Nm (53 lb-in).
10. Remove the auxiliary heater core and evaporator core housing nut.
-
To install, tighten to 6 Nm (53 lb-in).
11. Disconnect the auxiliary harness electrical connector.
12. Remove the auxiliary heater core and evaporator core housing.
13. To install, reverse the removal procedure.
-
Clean and lubricate the coolant hoses with plain water only if needed.
-
Install new O-ring seals.
-
Install a new TXV filter.
-
Lubricate the refrigerant system with the correct amount of clean PAG oil.
14. Fill the engine cooling system. For additional information, refer to Cooling System &/or Engine Block Heater.
15. Evacuate, leak test and charge the refrigerant system.