
Mountaineer AWD V8-4.6L (2010)
7. Remove and discard the 2 upper arm bolts and flag nuts and remove the upper arm.
Installation
NOTICE: Before tightening any suspension bushing fasteners, use a suitable jack to raise the suspension until the distance between the center
of the hub and the lip of the fender is equal to the measurement taken in Step 1 (curb height). This will prevent incorrect clamp load and
bushing damage.
1. NOTE: Do not tighten the bolt at this time.
Position the upper arm and install the 2 new upper arm bolts and flag nuts.
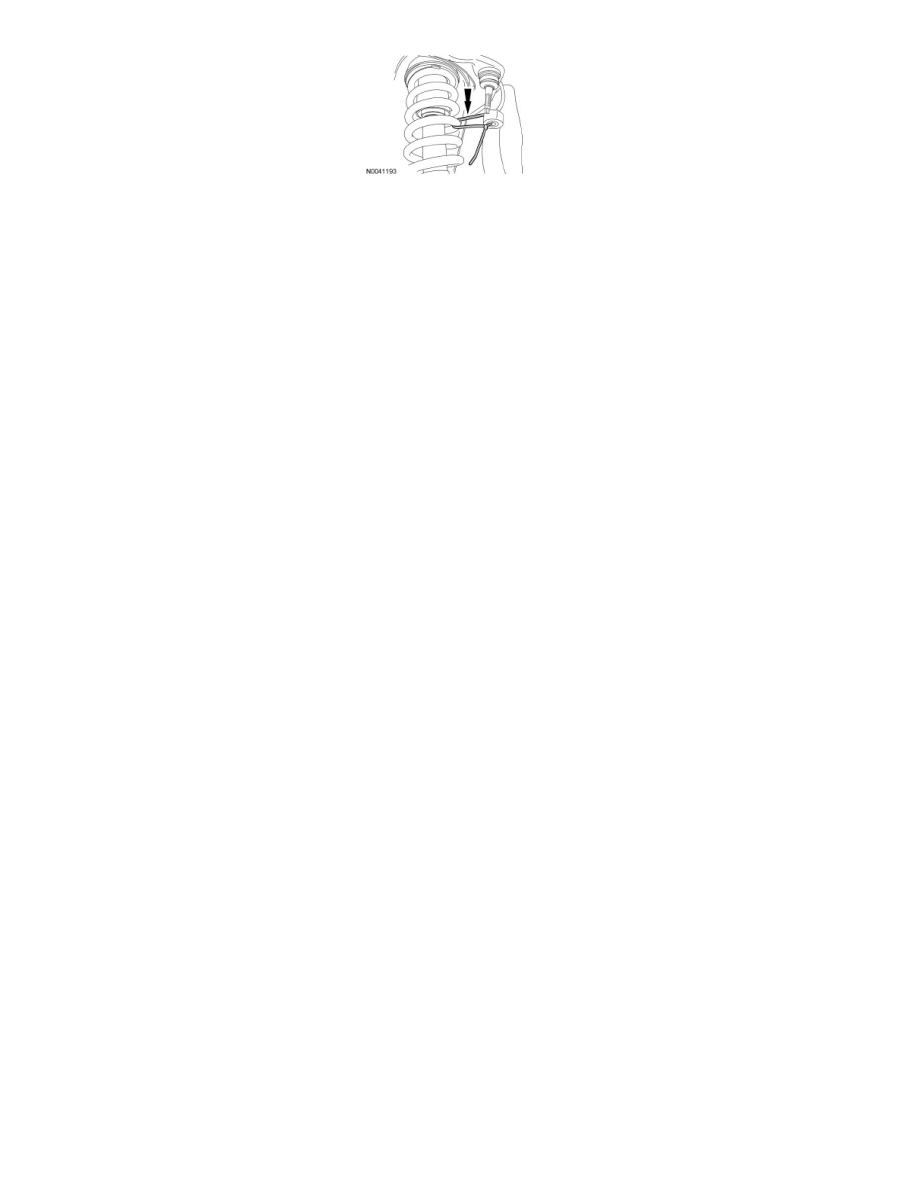
2. Remove the plastic tie strap.
3. Connect the upper ball joint to the wheel knuckle and install the new upper ball joint nut.
-
Tighten to 55 Nm (41 lb-ft).
4. Using a suitable jack, raise the suspension until the distance between the center of the hub and the lip of the fender is equal to the measurement
taken in Step 1 (curb height).
5. Tighten the 2 upper arm bolts to 150 Nm (111 lb-ft).
6. Install the wheel and tire. For additional information, refer to Wheels and Tires.
7. Check and if necessary, align the front end. For additional information, refer to Suspension &/or Alignment.
Four Wheel Drive (4WD)
Upper Arm
Removal and Installation
For additional information, refer to Rear Wheel Drive (RWD). See: Upper Arm/Rear Wheel Drive (RWD)