
Mountaineer AWD V8-4.6L (2010)
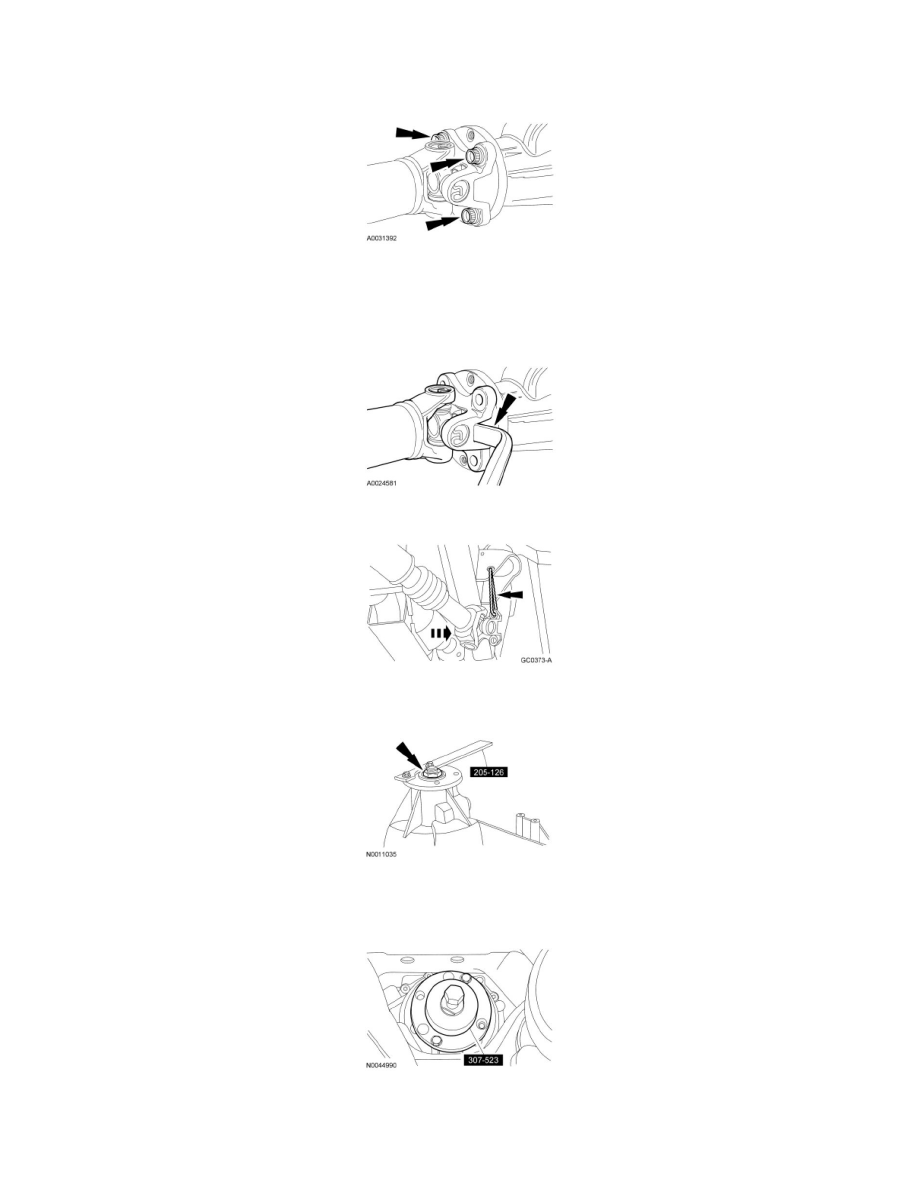
Remove the 4 driveshaft yoke bolts.
-
To install, tighten to 112 Nm (83 lb-ft) evenly in a cross pattern.
4. NOTICE: The driveshaft flange fits tightly on the rear axle pinion flange pilot. Never hammer on the driveshaft or any of its components
to disconnect the driveshaft flange from the pinion flange. Pry only in the area shown, with a suitable tool, to disconnect the driveshaft
flange from the pinion flange or damage to the components can occur.
Using a suitable tool as shown, disconnect the driveshaft flange from the rear axle pinion flange.
5. Position the driveshaft aside and support with mechanic's wire.
6. Using the Drive Pinion Flange Holding Fixture to hold the output flange, remove the nut.
-
To install, tighten to 355 Nm (262 lb-ft).
7. Remove the output shaft yoke washer.
8. Using the Output Shaft Flange Remover, remove the rear output shaft flange.
9. Remove and discard the rear output shaft flange oil seal.
10. Using the Bushing Remover with the Slide Hammer, remove the rear output shaft oil seal.