
Mountaineer AWD V8-4.6L SOHC VIN W (2002)
5. After the leak(s) is/are repaired, remove any traces of fluorescent dye with a general purpose oil solvent.
6. Verify the repair by running the vehicle for a short period of time and rechecking the area of the leak with the special tool.
Fluorescent Dye Injection - Using an A/C Refrigerant Center and Dye Injector
NOTE:
-
Before using the R-134a fluorescent dye injector for the first time, refer to the manufacturers instructions on evacuation of any non-condensable
gasses from the hoses.
-
Only connect the R-134a fluorescent dye injector to a manifold and gauge set or R-134a service center when fluorescent dye is to be injected. The
R-134a fluorescent dye injector has a one way check valve that will prevent refrigerant system recovery and evacuation.
-
Refrigerant system pressure should be between 413-551 kPa (60-80 psi) at 24°C (75°F) with the engine off.
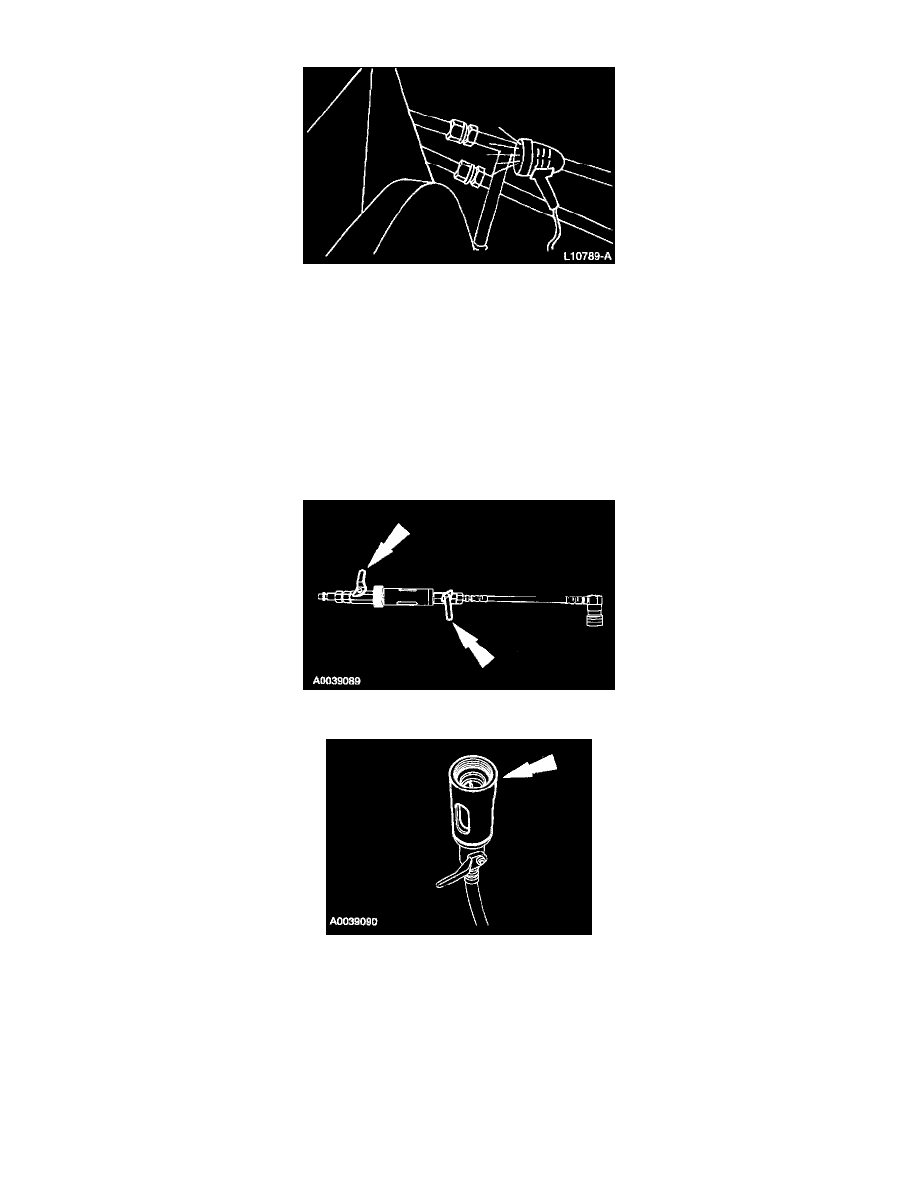
1. Install an R-134a A/C refrigerant service center or a manifold and gauge set.
2. Verify that the valves on the special tool are closed.
3. Fill the special tool reservoir with 7 ml (0.25 oz) of fluorescent dye.
4. Install the special tool between the low-pressure service gauge port valve and the R-134a refrigerant service center or manifold gauge set.
5. Open all valves and inject the fluorescent dye into the refrigerant system.
6. When fluorescent dye injection is complete, close all valves.
7. Recover the refrigerant from the R-134a fluorescent dye injector.
8. Remove the fluorescent dye injector from the low-pressure service gauge port valve and the R-134a A/C refrigerant service center or manifold
gauge set.
Fluorescent Dye Injection - Using a Dye Injector Loop Kit
NOTE: