
Mountaineer AWD V8-4.6L SOHC VIN W (2002)
6. Remove the four rear axle flange bolts.
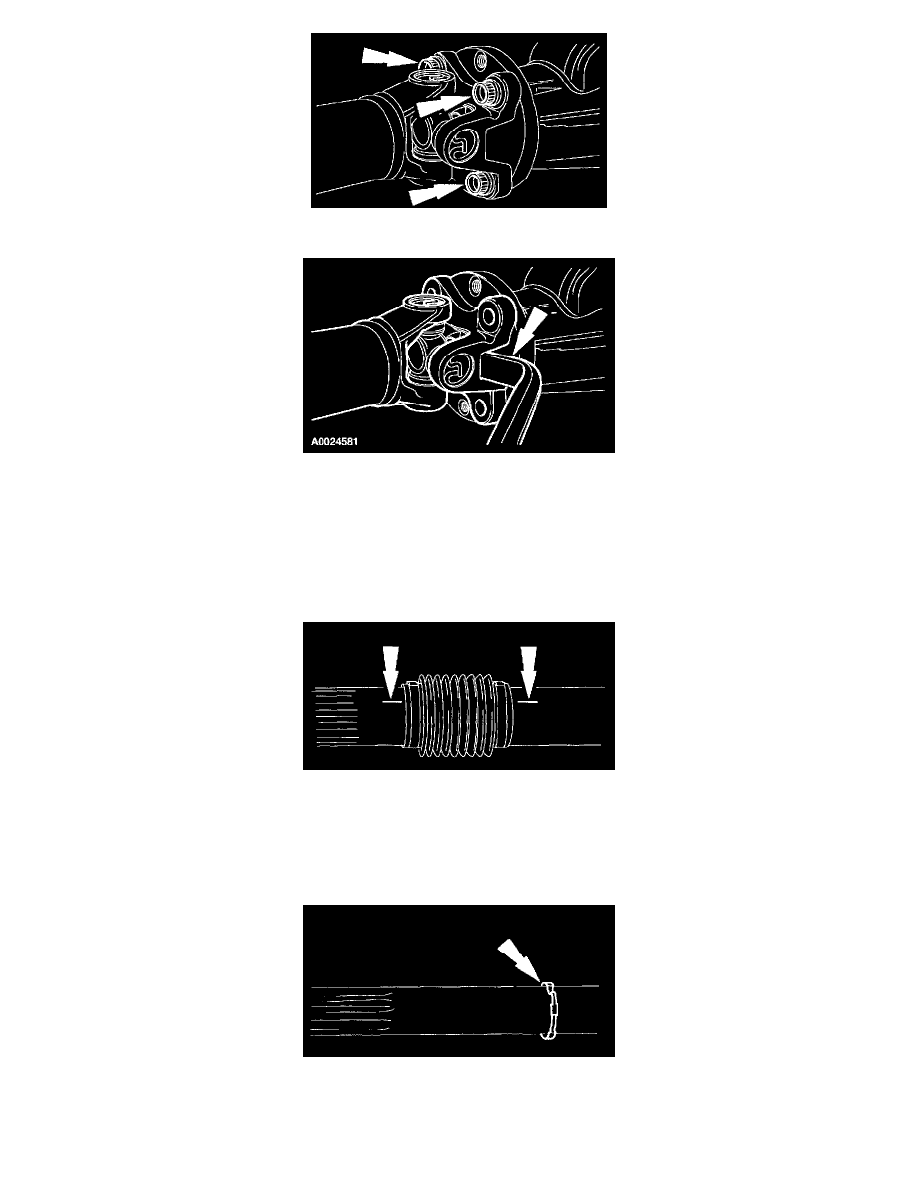
7. CAUTION: The driveshaft flange fits tightly on the rear axle pinion flange pilot. Never hammer on the driveshaft or any of its components to
disconnect the driveshaft flange from the pinion flange. Pry only in the area shown, with a suitable tool, to disconnect the driveshaft flange from
the pinion flange.
Using a suitable tool as shown, disconnect the driveshaft flange from the rear axle pinion flange.
8. Lower the driveshaft and separate it from the transfer case rear output flange.
NOTE: The following steps are for driveshaft boot service.
9. NOTE: Install a new driveshaft boot., if necessary.
Index mark the driveshaft of both sides of the boot.
10. Cut and discard the driveshaft boot clamps.
11. Separate the driveshaft end.
12. Remove and discard the damaged boot.
13. Position the new clamp on the female end of the shaft.