
Mountaineer RWD V6-4.0L (2008)
3. Separate the kneeling mechanism release handle from the backrest frame.
-
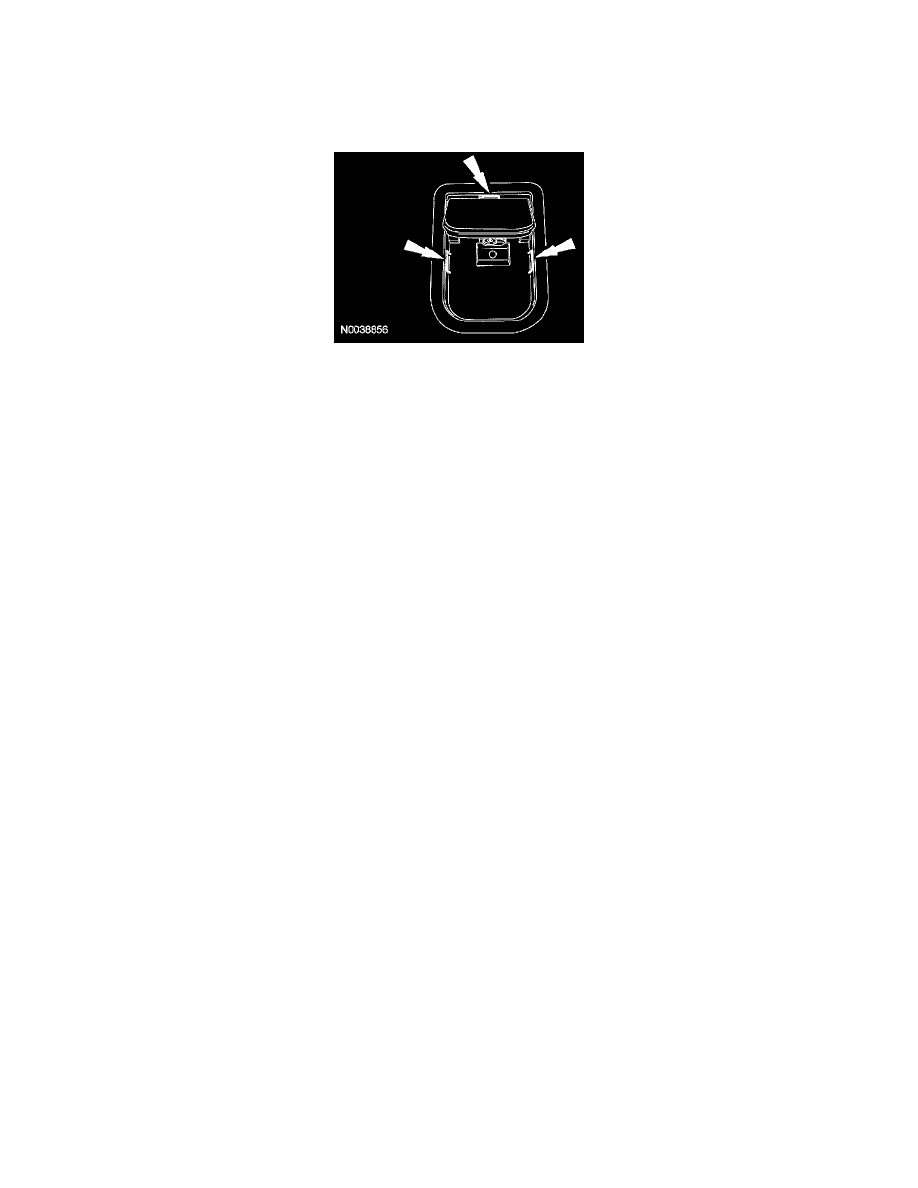
Release the 3 kneeling mechanism release handle clips and separate from the backrest frame. Pull the kneeling mechanism release handle and
cable back through the backrest frame.
-
Separating the kneeling mechanism release handle from the backrest frame can also be done by going between the backrest foam pad and
backrest frame. Release the top and side clips and push out separating the kneeling mechanism release handle from the backrest frame.
4. Release the kneeling mechanism cable from the backrest frame.
5. Remove 2 screws and the inboard recliner outer cover.
6. Remove the safety belt anchor bolt and separate the safety belt anchor from the inboard recliner.
7. Remove the 2 inboard and 2 outboard recliner-to-backrest frame bolts and remove the backrest assembly.
Installation
1. Remove 3 screws, recliner handle and outboard recliner outer cover.
2. WARNING: Use care when the seat back frame is removed and when releasing the recliners from a backrest upright position. The
recliners are spring-loaded, which may cause the recliner upper arms to fold with significant speed/force. Failure to follow this
instruction may result in serious personal injury.
NOTE:
-
An assistant will be necessary for this procedure.
-
If the latch feet are not locked around the strikers on the mounting plate, the recliners will not lock in position.
-
If both of the recliners are not locked in place simultaneously, the recliners will not lock in position.
Simultaneously pull the release strap at the outboard recliner and position the inboard and outboard recliner pins to the recliner stops. Let go of the
release strap and the inboard and outboard recliners will lock in place.
-
Each recliner pin must contact the recliner outer plate (stop).