
Mountaineer RWD V6-4.0L (2008)
6. Position the cushion frame to the inboard recliner with the recliner release shaft through the cushion frame opening.
7. Hand start the 2 inboard recliner-to-cushion frame bolts.
8. Hand start the cushion frame-to-latch foot assembly bolt and the cushion frame-to-kneeling mechanism bolt.
9. Install the bolts.
-
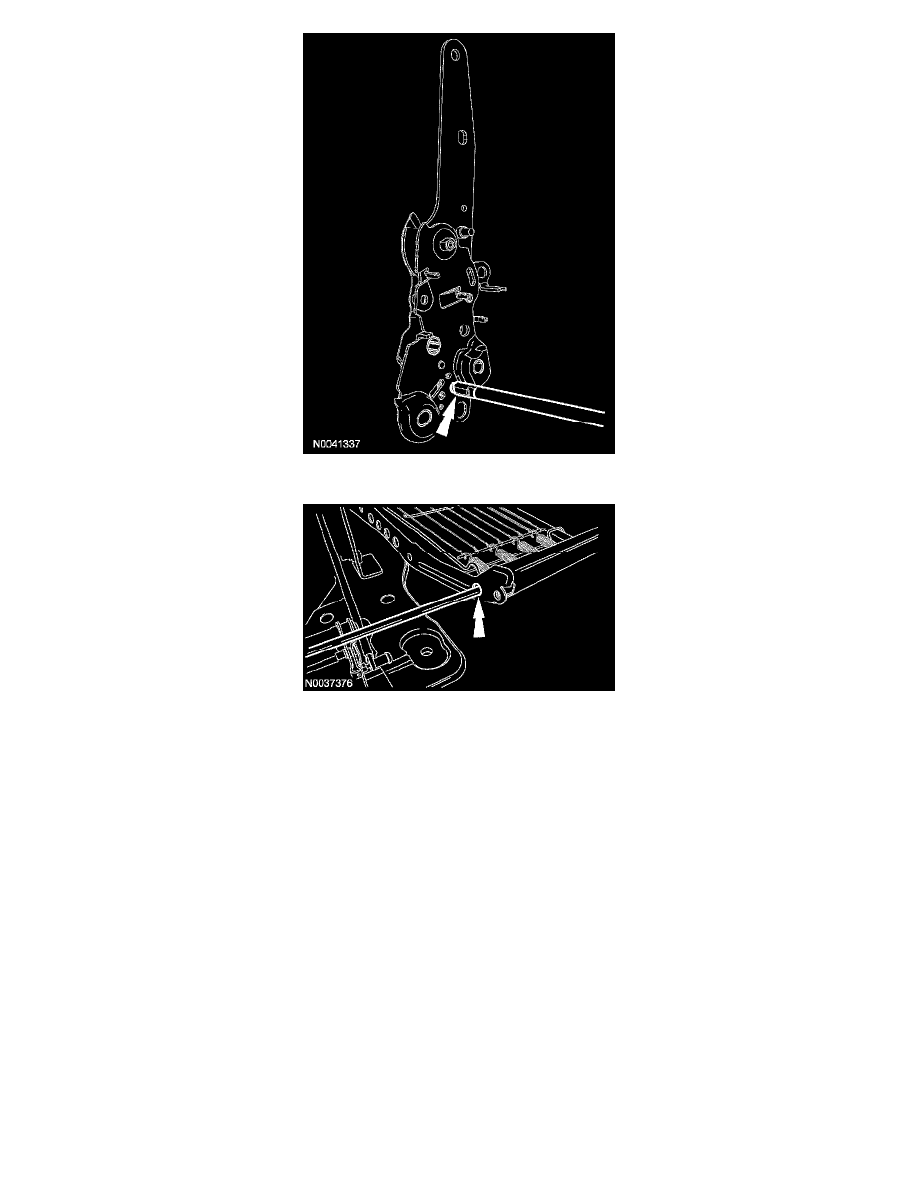
Install the inboard recliner-to-latch feet assembly bolt.
-
Tighten to 55 Nm (41 lb-ft).
-
Install the inboard recliner-to-kneeling mechanism bolt.
-
Tighten to 55 Nm (41 lb-ft).
-
Install the cushion frame-to-latch foot assembly bolt.
-
Tighten to 55 Nm (41 lb-ft).
-
Install the cushion frame-to-kneeling mechanism bolt.
-
Tighten to 55 Nm (41 lb-ft).
-
Install the inboard recliner-to-cushion frame rear bolt.
-
Tighten to 40 Nm (30 lb-ft).
-
Install the inboard recliner-to-cushion frame front bolt.
-
Tighten to 40 Nm (30 lb-ft).
10. NOTE: The cable ends are color coded/keyed to the levers.
Position each keyed cable end to the outboard recliner lever and rotate to the locked position.
-
Install the cable casing to the outboard recliner.