
Mountaineer RWD V6-4.0L (2008)
Disassembly
NOTE: The connecting rod bolts and nuts cannot be reused.
NOTE: Mark the position of the parts, so they can be installed in their original positions.
1. Remove the connecting rod bearings from the connecting rod and cap.
2. Remove the piston rings from the piston.
3. Using the special tool, press the piston pin out of the connecting rod and piston assembly.
Assembly
NOTE: Lubricate all parts with clean engine oil.
NOTE: Install the piston in the connecting rod with the cylinder number side of the rod and the indentation notch in the piston on the same side.
NOTE: The oil hole in the connecting rod must face the RH side of the cylinder block and the arrow on the piston must face the front of the engine
block.
1. NOTE: If the piston pin is removed from the piston, a new piston and piston pin must be used. Do not reuse the piston or the piston pin.
Gradually heat the pin bore side of the connecting rod to approximately 232° C-316° C (467° F-626° F) and immediately install the piston pin.
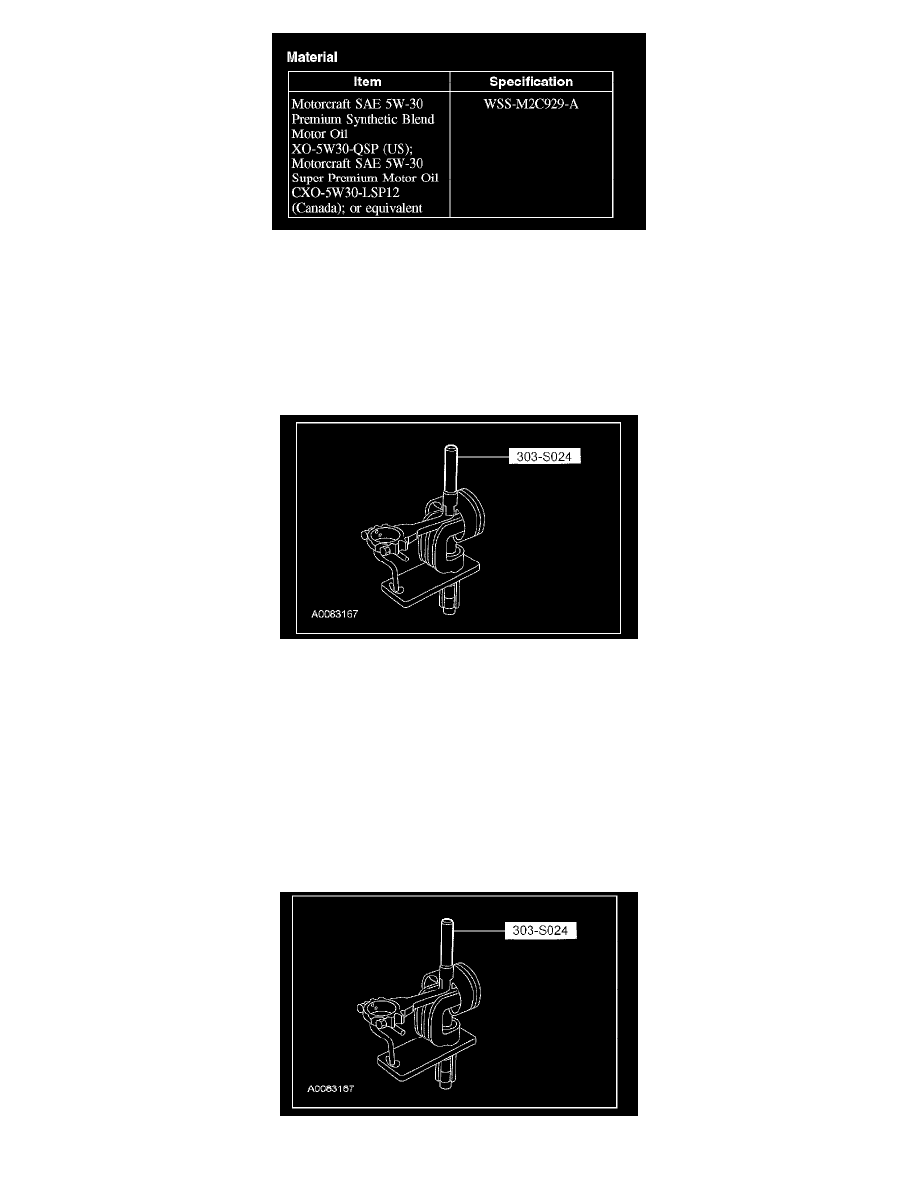
2. Using the special tool, press the piston pin into the piston and connecting rod assembly.
3. Install the piston rings.