
Mountaineer RWD V6-4.0L (2008)
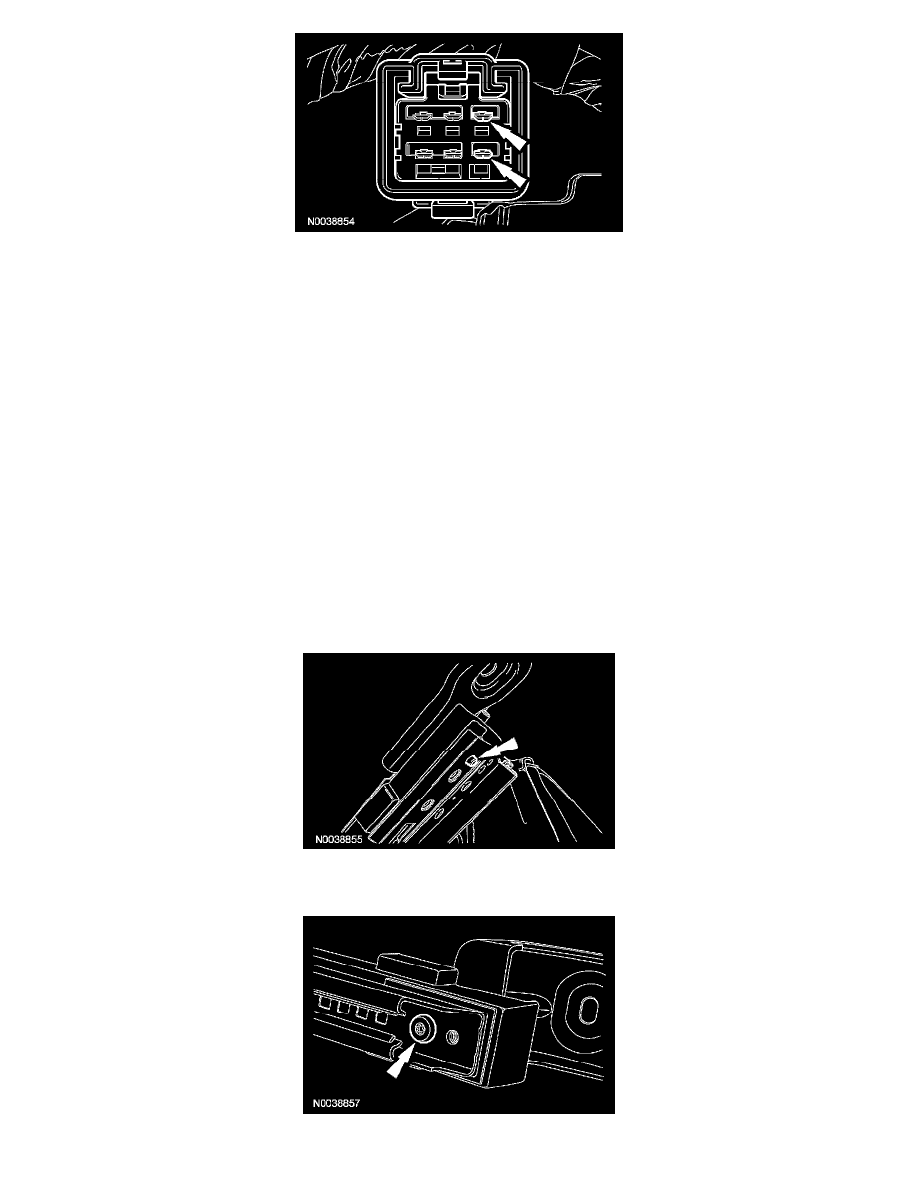
7. NOTE: Note the position of where the locator tab on the OCS rail goes through the OCS rail shield and into the rear mounting point of the seat
track for installation.
Remove the 2 front bolts and the affected OCS rail and shield.
Installation
NOTE:
-
If installing a new seat track, position the seat track where the seat will be in the rearward most position before starting installation of the OCS
rails.
-
To make sure of correct installation, the OCS rail bolts must be installed in the sequence shown.
1. WARNING: To prevent foreign material and contaminants from entering the occupant classification sensor (OCS) rail, make sure the
OCS rail shield is present, is not damaged and is correctly installed to the OCS rail. Failure to follow these instructions may result in
incorrect operation of the OCS system and increases the risk of serious personal injury or death in a crash.
CAUTION: Prevent oil and/or grease from getting on the OCS rail bolts as this can lead to tightening beyond the specified torque value.
Failure to follow this instruction may result in damaged or broken OCS rail bolts.
NOTE: Make sure the OCS rail shield is seated correctly on the OCS rail. Align the locator tab to the shield.
Position the OCS rail shield on the OCS rail. Then position the OCS rail and shield on the seat track while noting the correct installation of the
OCS rail locator tab into the seat track.
2. While holding the OCS rail and shield firmly in position, install the OCS rail front mounting position rear bolt.
-
Tighten to 25 Nm (18 lb-ft).
3. While still holding the OCS rail and shield firmly in position, install the OCS rail front mounting position front bolt.