
Service and Repair for Front Steering Knuckle in Mountaineer RWD 2008 V6-40L
Remove the bolts and position the caliper, pads and anchor plate assembly aside.
^
Discard the bolts.
^
Support the caliper and anchor plate assembly using mechanic's wire.
^
To install, tighten to 165 Nm (122 lb-ft).
3. Remove the brake disc
4. Disconnect the wheel speed sensor harness pin-type retainers.
5. Disconnect the wheel speed sensor electrical connector.
6. Remove the wheel speed sensor harness bracket bolt from the wheel knuckle.
^
To install, tighten to 8 Nm (71 lb-inch).
7. Remove and discard the tie-rod end nut.
^
To install, tighten to 103 Nm (76 lb-ft).
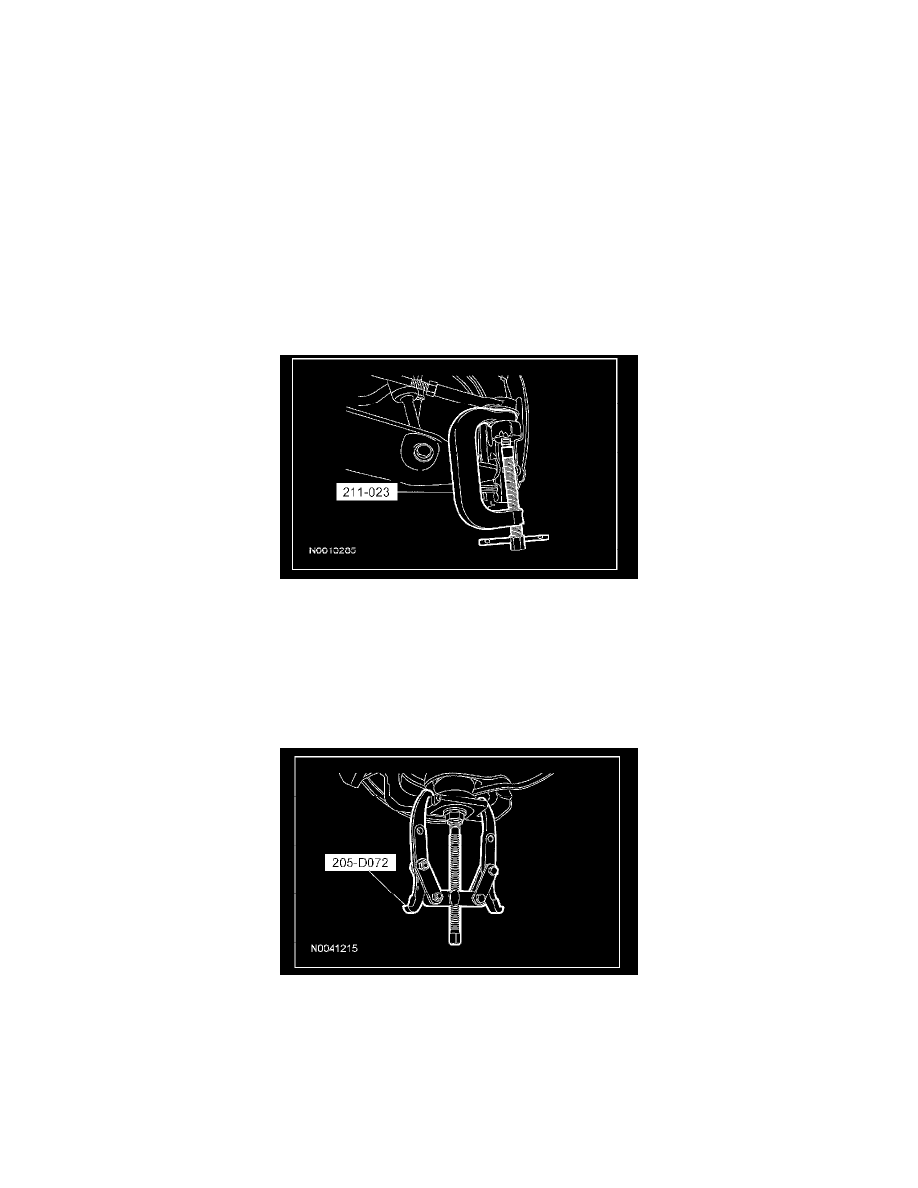
8. CAUTION: Do not use a hammer to separate the tie rod from the wheel knuckle or damage to the wheel knuckle can result.
CAUTION: Do not damage the tie-rod boot while installing the special tool.
Using the special tool, separate the tie-rod end from the wheel knuckle.
9. Remove and discard the lower ball joint nut.
^
To install, tighten to 150 Nm (111 lb-ft).
10. CAUTION: Do not use a hammer to separate the ball joint from the wheel knuckle or damage to the wheel knuckle can result.
CAUTION: Do not damage the ball joint boot while installing the special tool.
Using the special tool, separate the lower ball joint from the wheel knuckle.
11. Remove and discard the upper ball joint nut.
^
To install, tighten to 55 Nm (41 lb-ft).
12. CAUTION: Do not use a hammer to separate the ball joint from the wheel knuckle or damage to the wheel knuckle can result.
CAUTION: Do not damage the ball joint boot while installing the special tool.
Using the special tool, separate the upper ball joint and remove the wheel knuckle.