
Mountaineer RWD V6-4.0L (2008)
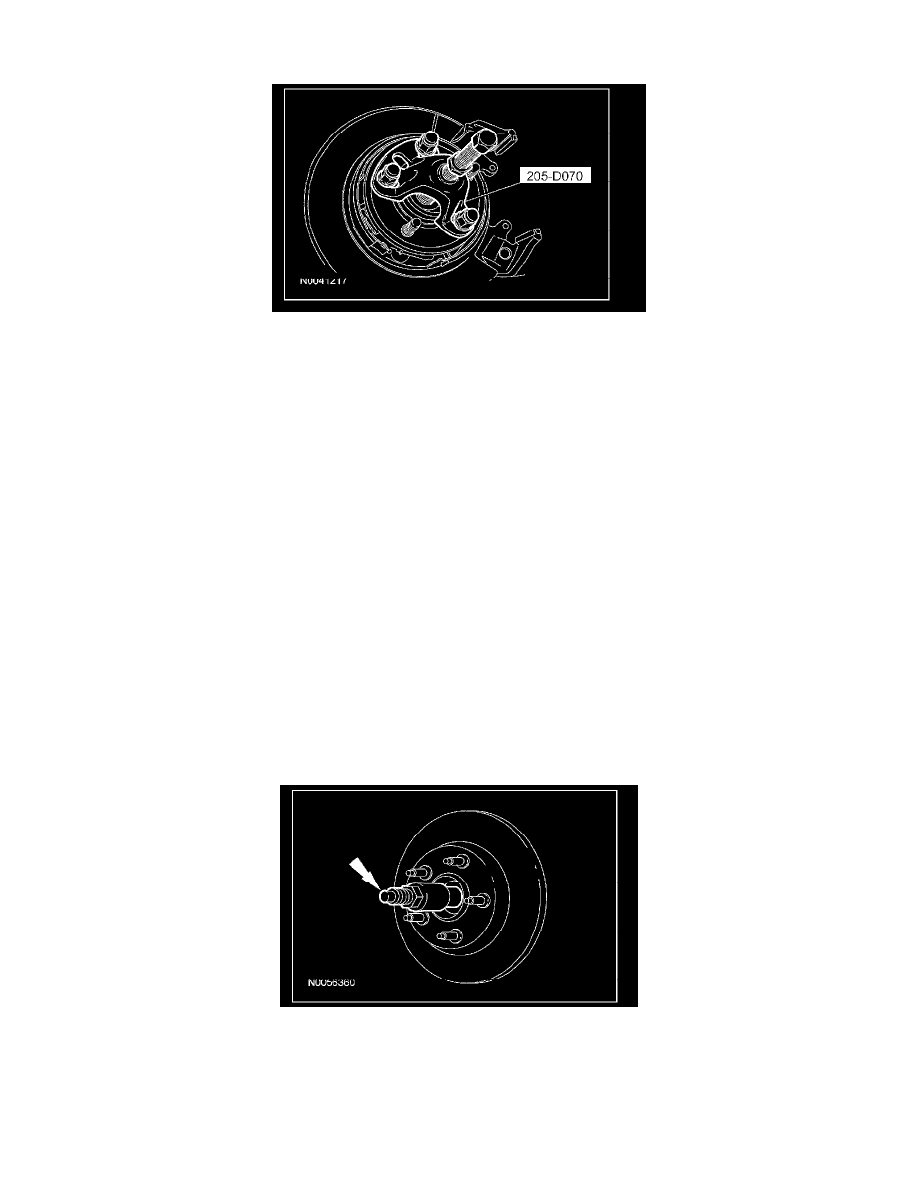
Using the special tool, press the halfshaft from the hub.
6. Position a suitable jack under the wheel knuckle and raise the suspension until the distance between the center of the hub and the lip of the fender
is equal to the measurement taken in Step 1.
7. Remove and discard the toe link outboard nut and bolt.
8. Remove and discard the upper arm outboard nut and bolt.
9. Remove and discard the lower arm outboard nut and bolt.
10. Remove and discard the 3 wheel knuckle bolts and remove the wheel knuckle.
11. If a new wheel knuckle is being installed, remove the wheel bearing and wheel hub.
Installation
1. Position the wheel knuckle and install 3 new wheel knuckle bolts.
^
Tighten to 275 Nm (203 lb-ft).
2. Install a new lower arm outboard bolt and flagnut.
^
Tighten to 275 Nm (203 lb-ft).
3. CAUTION: The upper arm outboard bolt must be installed with the bolt head toward the front of the vehicle or wheel damage may
occur.
Install a new upper arm outboard bolt and nut with the bolt head toward the front of the vehicle.
^
Tighten to 225 Nm (166 lb-ft).
4. Position the toe link and install a new toe link outboard bolt and nut.
^
Tighten to 325 Nm (240 lb-ft).
5. Lower the suspension and remove the jack.
6. Install the parking brake shoes.
7. Position the wheel speed sensor and install the bolt.
^
Tighten to 8 Nm (71 lb-inch).
8. Using a suitable halfshaft installer tool, install the halfshaft.
9. NOTE: Have an assistant press the brake pedal to keep the axle from turning.
Install a new halfshaft nut and washer.
^
Tighten to 275 Nm (203 lb-ft).