
Mountaineer RWD V6-4.0L (2008)
result in major service expense. New parts must be installed with the same part numbers or equivalent part, if replacement is necessary. Do not use a
replacement part of lesser quality or substitute design. Torque values must be used as specified during reassembly to make sure of correct retention of
these parts.
1. Remove the shock absorber and spring assembly.
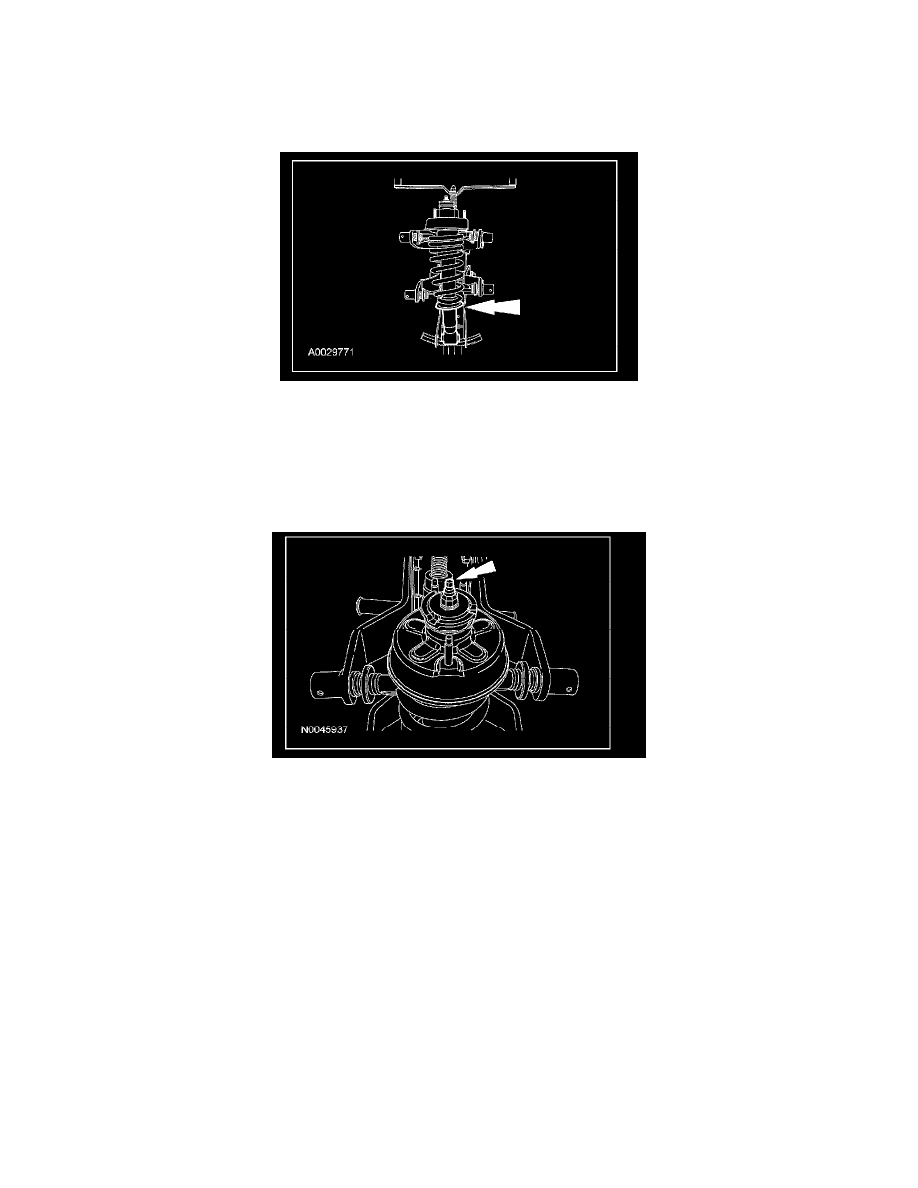
2. Using a suitable spring compressor, compress the spring until the tension is released from the shock absorber.
3. CAUTION: When installing the shock rod nut, make sure the shock rod and bushing are centered in the upper mount before tightening
the nut or damage to the shock or bushing may occur.
NOTE: Use the holding feature to prevent the shock absorber rod from turning while removing and installing the nut.
Remove and discard the shock absorber rod nut.
^
To install, tighten to 65 Nm (48 lb-ft).
4. Remove the shock absorber.
5. Remove the washer and upper mount bushing.
6. Remove the upper shock absorber mount.
7. Remove the dust boot.
8. Carefully release the spring compressor and remove the coil spring.
9. NOTE: Make sure that the upper shock mount stud, shock rod and shock lower bushing are aligned before tightening shock absorber rod nut.
To assemble, reverse the disassembly procedure.