
Mystique L4-122 2.0L DOHC VIN 3 SFI (1995)
2.
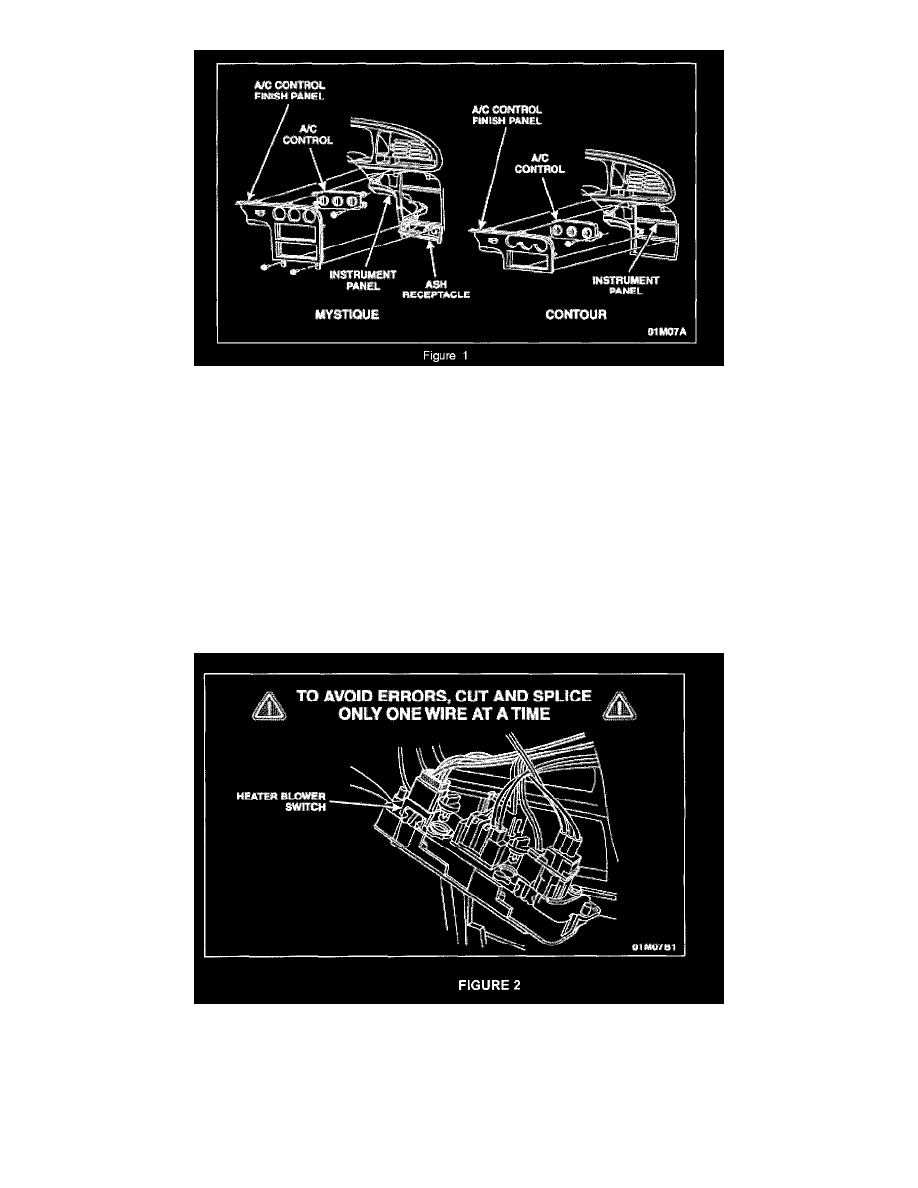
Remove the A/C control finish panel. See Figure 1.
^
Contour: Gently pull the finish panel away from the instrument panel to disengage the retaining clips and disconnect the dimmer switch
electrical connector.
^
Mystique: Open the ash receptacle and remove the two (2) retaining screws and disconnect the dimmer switch electrical connector.
3.
Remove the A/C control retaining screws and remove the A/C control.
CAUTION:
Cut and splice only one wire at a time. The wire colors on the new blower switch connector do not match the existing wiring harness colors.
4.
Install the new blower switch connector kit.
a.
Obtain Blower Switch Connector Repair Kit # F5RZ-14A411-AA.
b.
Select the first wire to be spliced from the switch wire harness and cut it as close as possible to the blower switch connector. See Figure 2.
c.
Select the corresponding wire from the new blower switch connector.
d.
Strip 1/4 inch insulation from the selected wires.
e.
Install the appropriate splice connector using crimp tool # AD1522 or equivalent ratchet action crimp tool.