
Mystique V6-153 2.5L DOHC VIN L SFI (1999)
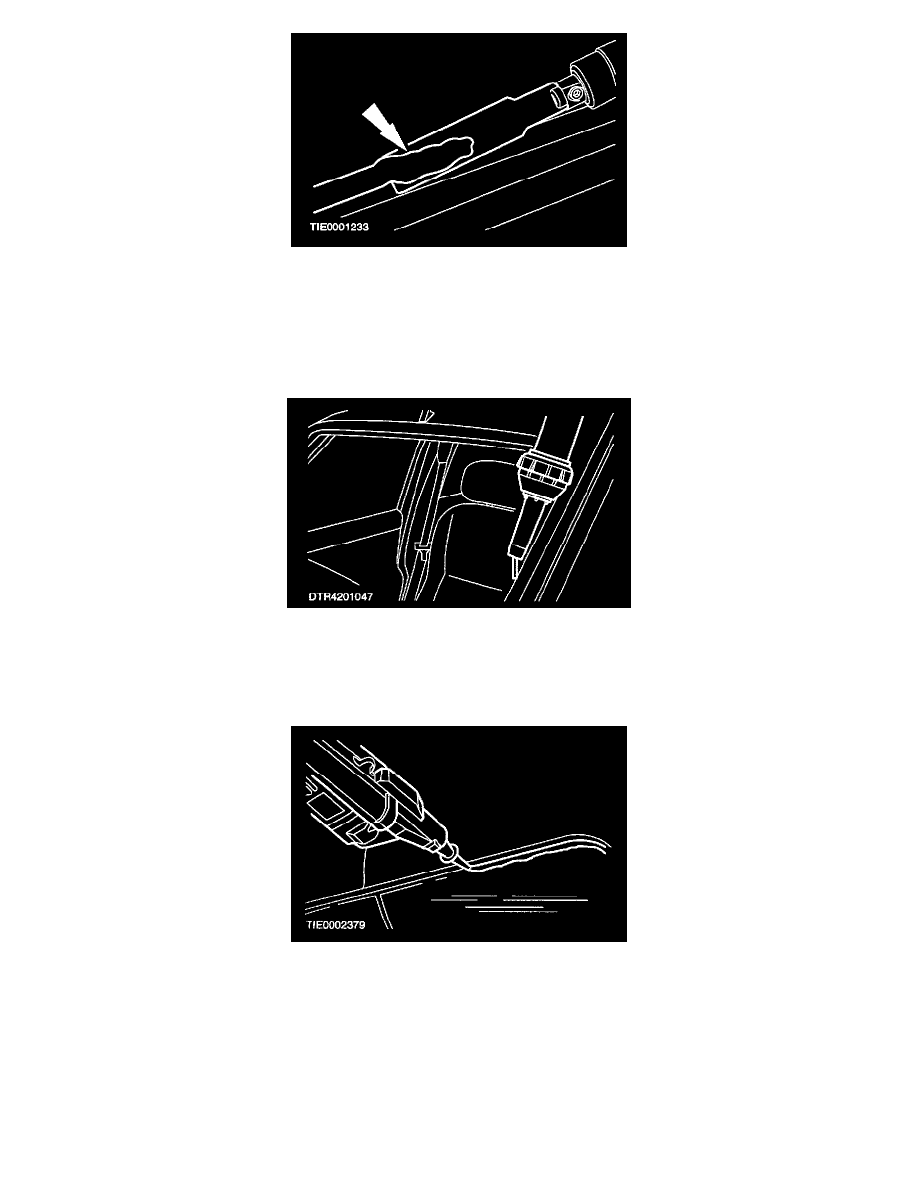
1. Remove the excess PU adhesive from the opening.
-
Carefully trim the remaining PU adhesive from the rear window opening to leave approximately 1 mm of trimmed PU adhesive adhered to the
opening flange.
CAUTION: Avoid touching the trimmed surfaces as this will inhibit the new adhesive from bonding.
2. Check the pinch weld sealing area for damaged sheet metal, rust or foreign objects which may have caused, or may cause glass breakage.
3. Using a hot air gun, apply warm air (25°C) to the rear window opening flange and glass bond line to remove all traces of moisture.
CAUTION: To make sure that the PU adhesive cures, it is essential that all the bonding surfaces are free of moisture.
4. Prepare the glass, windshield opening and trimmed PU adhesive in accordance with the instructions supplied with the adhesive kit.
5. Apply the PU adhesive in a continuous bead of between 8 and 10 mm height to the rear window opening flange along the bond line.
NOTE: Discard the 100 mm (4 in) of PU adhesive as this may have a reduced working time.